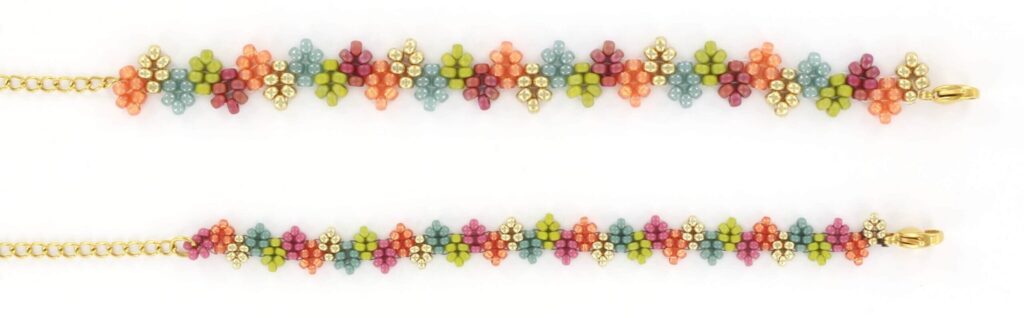
This adorable autumn leaf bracelet is easy to make with just a few materials and a relatively simple technique. You can also make the bracelet in different colors. For this, you’ll need at least two different colors so you can alternate the leaves. With just one color, the leaf effect is less noticeable.
Needed supplies:
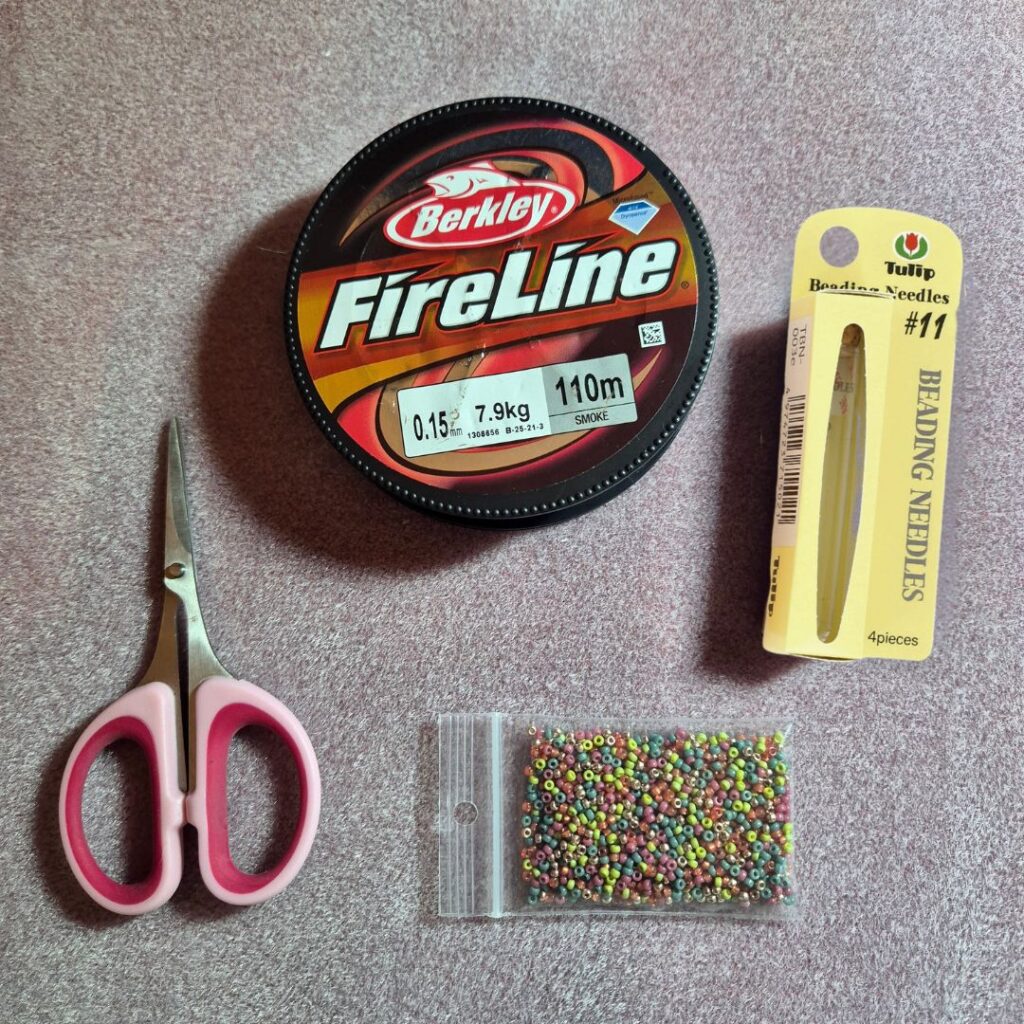
- Fireline smoke 0.15 (You can also use thinner thread or even beading thread, but then the bracelet will be less sturdy.)
- Needle
- Scissors
If you want to make the bracelet with size 11/0 seed beads: - Miyuki seed beads 11-4481 (duracoat opaque eucalyptus)
- Miyuki seed beads 11-4697 (opaque glazed frosted rainbow olive)
- Miyuki seed beads 11-4204 (duracoat galvanized champagne)
- Miyuki seed beads 11-4244 (duracoat silverlined dyed persimmon)
- Miyuki seed beads 11-4468 (duracoat opaque pansy)
If you want to make the bracelet with size 8/0 seed beads: - Miyuki seed beads 8-4696 (opaque glazed frosted rainbow dark red)
- Miyuki seed beads 8-2376 (ceylon translucent eucalyptus)
- Miyuki seed beads 8-4233 (duracoat silverlined dyed rose gold)
- Miyuki seed beads 8-4204 (duracoat galvanized champagne)
- Miyuki seed beads 8-4697 (opaque glazed frosted rainbow olive)
Not necessary but could be handy: - Stringing mat
- Beading tray
Before you start:
First, arrange the colors in the order you want to string them. For the first row, you’ll need three beads of each color.
You could start by tying a clasp to the thread, but in this example we’ll add it afterwards.
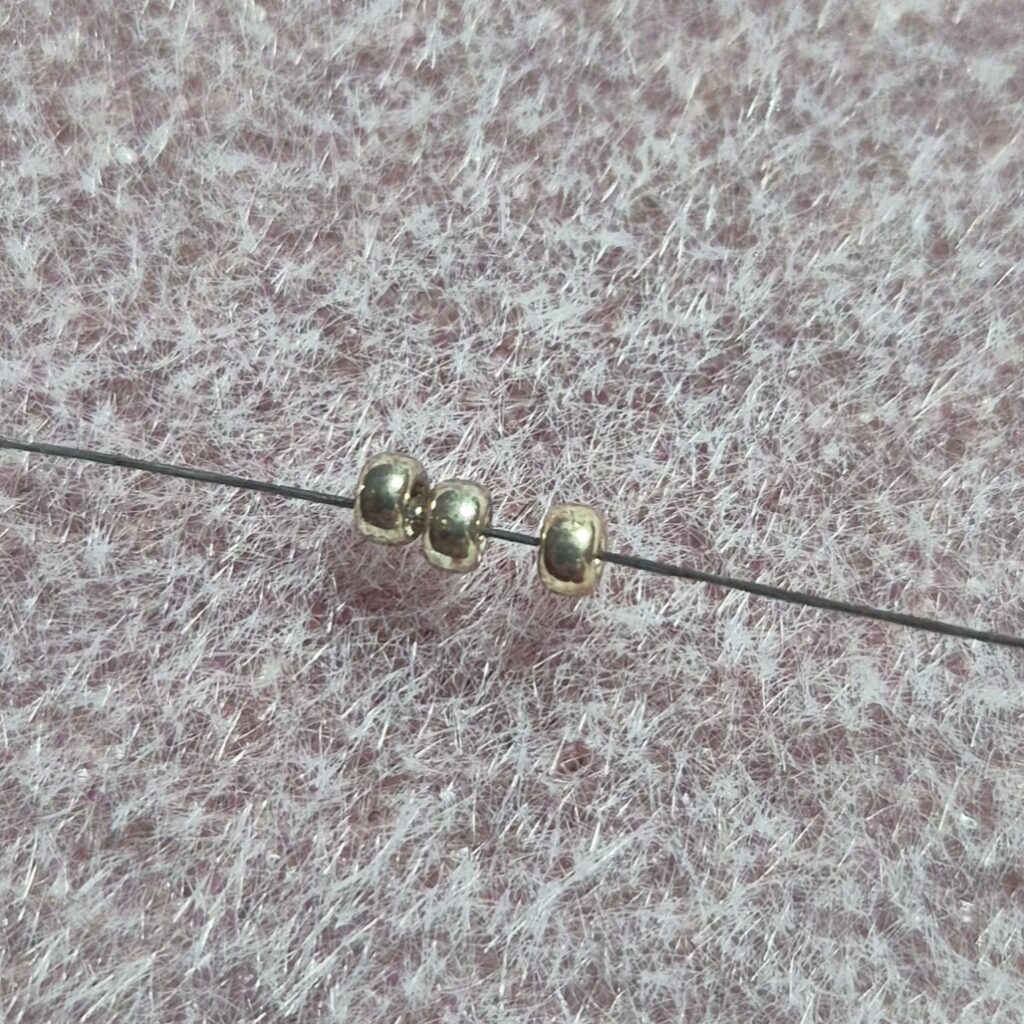
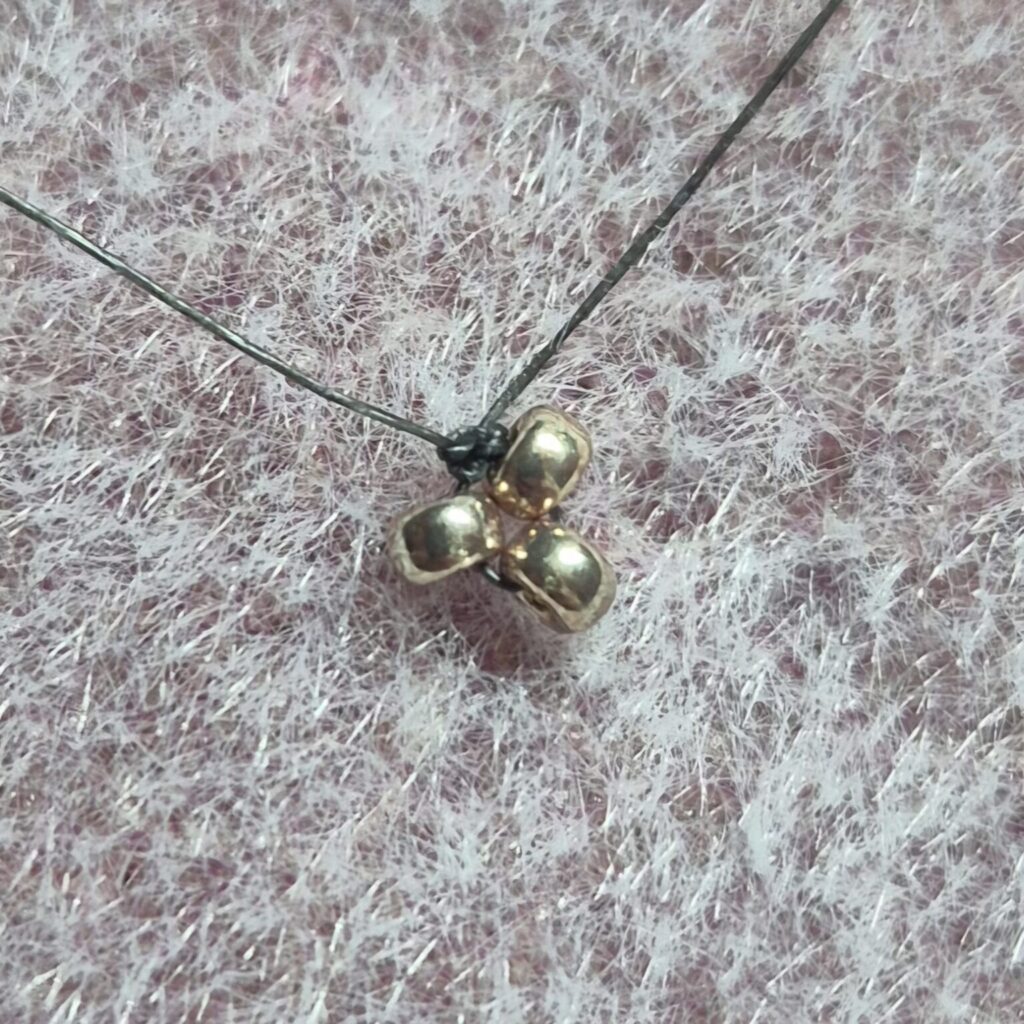
Step 1)
String the first 3 beads onto your wire, they should all be the same color.
Step 2)
Tie a secure knot to secure these three beads together. Be sure to leave some extra length at the end of the thread so you can use it later to attach the clasp.
Step 3)
Make sure your thread starts at a bead, so thread through the first bead closest to the start of the thread.
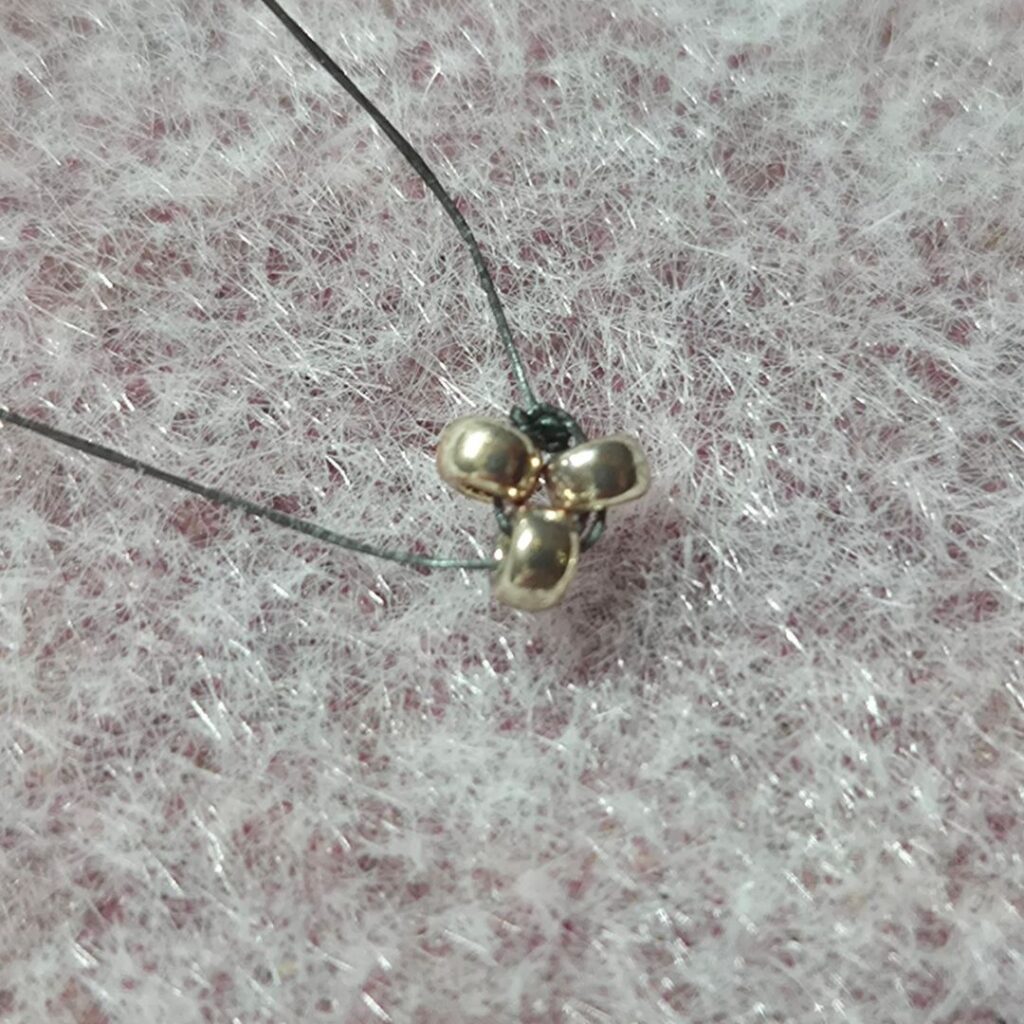
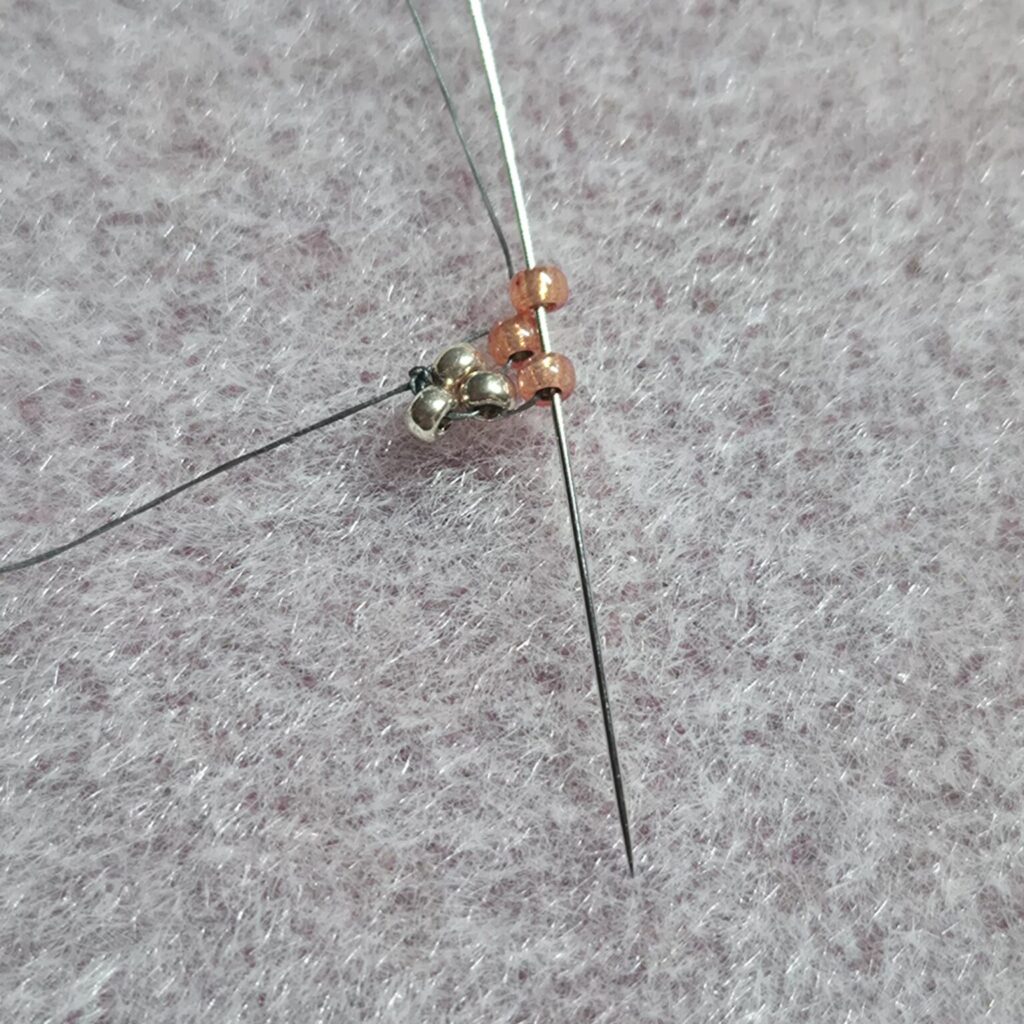
Step 4)
Thread a bead of the next color you have ready. This is a tricky step, so pay close attention to the image. The thread comes out of a gold bead at the “bottom,” so make sure you pick up the bead above it to continue threading to create the peyote effect.
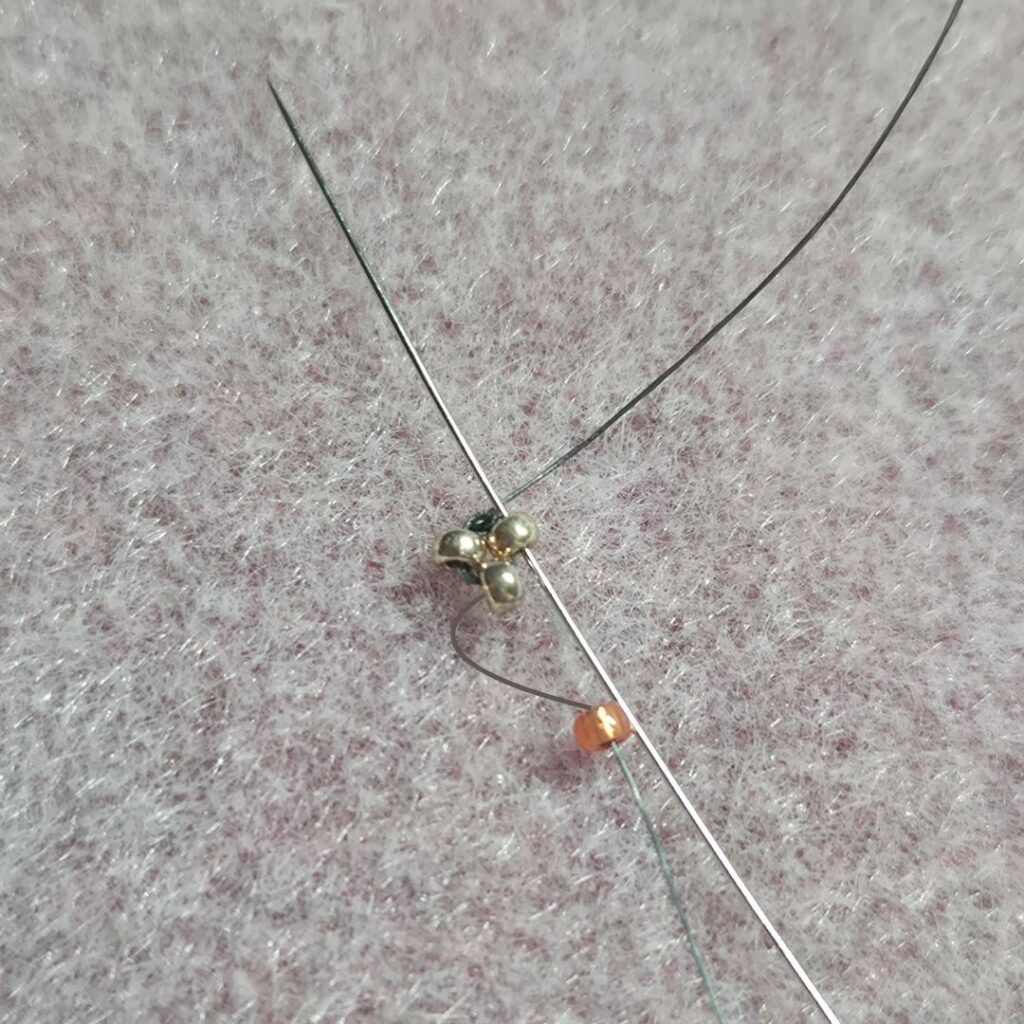
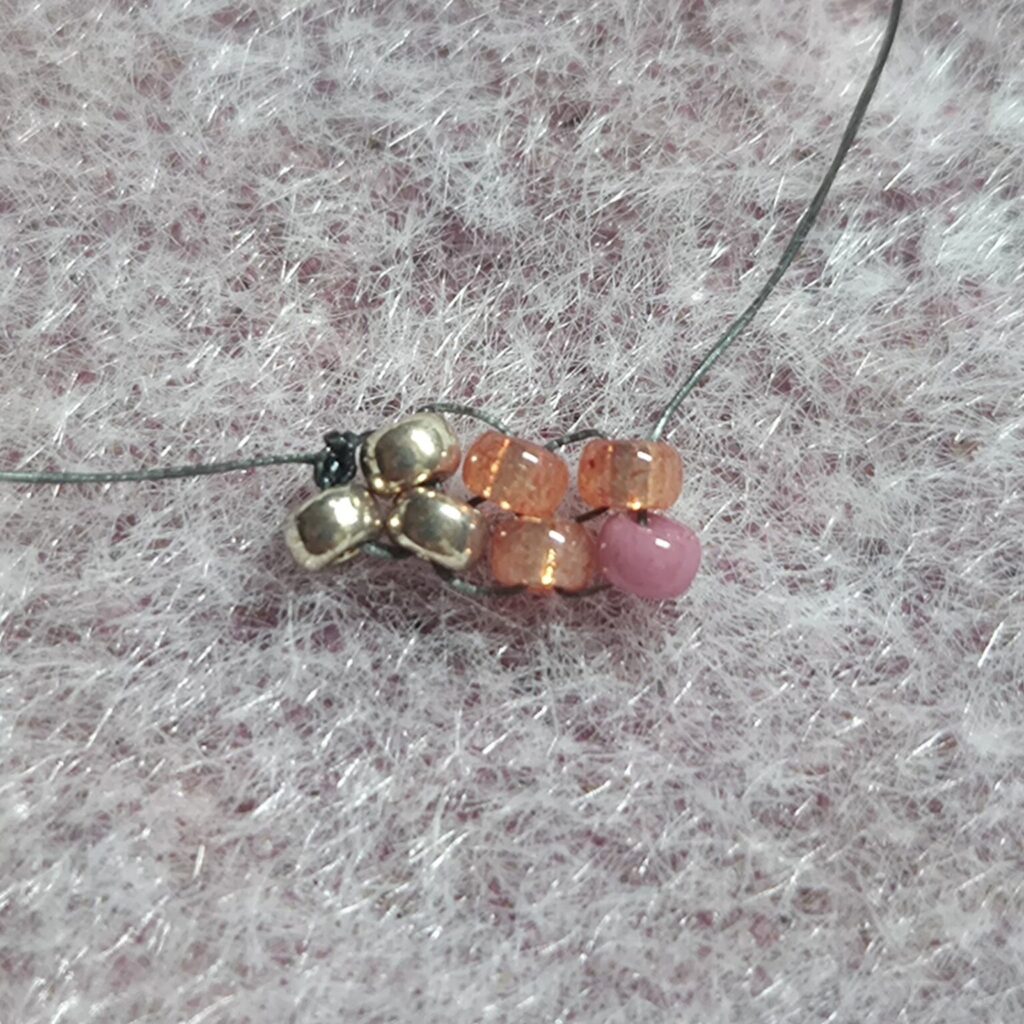
Step 5)
Now you’re done, it might look a bit messy because it hasn’t been tightened yet.
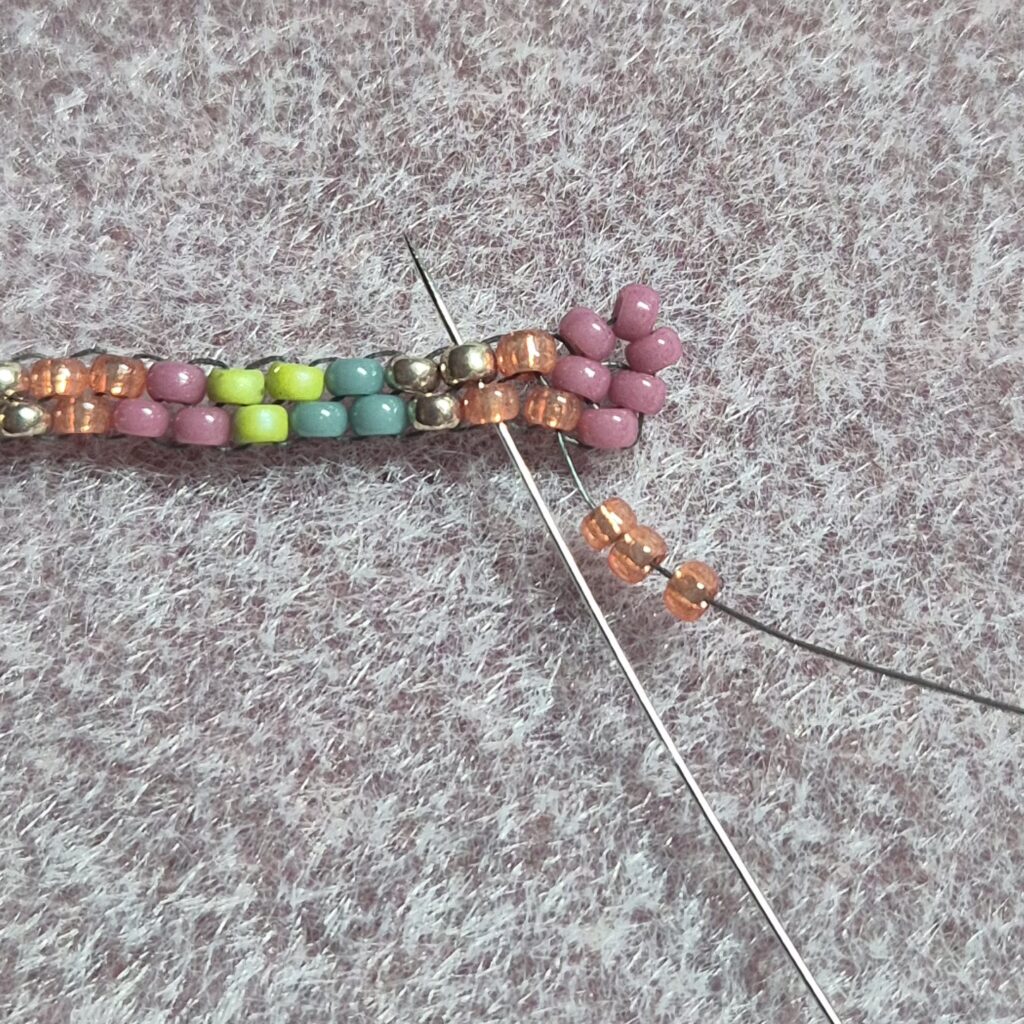
Your thread will now come out of the gold bead. Thread an orange bead onto your thread and then thread it through the first strung orange bead, on the side where your thread is, from top to bottom.

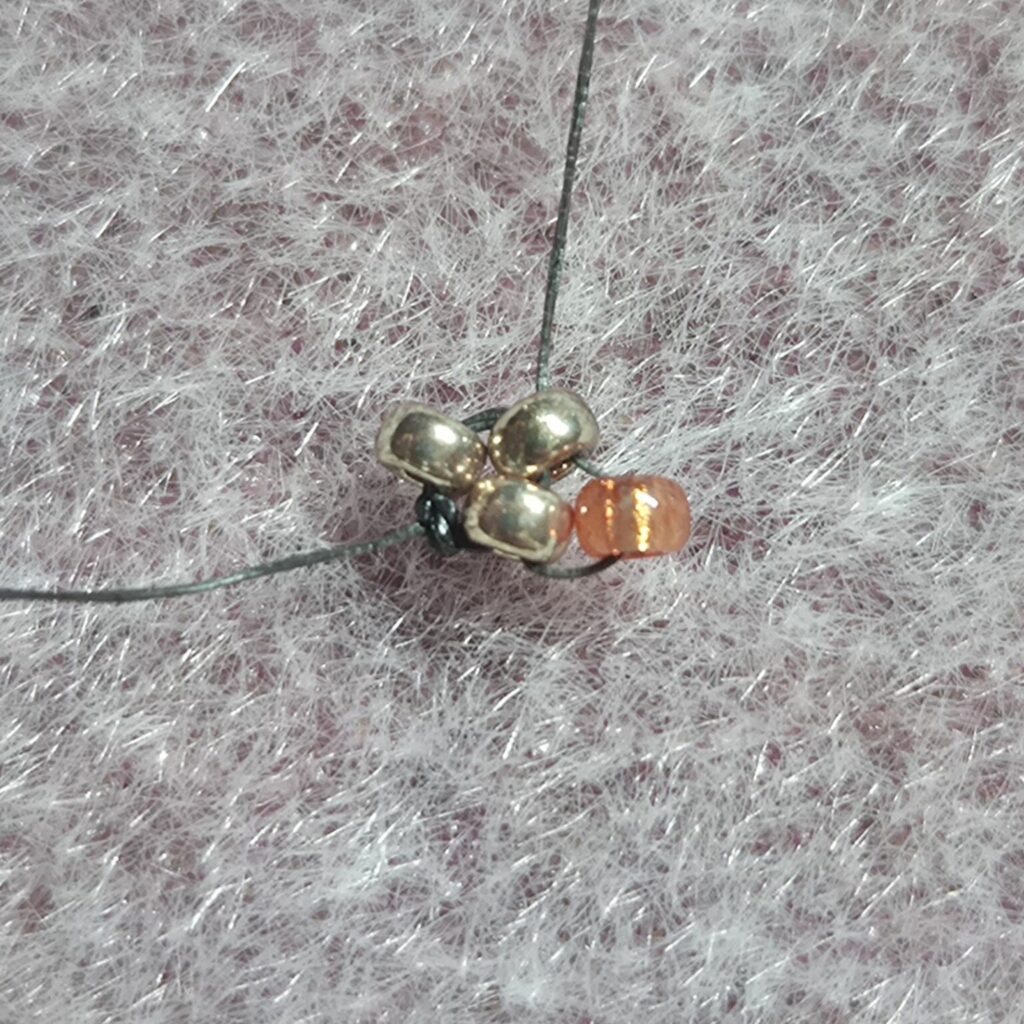
Step 6)
Repeat this step until your bracelet is the correct length. Be sure to string the colors in groups of three beads, otherwise your pattern won’t be accurate.
Thread another orange bead onto the wire and then thread the wire through the orange bead that sticks out the most on the side where your wire is, from top to bottom.
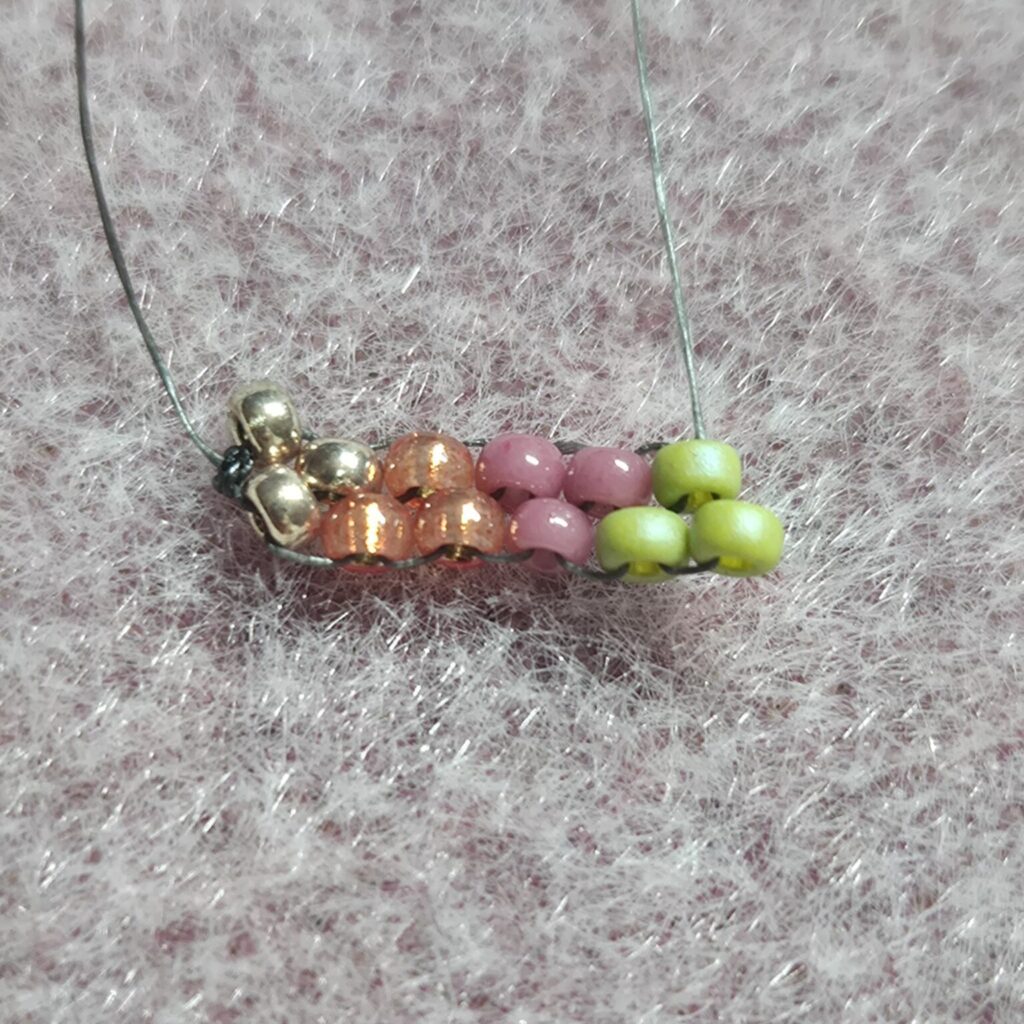
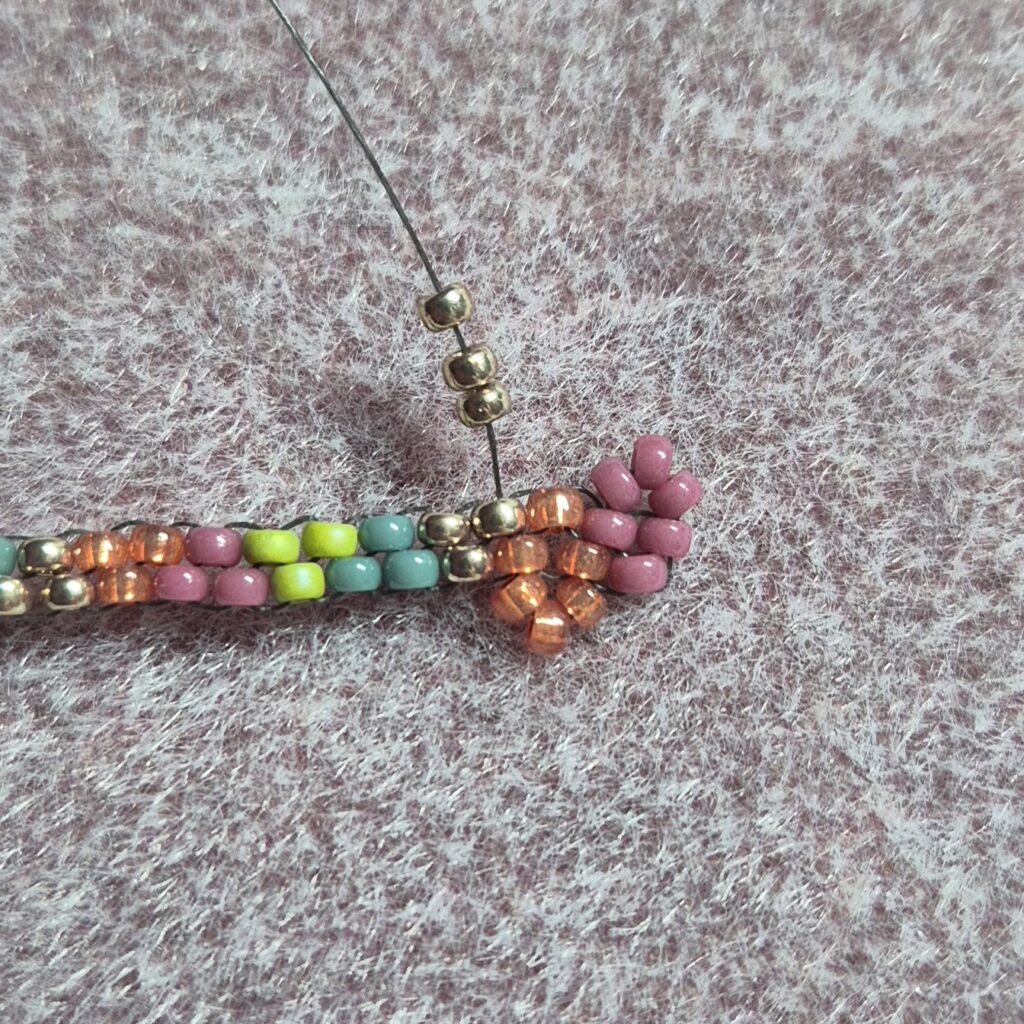
Step 7)
After three orange beads, we’ll continue with three pink beads. Thread one bead at a time onto your wire, then thread it through the bead that sticks out the most. Continue stringing your bracelet in this zigzag pattern from bottom to top.
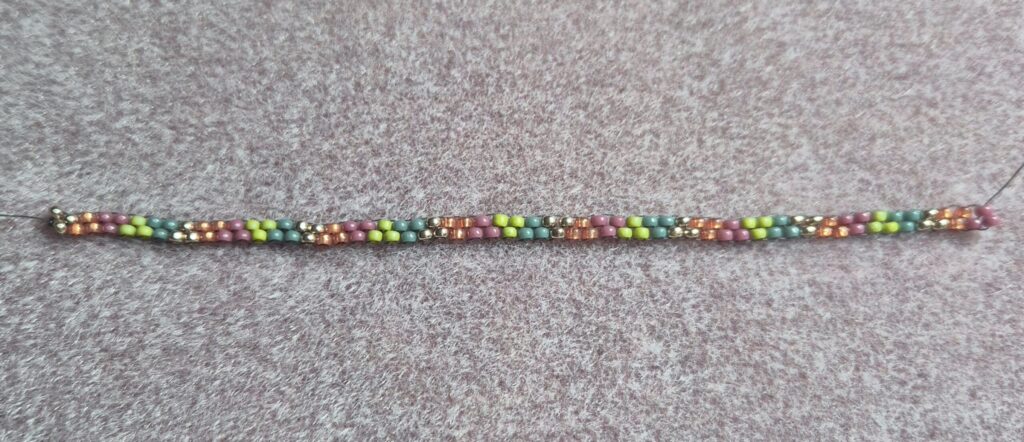
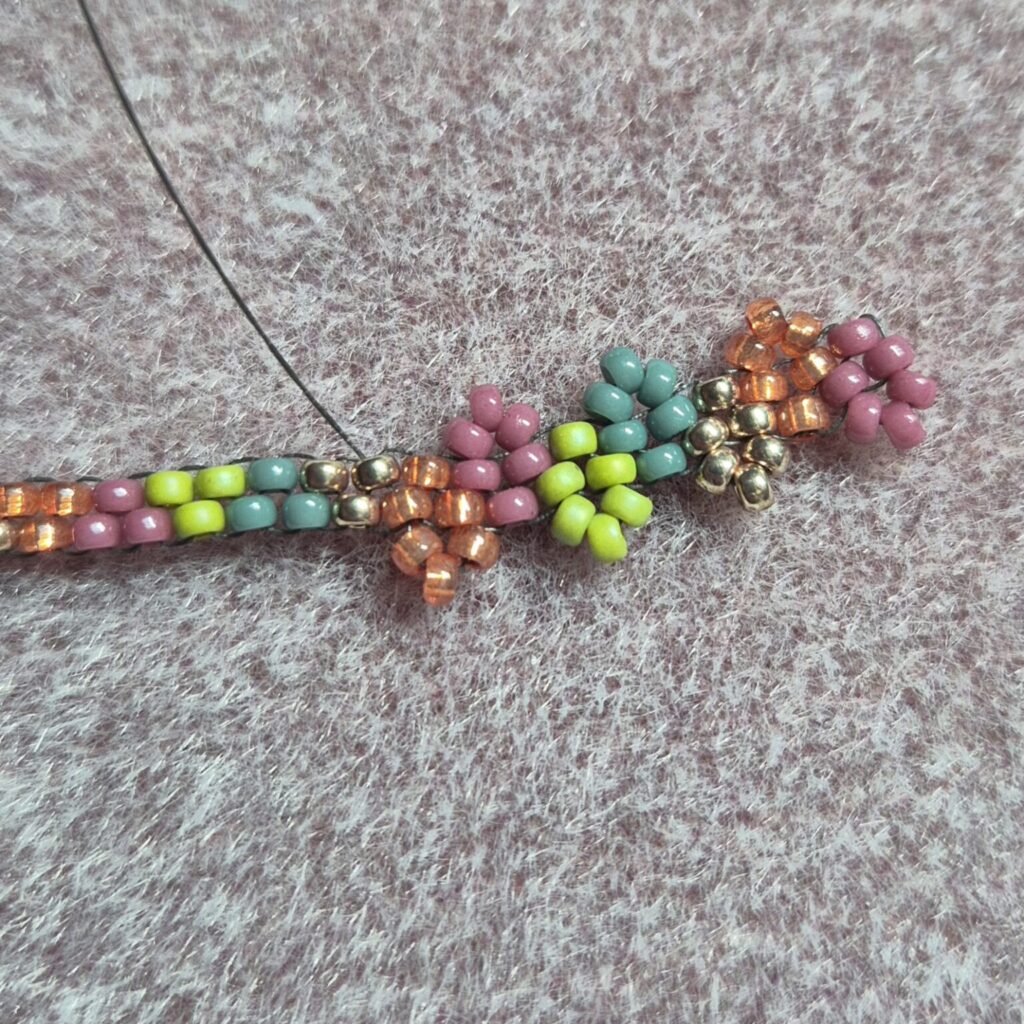
Step 8)
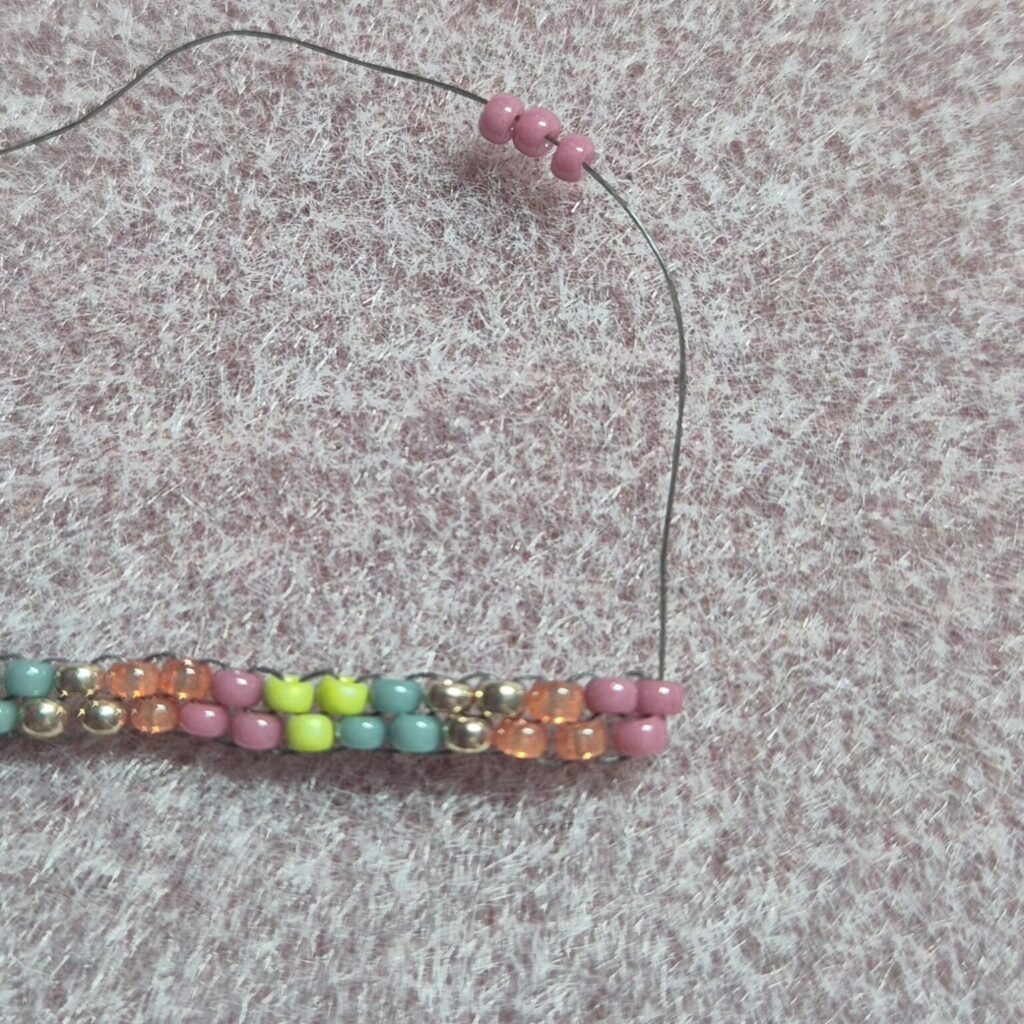
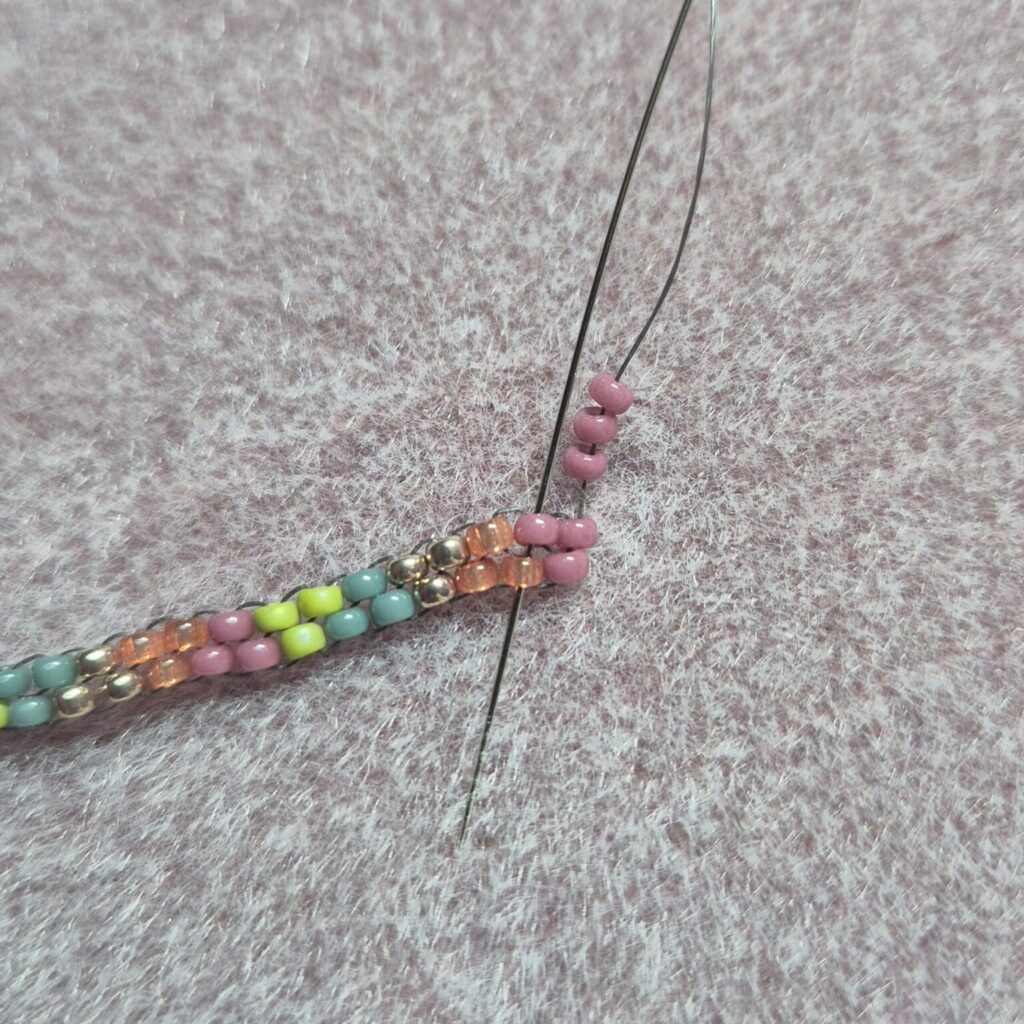
Once the desired length is reached (measure around your wrist, taking your clasp into account), we’ll string the leaf tips onto the string. My thread ends with a pink bead, so we’ll start by stringing three pink beads onto the thread and then threading your needle through the pink and orange beads underneath.
Step 9)
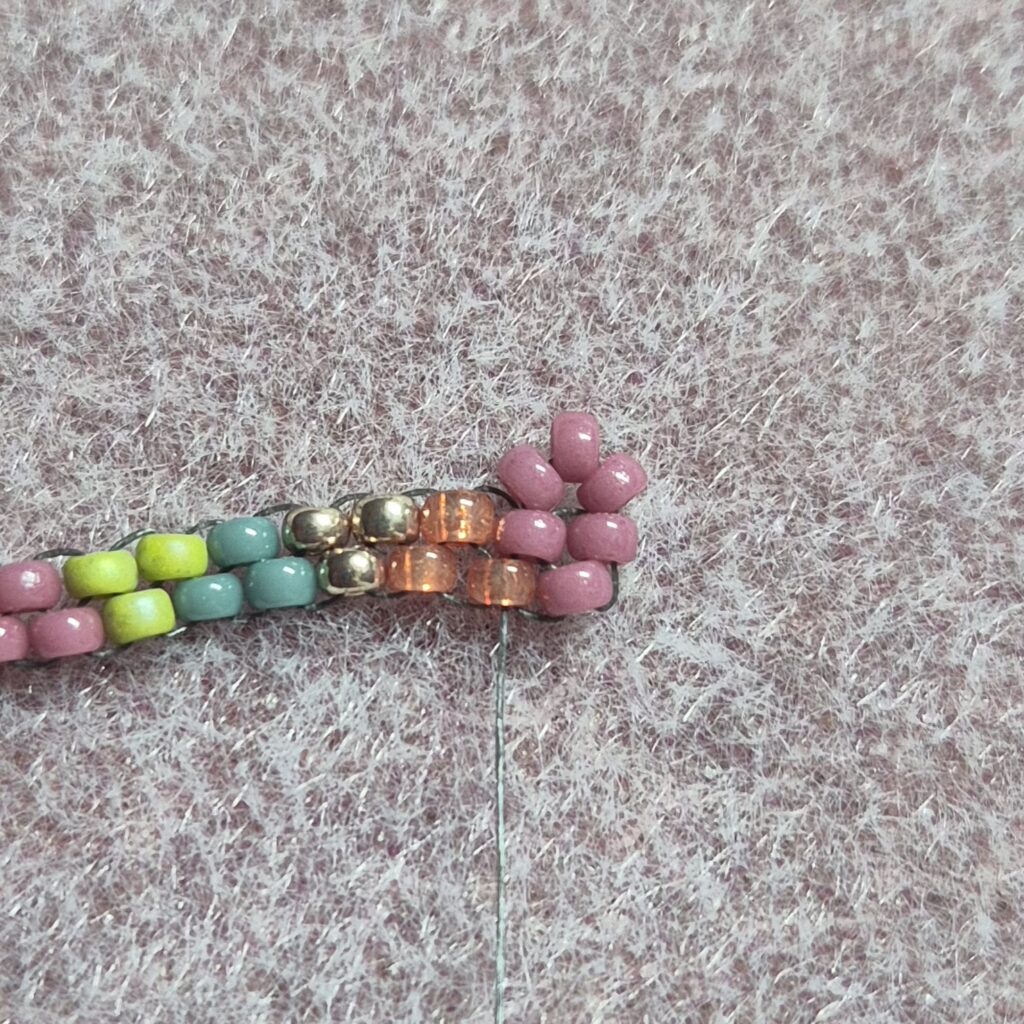
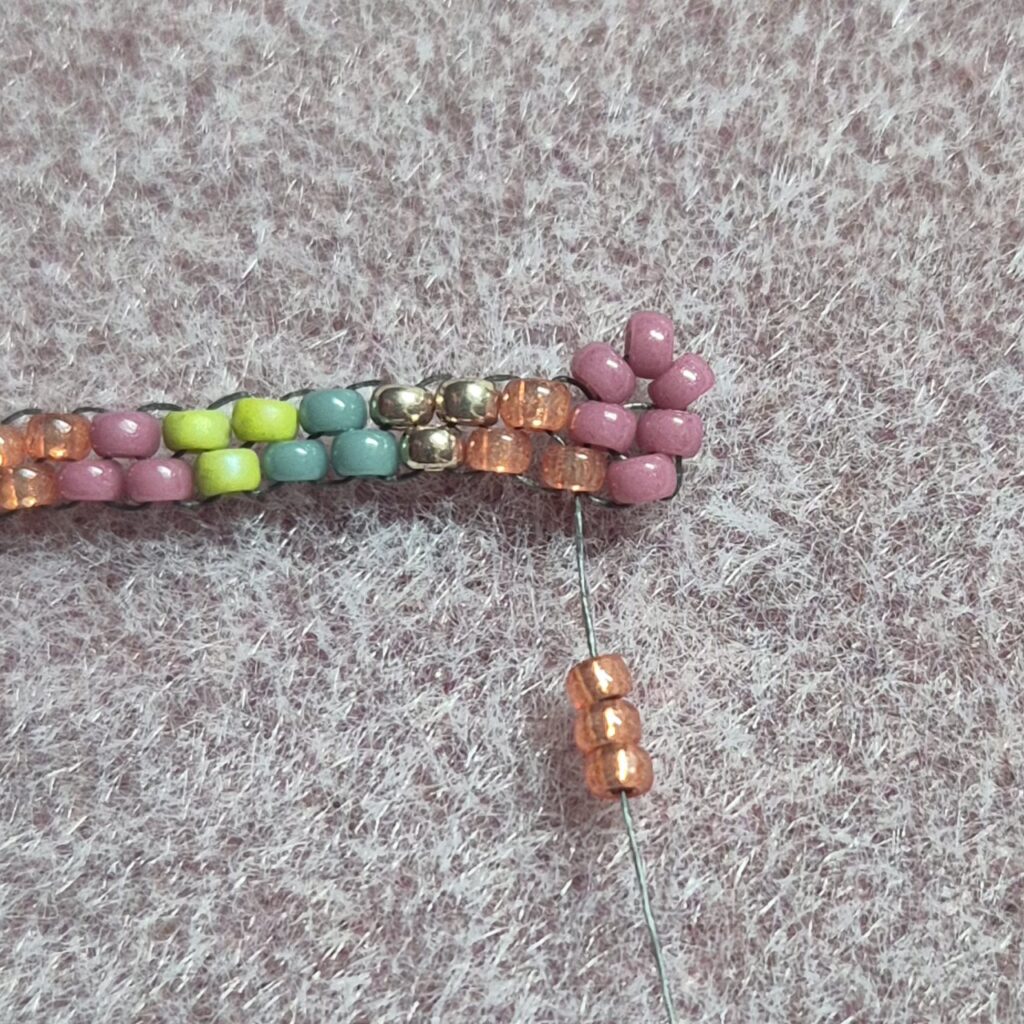
Your first leaf is finished! Your wire now extends perfectly into the orange bead, ready for stringing the next three orange beads onto your wire.
Step 10)
Thread through the orange bead and immediately through the gold bead below it. When you pull the thread tight, you’ll immediately see leaf number 2. Make sure the point is in the right place; sometimes you might need a little help with this. While threading through the two beads, it might feel a bit stiff. If this is difficult, you can string one bead at a time. Repeat this step until you can’t go any further.
Step 11)
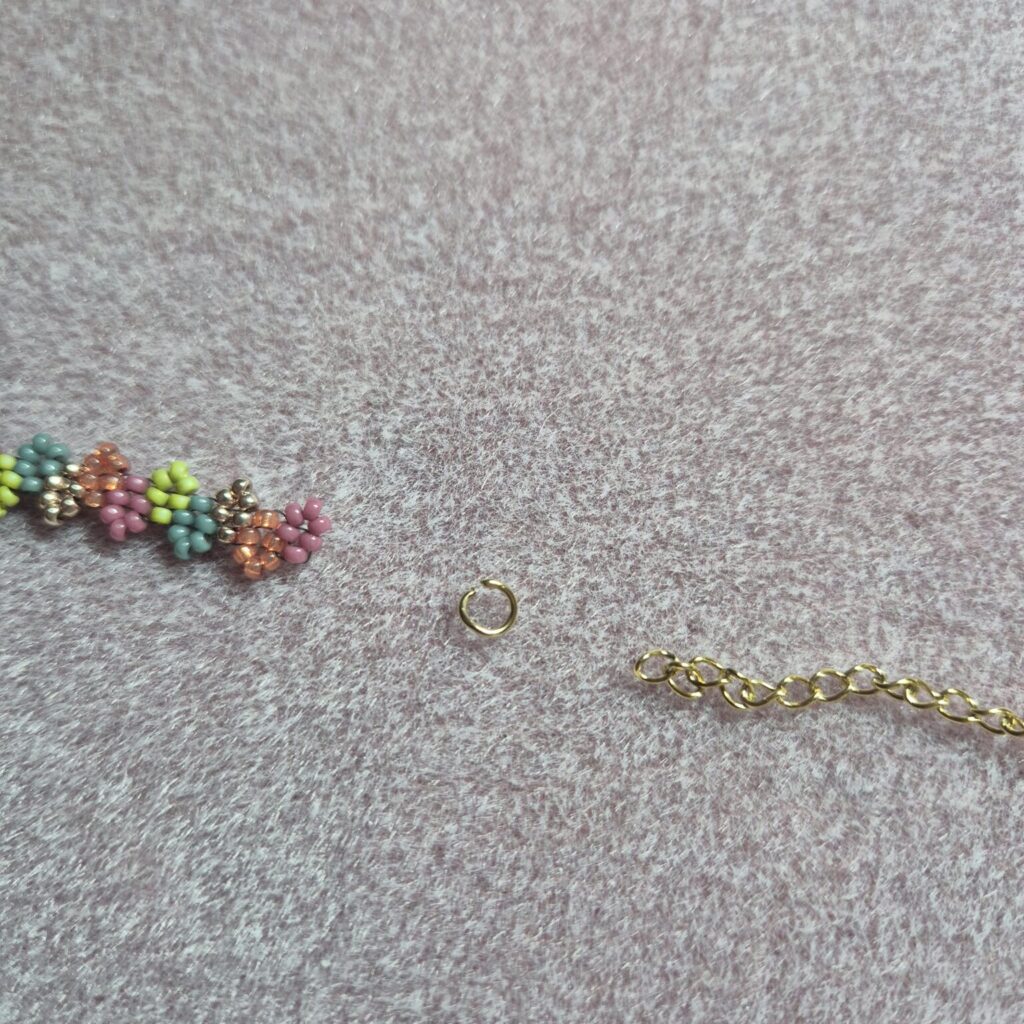
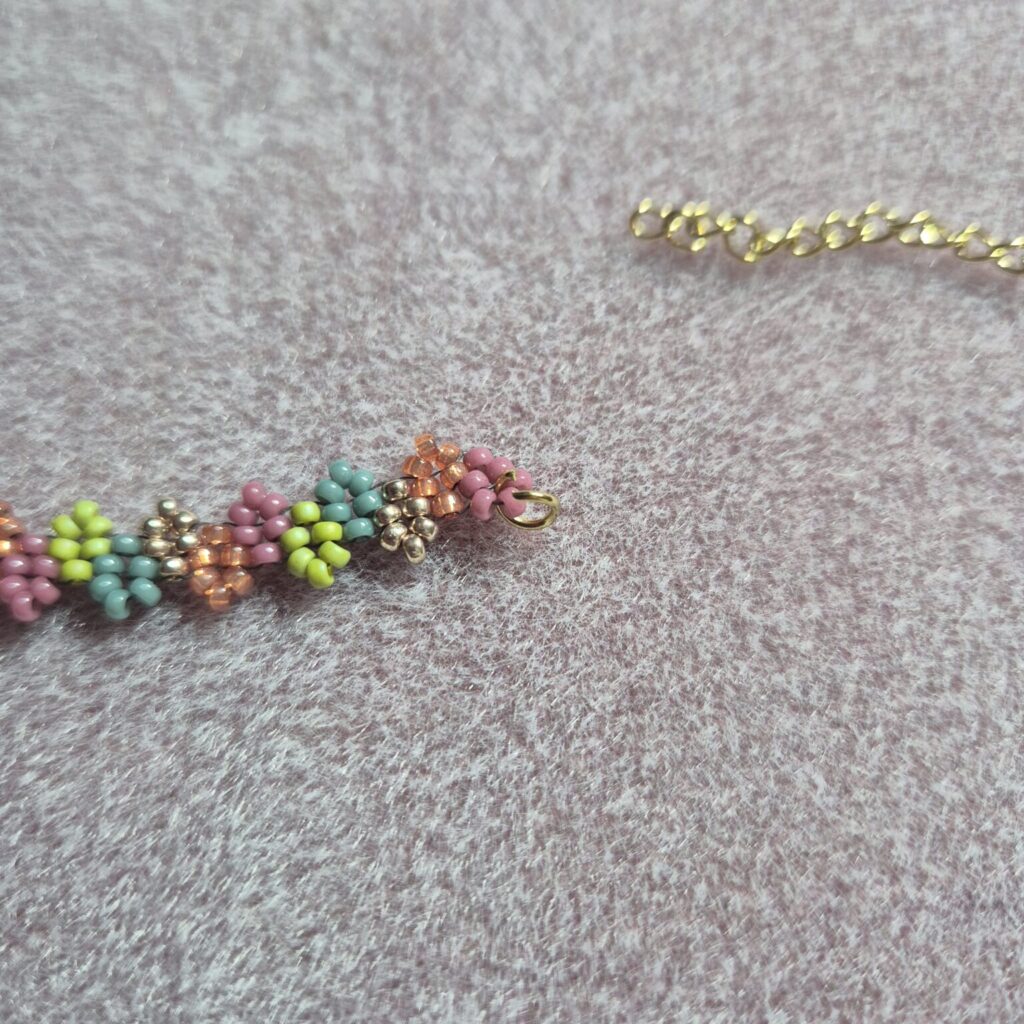
There are several ways to attach a clasp, but I chose to thread the wire through the lobster clasp’s eye several times and then back through the beads. Then, tie the wire securely and cut it off. Another option, as you can see with the extension chain, is to use an open jump ring to attach something. If possible, you can thread the jump ring through the bead, but you can also choose to attach the jump ring behind the wire between the beads. Make sure you squeeze the jump ring closed tightly to prevent the wire from slipping through while wearing.
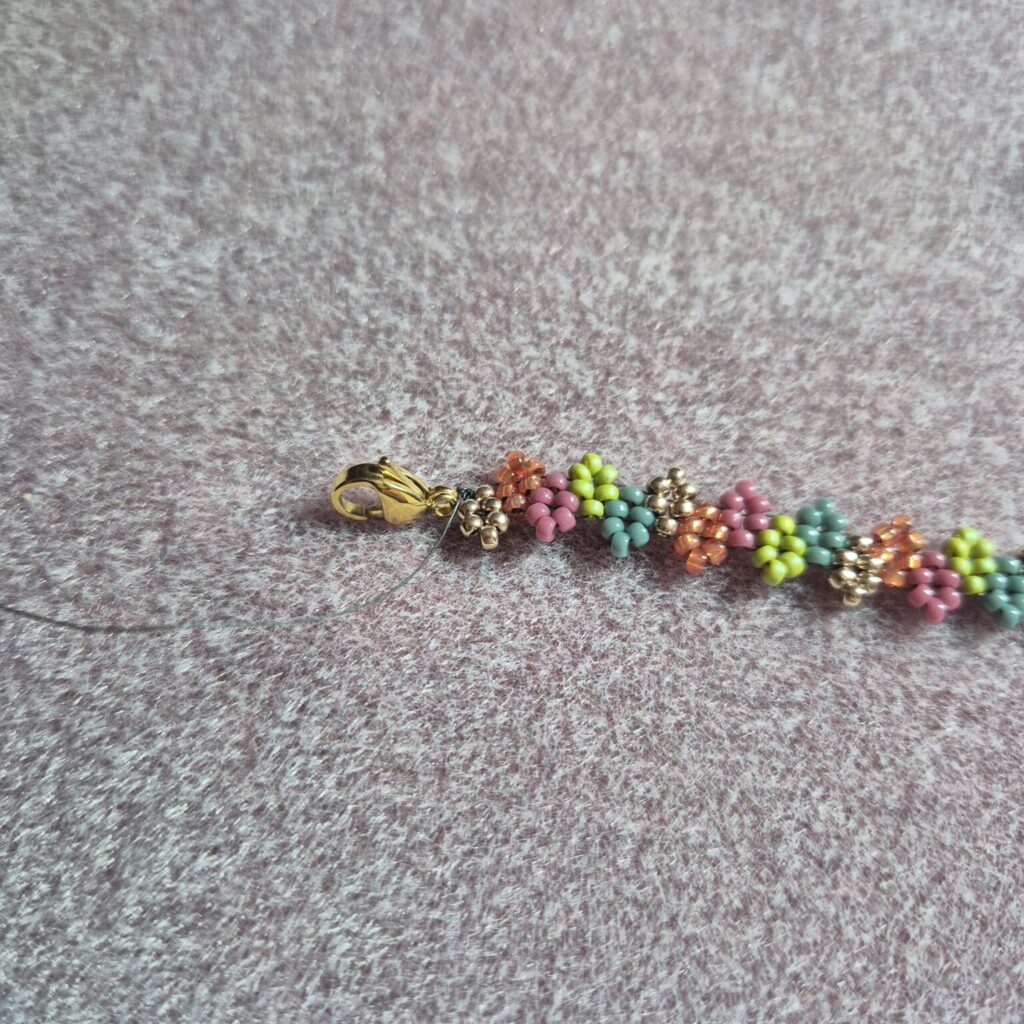
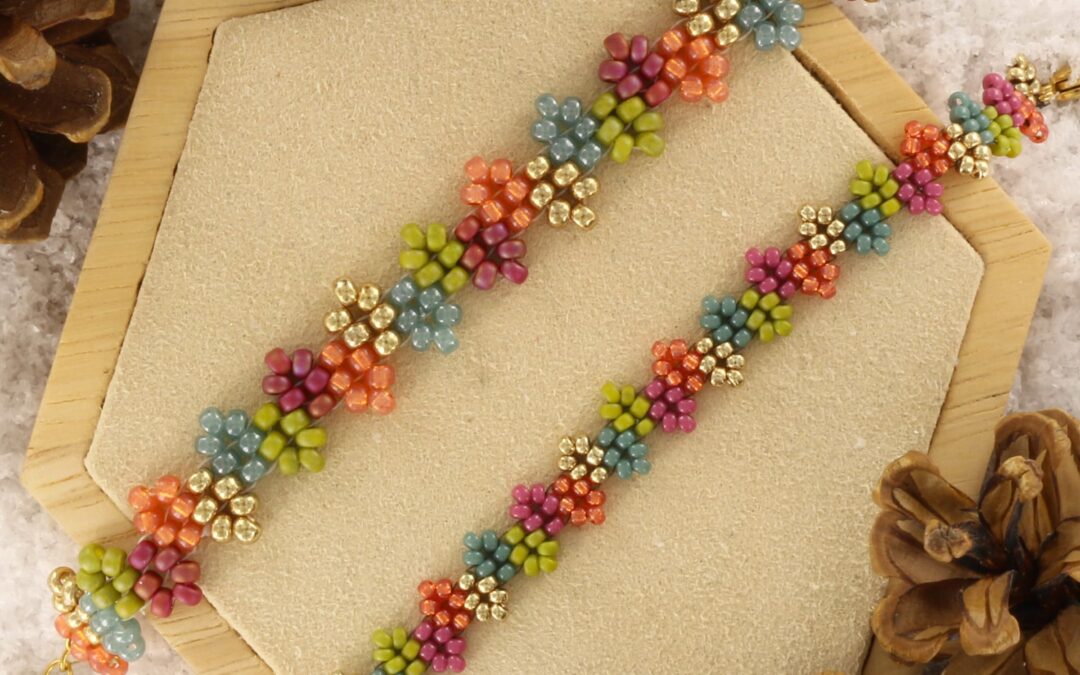
Your bracelet is now ready!