Peyote odd count is very similar to peyote even count. The difference is that with peyote odd count, you make an odd number of rows of beads, as the name suggests.
You’ll end up with a different number of beads at the end of a row, so you’ll need to take slightly different steps to get back to the correct position and continue the next row.
In this example, we’ll make a bracelet 7 rows wide.
Instructions:
Step 1)
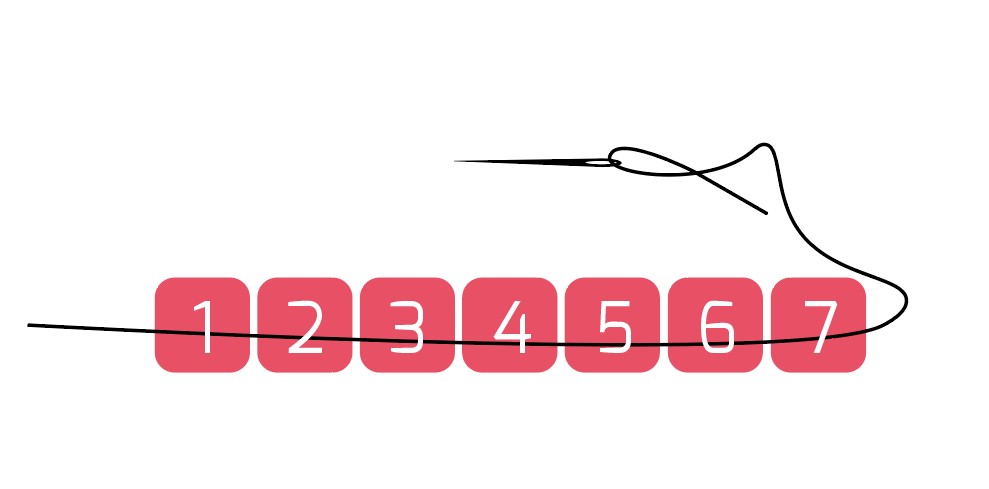
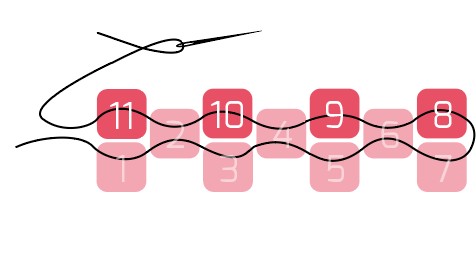
String 7 beads. These are rows 1 and 2. In the next steps, we’ll make sure these become two separate rows.
We’ll do this by adding beads alternately. This will ensure the beads connect halfway.
Step 2)
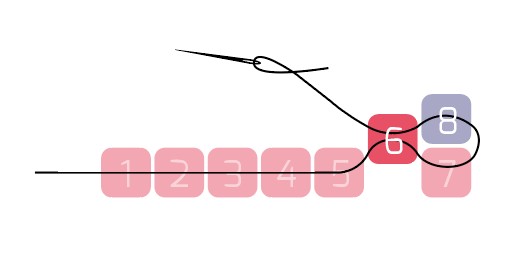
Thread bead 8 and thread it back through bead 6. This will place beads 7 and 8 on top of each other, forming a single row. Bead 6 is just a single row.
You’ll see a height difference between the two rows. This is exactly what you want to see.
Step 3)
Thread bead 9 and thread it back through bead 4. This will place beads 5 and 9 on top of each other. They also form a row together, and bead 4 is a row on its own.
Repeat these steps until you reach the end. (Bead 10, through bead 2.)
Step 4)
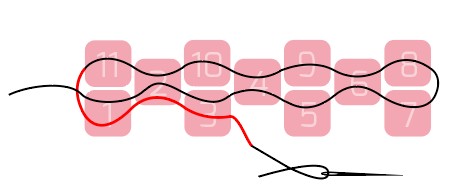
Thread bead 11. You can’t thread this through the next bead like you did the previous ones. To secure bead 11, thread it through bead 1, then through beads 2 and 3. Now bead 11 is secure.
Step 5)
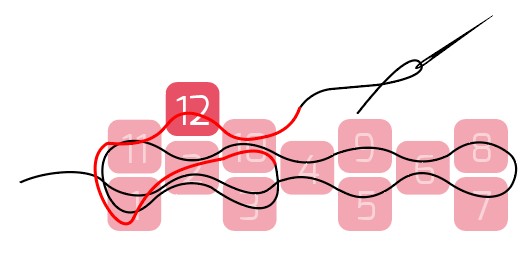
To position your needle and thread correctly to begin your new row, thread through beads 10, 2, and 11. Now you can thread bead 12 (the first bead of the new row) and secure it. To do this, thread through bead 10.
The next bead will be bead 13. Pull this through bead 9, and so on.
At the end of this row, repeat step 2.
Because it’s an odd count, make the extra loop on one side to secure the last bead, but not on the other side.
TIPS, TRICKS AND VARIATION:
- Keep in mind that you’ll be threading the same bead multiple times. Therefore, don’t use thread that’s too thick. Choosing Fireline thread will make it more compact and sturdy. If you want it to remain flexible, choose Miyuki thread.
- Make sure you always pull your thread tight to get a neat result.
- When you want to make a pattern, it may happen that the beads of the first and second row in your first row get mixed up during stringing. This will cause your pattern to be incorrect.
- You can prevent this by stringing the first three rows in a random color before starting your pattern. You can easily remove these three rows once you’ve made enough.
- Choosing the right needle varies from person to person, but if you’re working on more challenging projects, a short needle is ideal. This makes it easier to reach into tight corners and thread beads. A longer needle is harder to hold and less convenient for aiming.
- Choosing Fireline thread will make it more compact and strong. For a more supple and flexible thread, choose Miyuki thread.
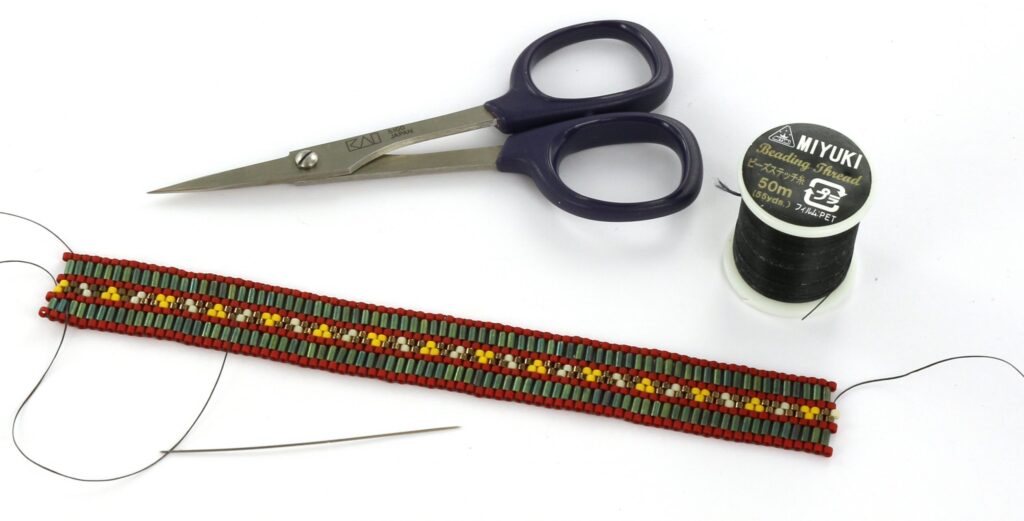
- You can also use other beads, such as spacers, bugles or larger size beads such as 6/0 and 8/0.
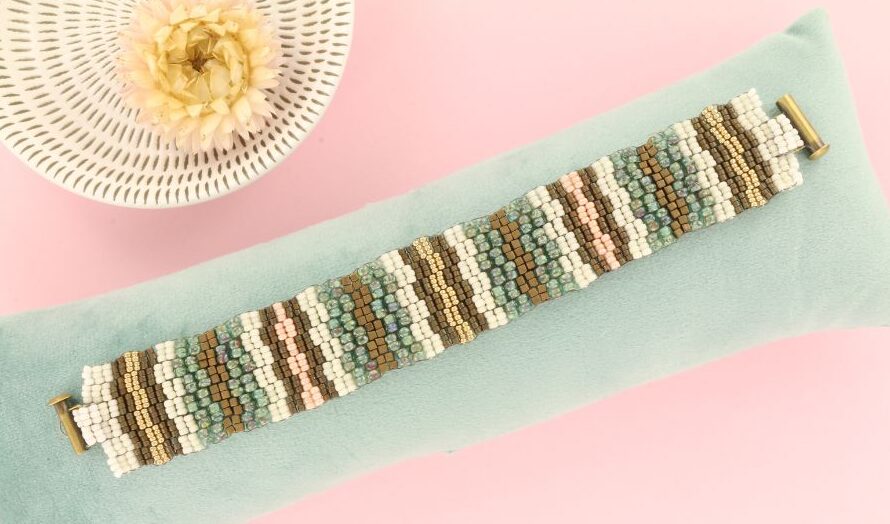
- You don’t always have to string just one bead per stitch. Adding multiple beads in a single stitch creates a playful effect. Adding two beads at a time is called a two-drop, three beads is called a three-drop, and so on. The more beads you add per stitch, the looser your work will be.
- When tightening the thread, it’s important to always pull it completely to the side before stringing the first bead of the new row. If you don’t, you’ll pull the bead out of place and your work will become messy.
- To finish your peyote work, it’s also nice to add an extra edge: a picot. This is easily done by stringing three beads from the outer row of your bracelet. If it doesn’t quite fit at the end, simply string one bead and then back again, and you’ve finished it nicely.
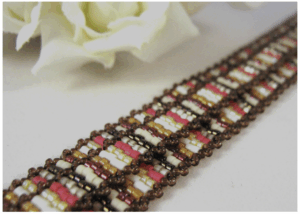
Once you’ve mastered peyote stitch, you might also try one of these variations:
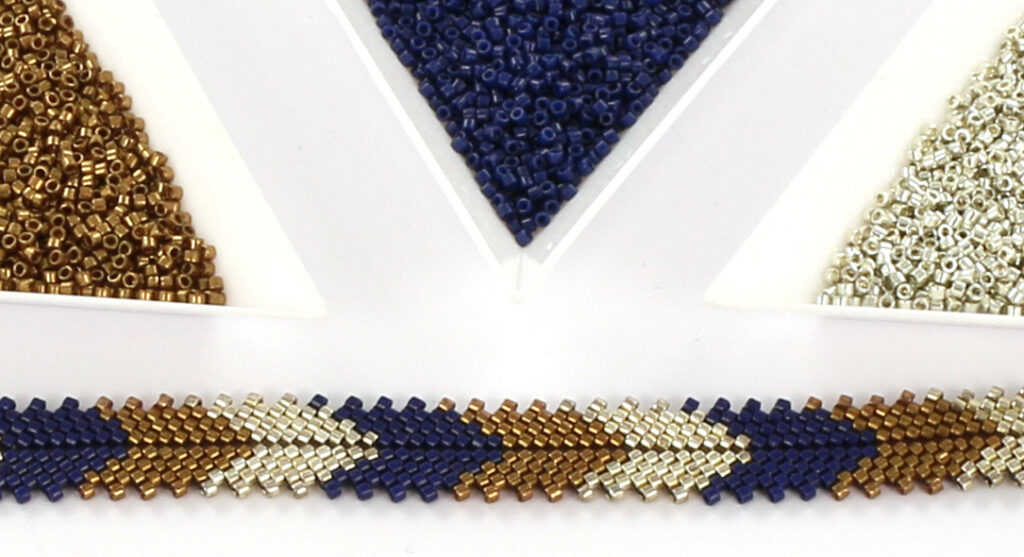
Herringbone peyote bracelet:
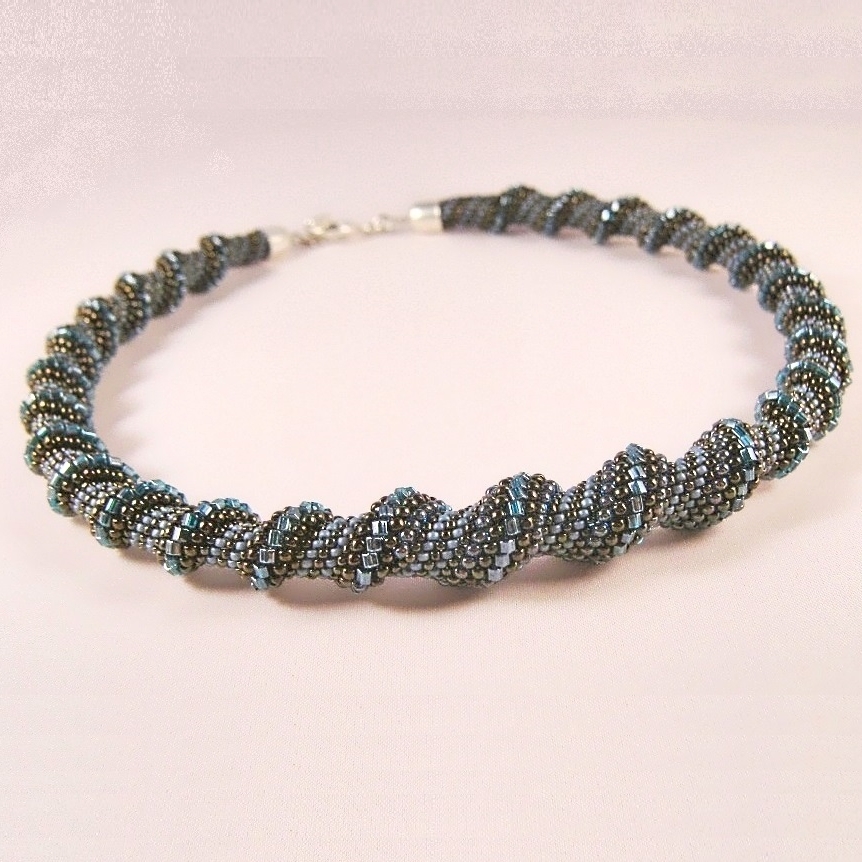
Cellini spiral bracelet:
Peyote with a twist:

Peyote with bugles:
Peyote two drop:
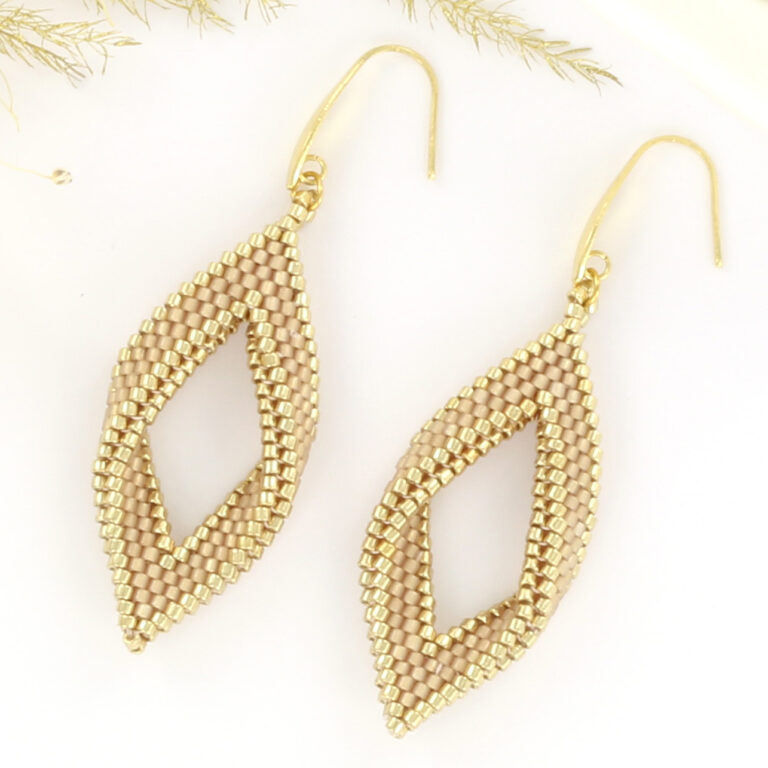
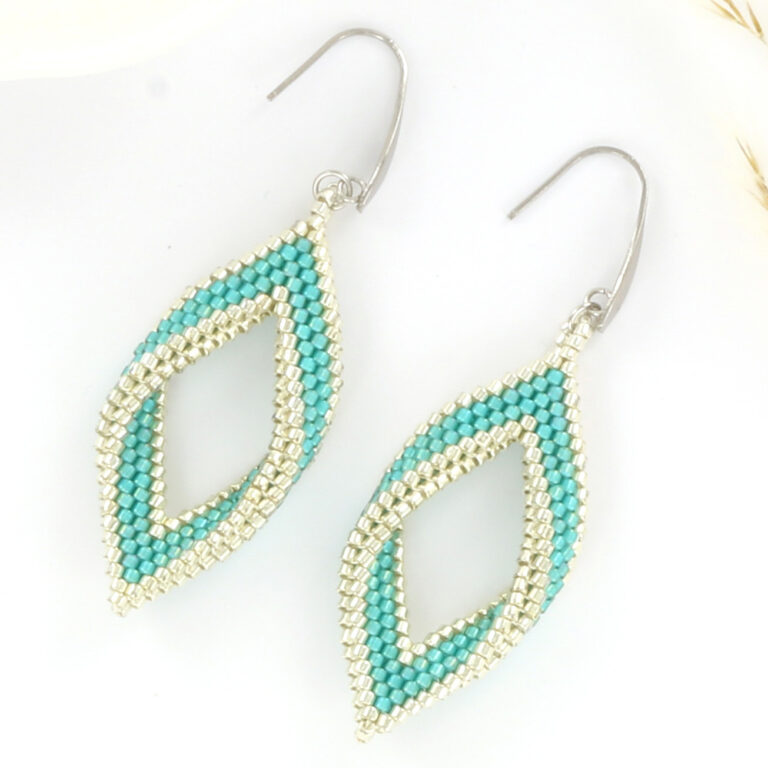
Twisted earrings:
Various shapes: