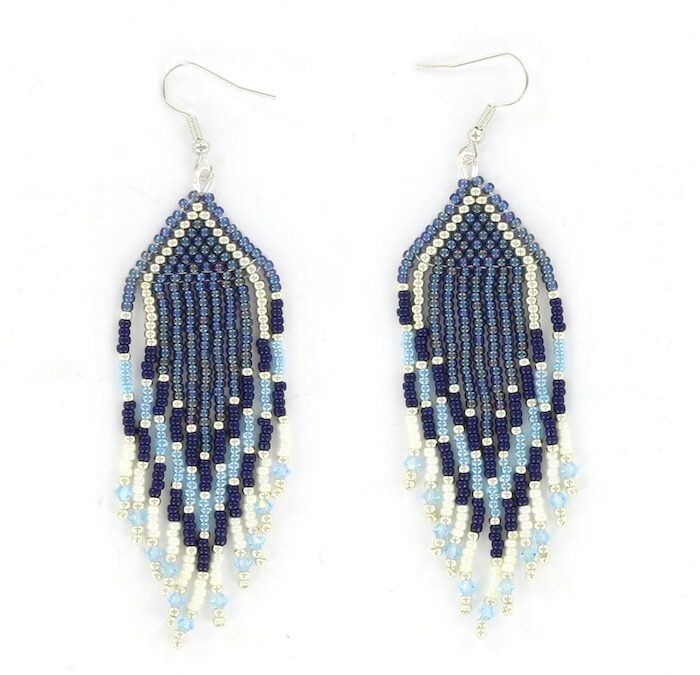
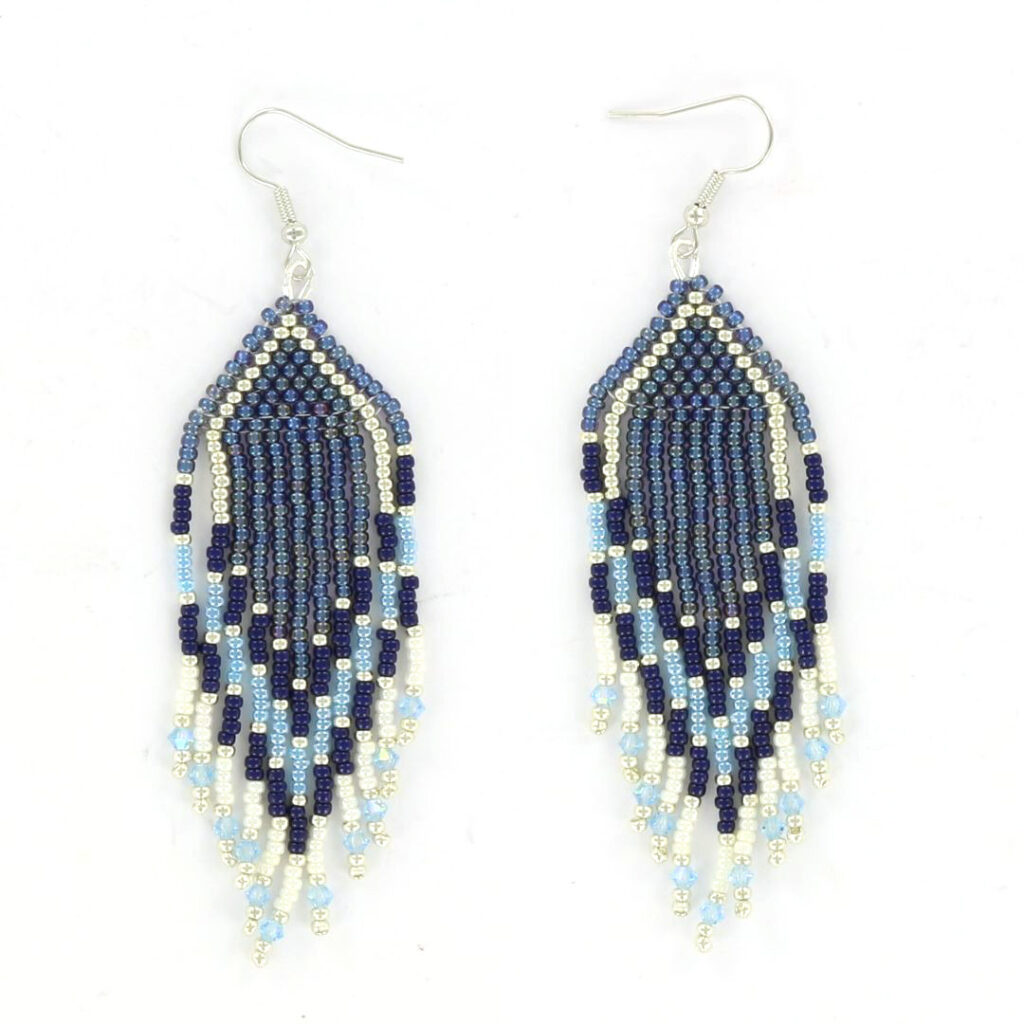
Fringe earrings are fun to make. It’s important to start with a good, clear pattern and, of course, which beads you’ll use. To draw your own pattern, you can find blank fringe earring patterns on Pinterest, for example, that you can color yourself. There are also countless ready-made patterns available for inspiration. For these earrings, we used Miyuki seed beads 11/0 and drew our own pattern.
Needed supplies:
- Miyuki beading thread color white (number 1 or 2) or silver (number 3)
- Needle
- Wire protectors
- Earhooks
- Miyuki seed beads 11-591 (ceylon ivory pearl)
- Miyuki seed beads 11-537 (ceylon blue)
- Miyuki seed beads 11-3539 (fandy lined tidal)
- Miyuki seed beads 11-4494 (duracoat opaque dyes dark navy blue)
- Miyuki seed beads 11-1051 (galvanized silver)
- Preciosa bicone 3mm aquamarina ab (22 pieces)
Instructions:
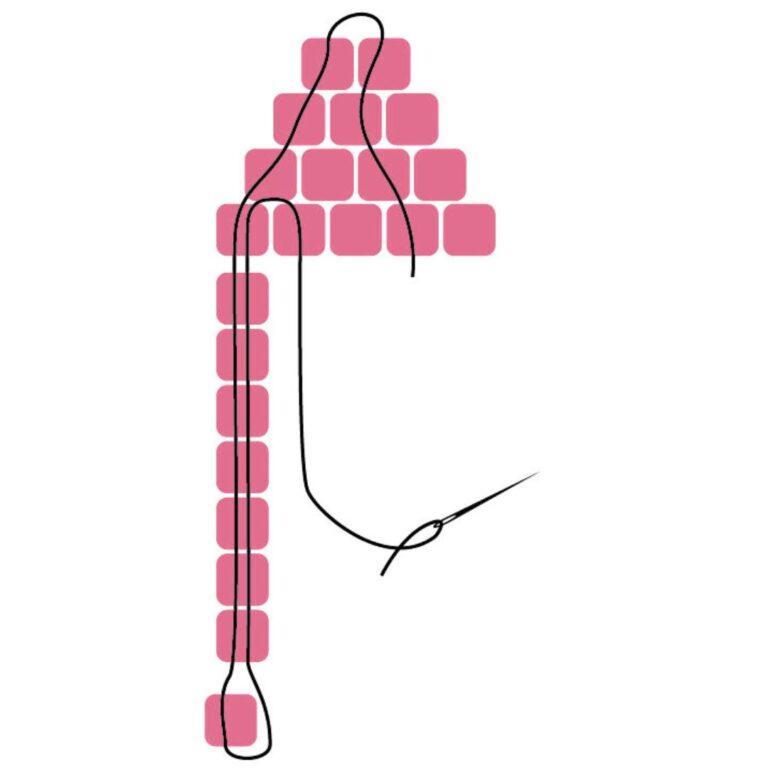
Take a piece of thread about 1.5 meters long. This will be enough for the entire earring, including the fringe. If this is too much for you, half the length is fine, and you can use a new thread for the fringe. Start with a ladder stitch to create the base for the brick stitch triangle (top of the earring) where you’ll essentially hang the fringe.
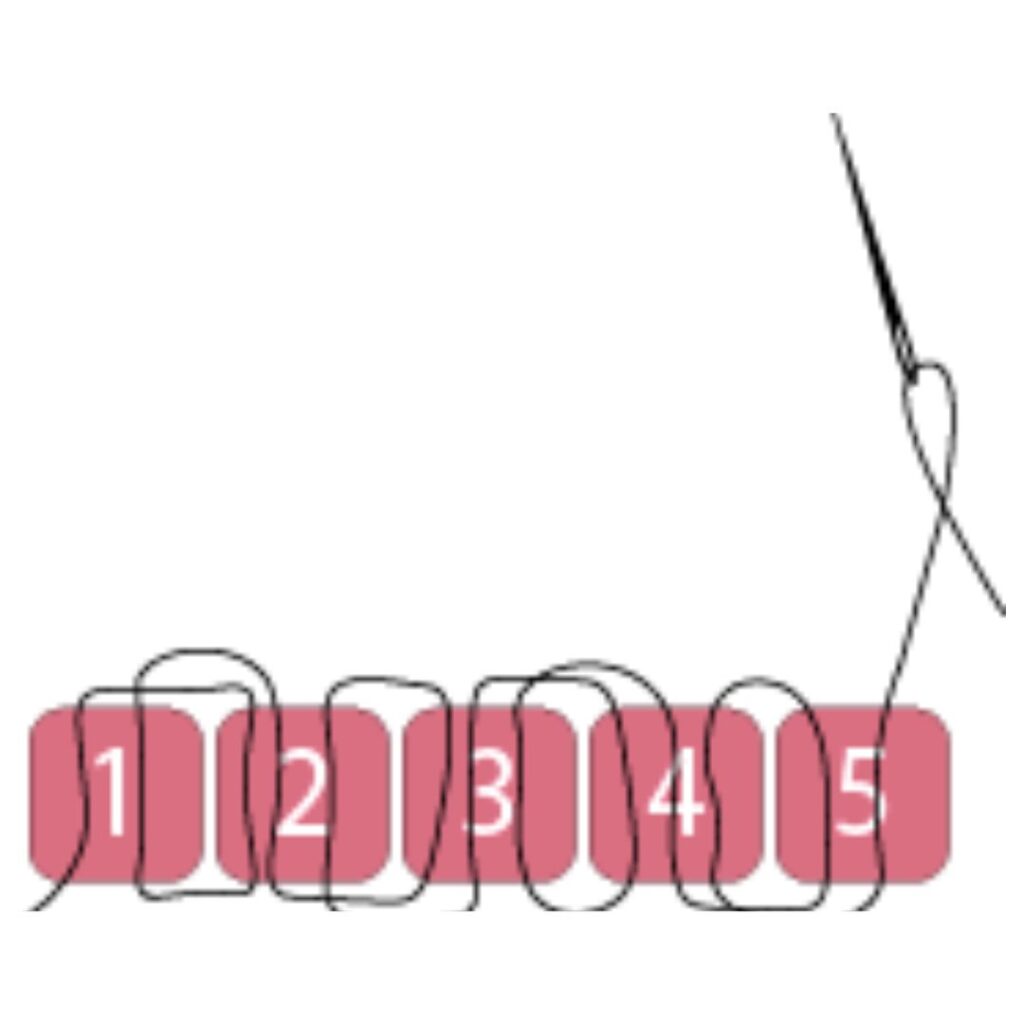

This is the bottom row of the triangle for the ladder stitch.
Once the ladder stitch is finished, you can continue with the brick stitch technique until your pattern is finished.
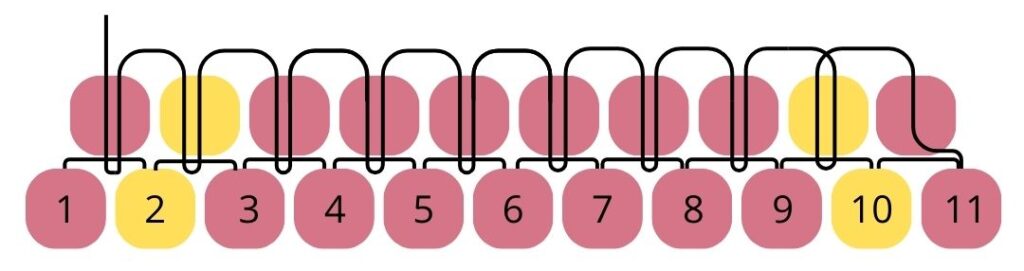
Brick stitch technique. After 11 beads using ladder stitch, we begin with brick stitch from right to left.

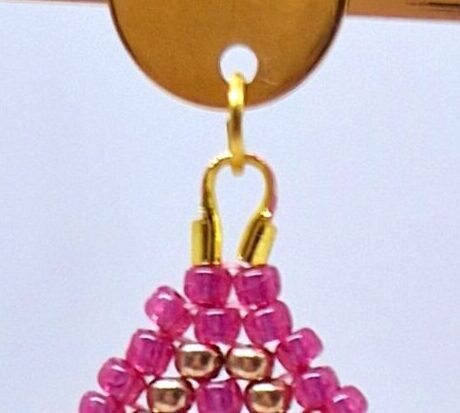
You end up with 2 beads on top to which you can attach a wire protector.
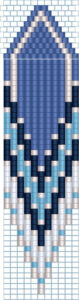
The top is now finished, and we can continue with the fringes. You can thread the thread all the way from top to bottom, or you can start with a new thread, which is also an option. Pay close attention to your pattern and count carefully, as each fringe has a different number to create a beautiful pattern and height variation. String the beads as shown in the following image. You don’t need to tie them together; simply continue threading them through the next bead. Be careful not to pull them too tight, but definitely not too loose either.
The pattern:
Once your fringes are finished, you can attach a stud of your choice.
You can make the fringe earrings as large or as small as you like.
Despite their appearance, they’re very comfortable to wear because they’re so light.
We wish you lots of beading and wearing fun!
TIPS, TRICKS AND VARIATION:
- You can string these kinds of earrings with seed beads or with delica beads. Delica beads are a bit easier because you can pull them tightly together.
- For many techniques, it doesn’t matter whether you use fireline or beading thread, but for this technique, we definitely recommend basting with beading thread. Especially with the fringes, it’s important to use beading thread so the fringes hang down nicely. You can stretch the beading thread a bit before you start beading. Also, be careful not to pull the fringes too tight to ensure a smooth drape.
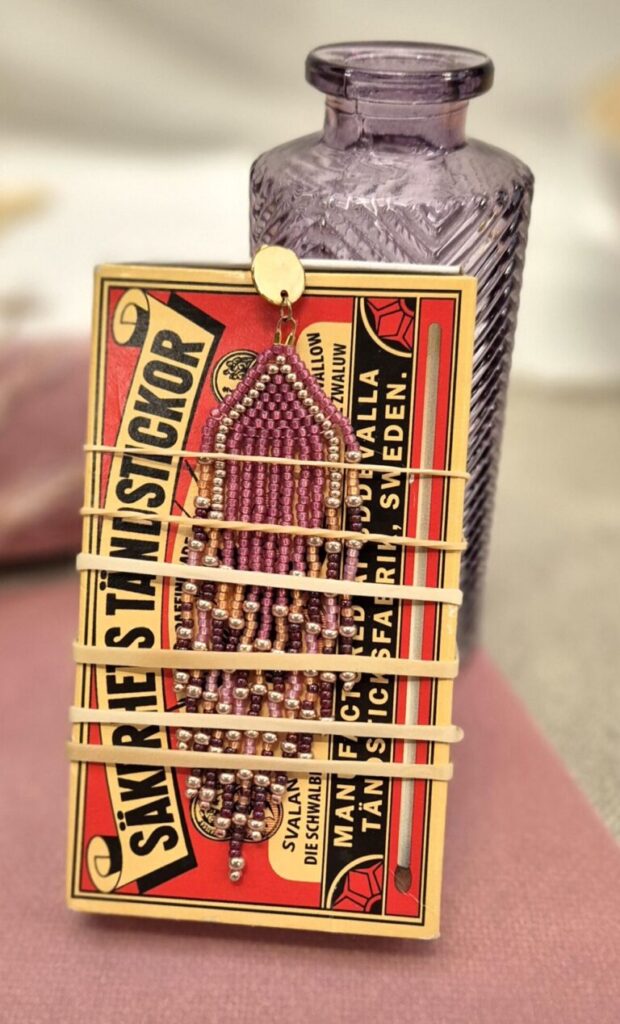
- Are you having trouble getting the fringe to hang straight down, and have you tried not pulling it too tight? You could try stringing a slightly heavier bead onto the fringe last, so the weight helps it hang straighter. You could also stretch the fringe for a day using elastic bands and something you can securely wrap the elastic around to keep the earring flat. If you leave it like this for a day, the thread will stretch properly, and the earring will hang more smoothly.