
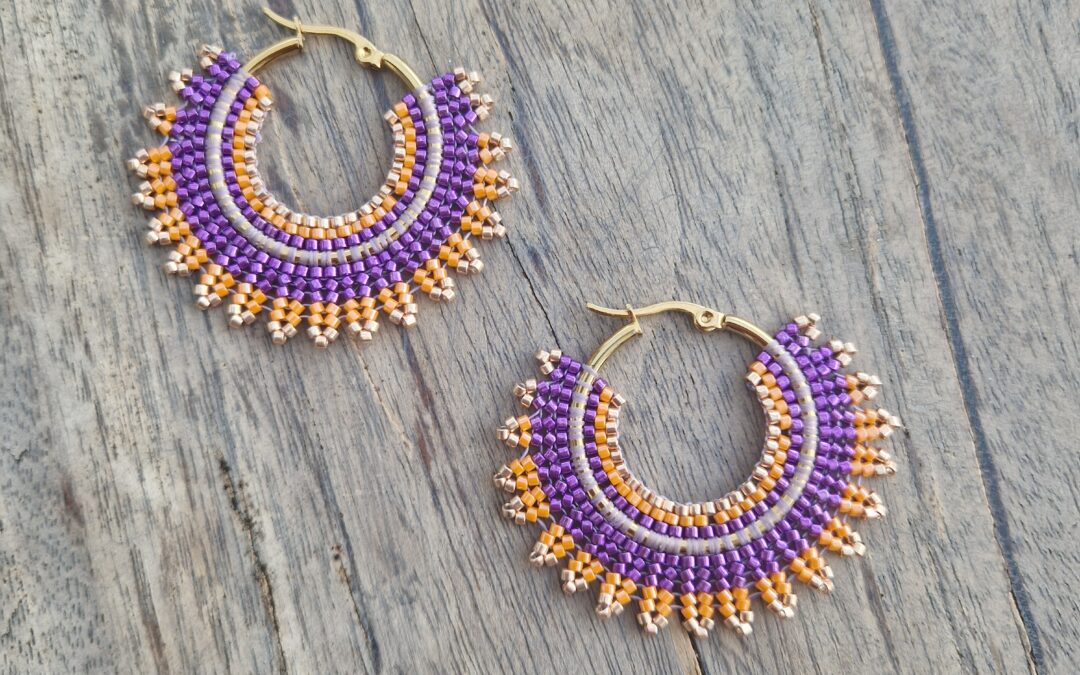
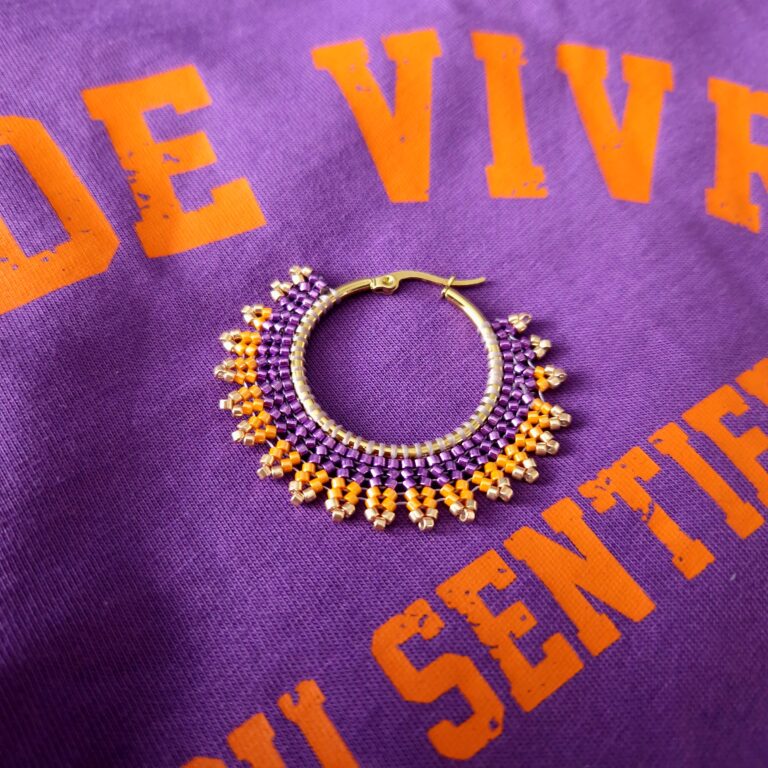
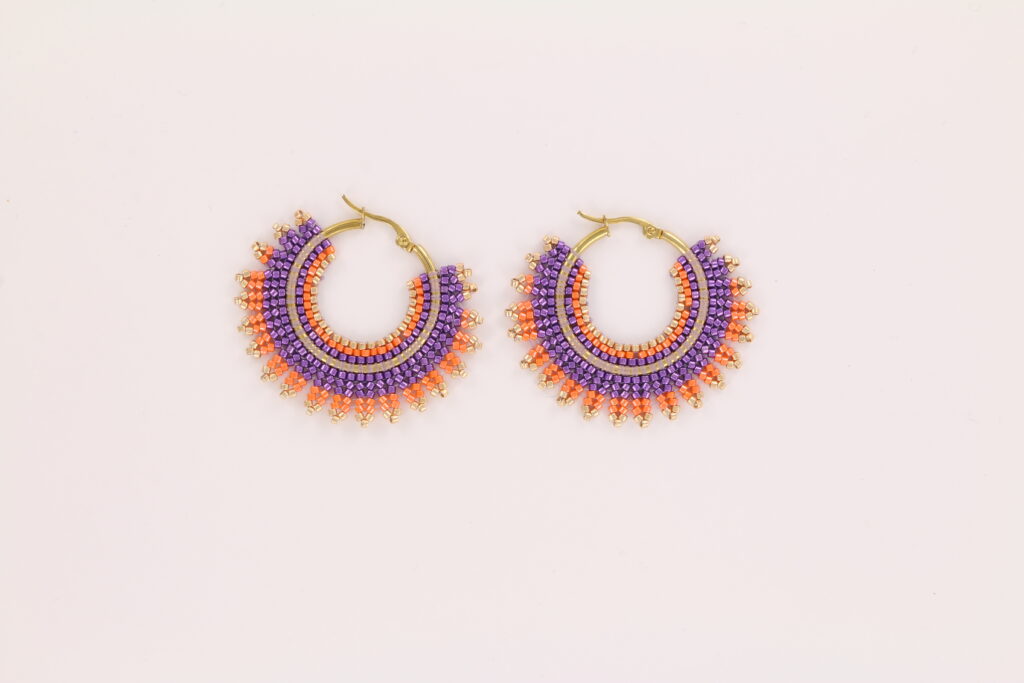
This might sound familiar! You have bought a new piece of clothing and now a matching piece of jewelry needs to be made for it! I also wanted to try out the herringbone beading technique for a while now, so when I purchased this t-shirt it was the perfect opportunity to get started!
What do you need:
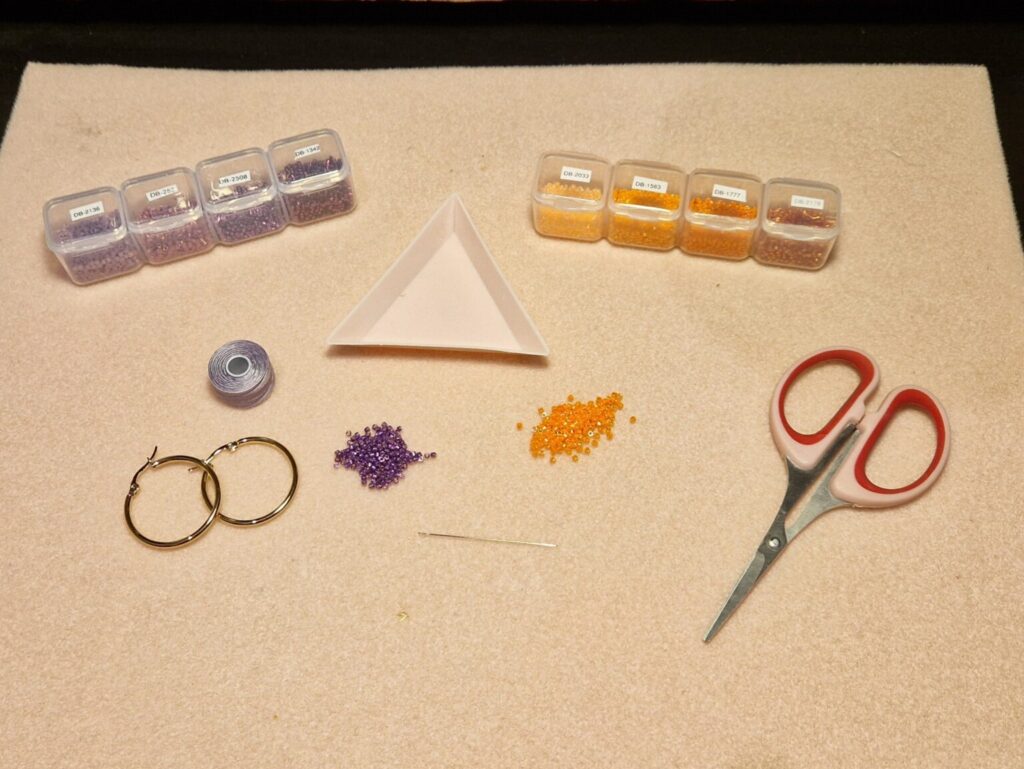
– Miyuki delica 11/0 beads (In this example I chose orange and purple);
– Miyuki beading thread;
– Hard beading needle;
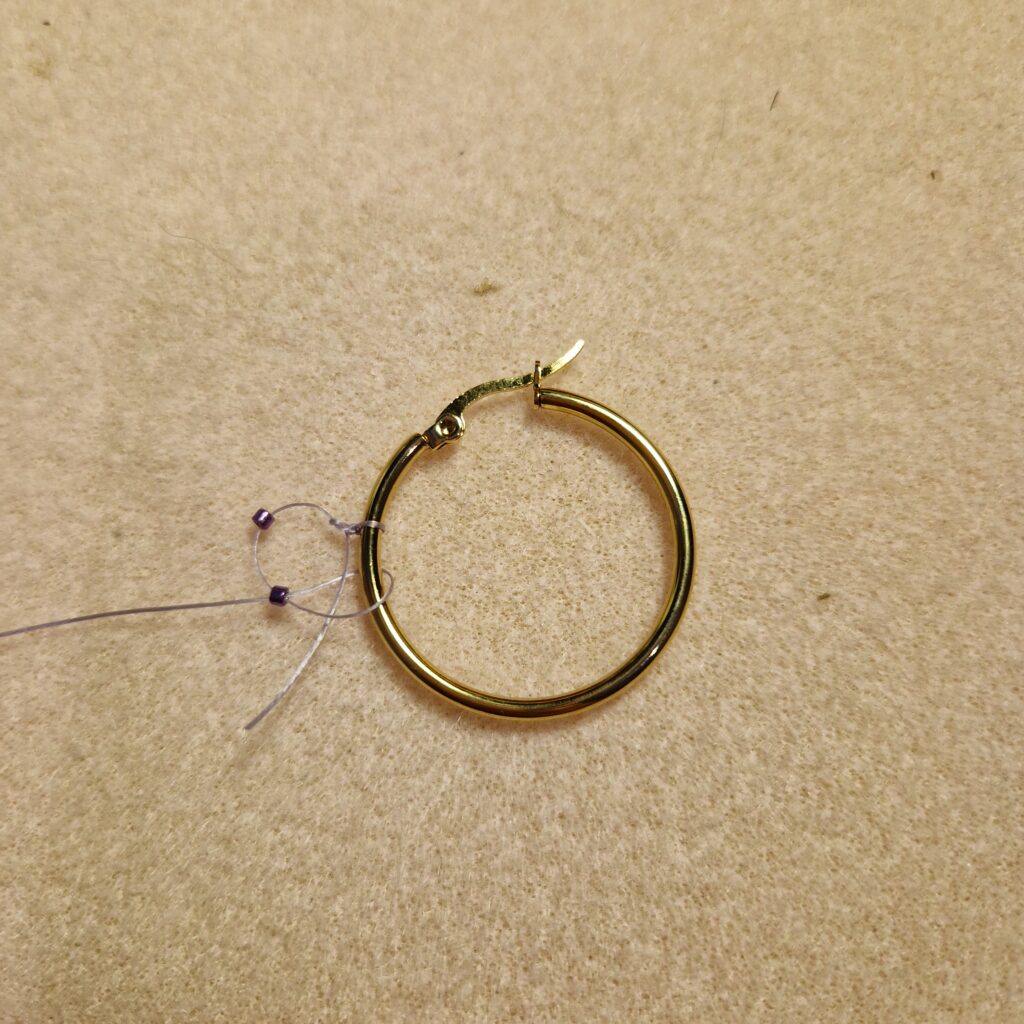
– Round hoop earrings;
– Pair of scissors;
and possibly a stringing mat and beading tray (triangle).
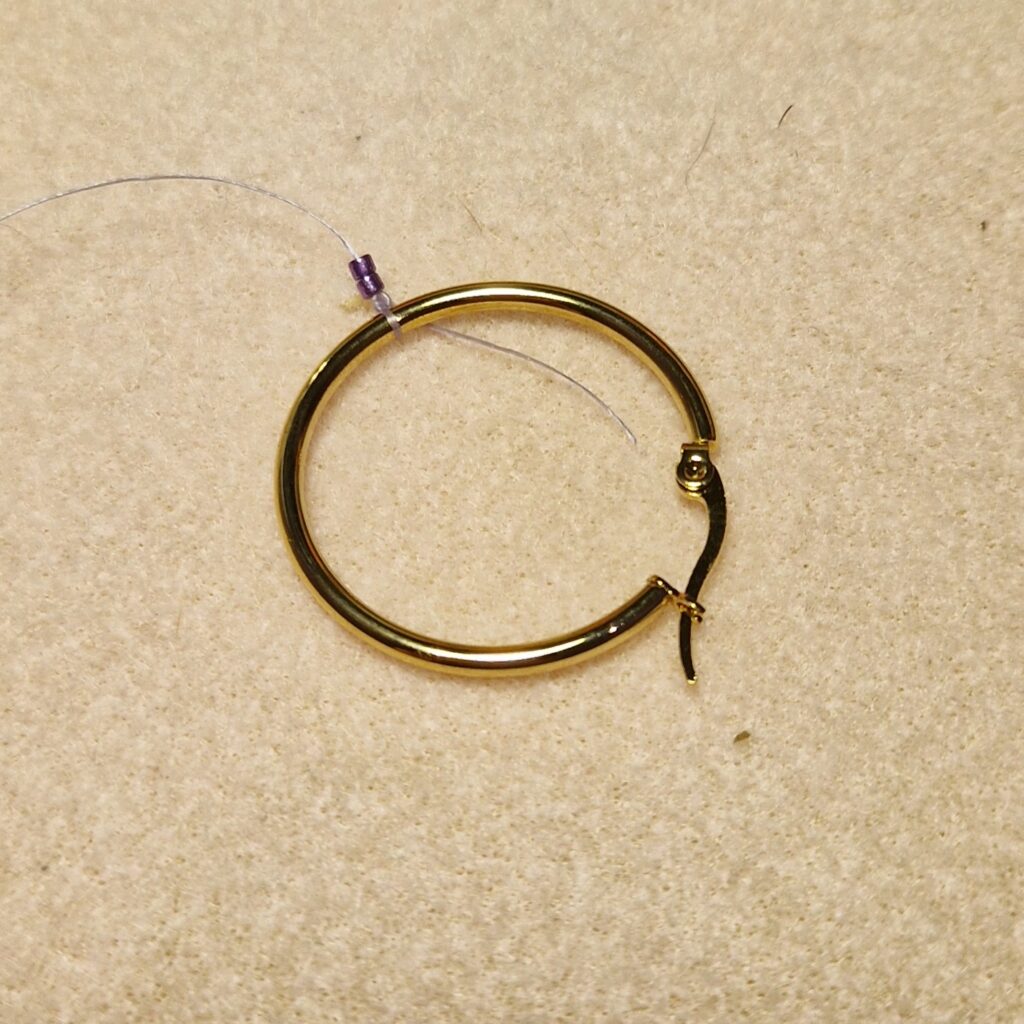
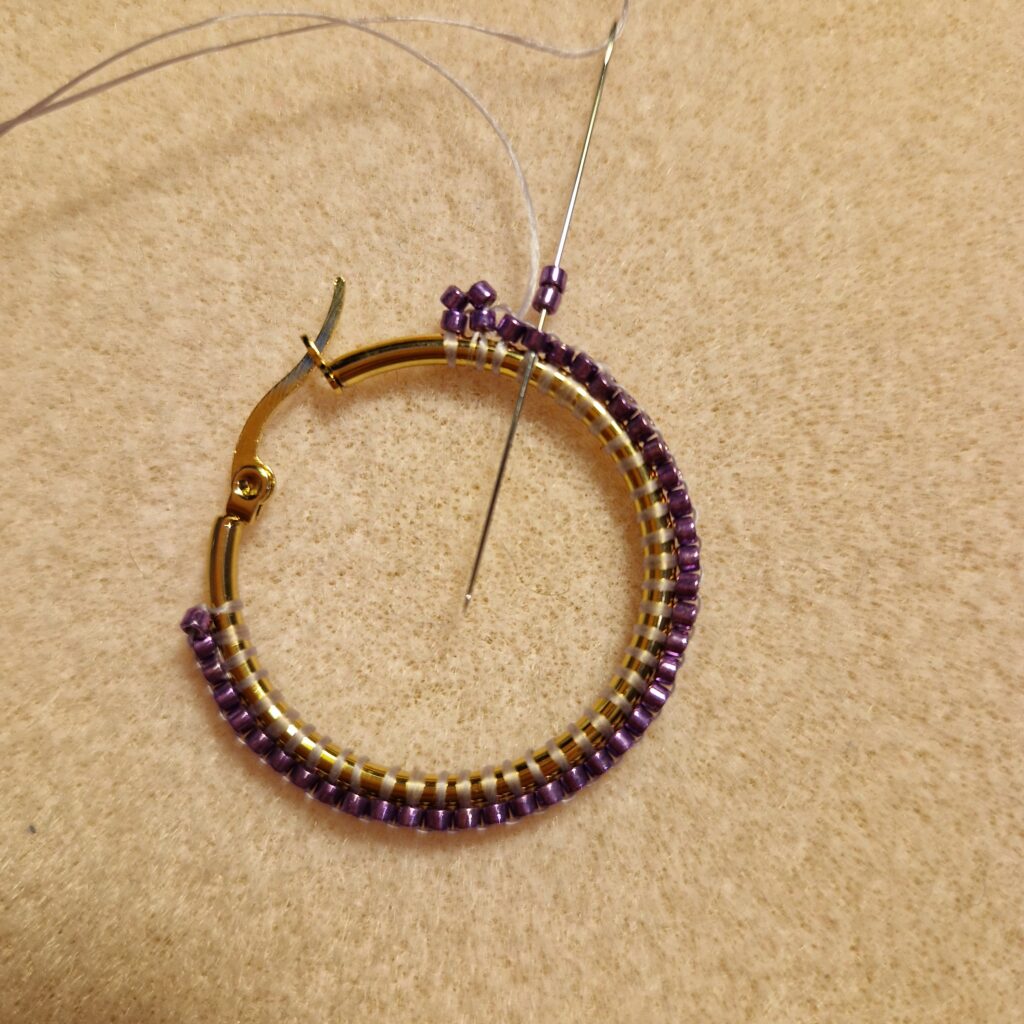
1. Start in the first row with the brick stitch technique. Take about 1 to 1.5 m of thread, whatever works best for you. Tie the thread to the hoop and make sure you leave about 15cm on the short side so that you can hide this later. String 2 delicas. Pass the needle through the center of the hoop and thread back through the 2nd bead from the bottom up. This is your beginning.
2. Now thread 1 bead and insert the needle through the center of the hoop earring again and then through the delica from the bottom up. Pull the thread carefully but firmly. Now you have a nice row of 3 beads. Continue to repeat this until the hoop is properly filled. Please note to always string an even number on the hoop because you will always string pairs of 2 beads with the herringbone technique.

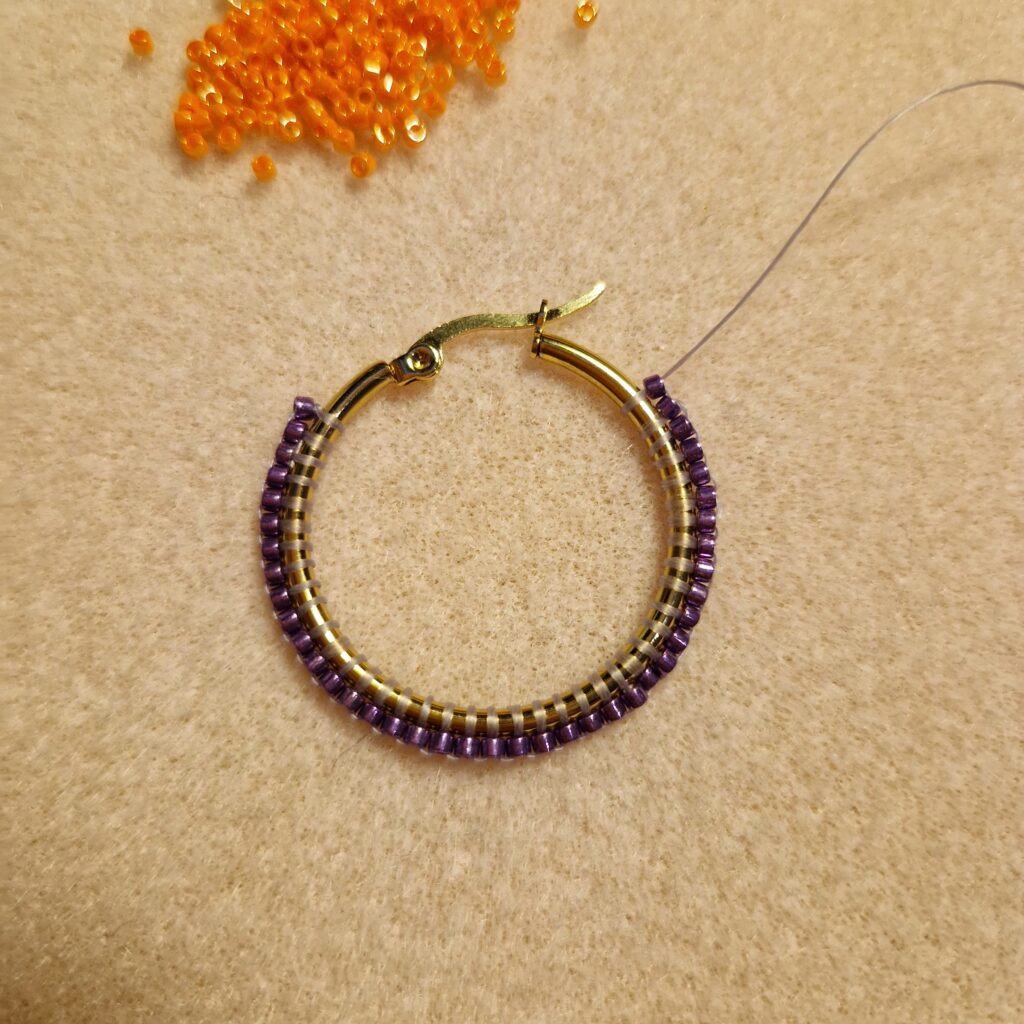
3. Now you start with the herringbone technique. String 2 beads and then thread down through the 2nd bead.
4. Now thread up through the 3rd bead.
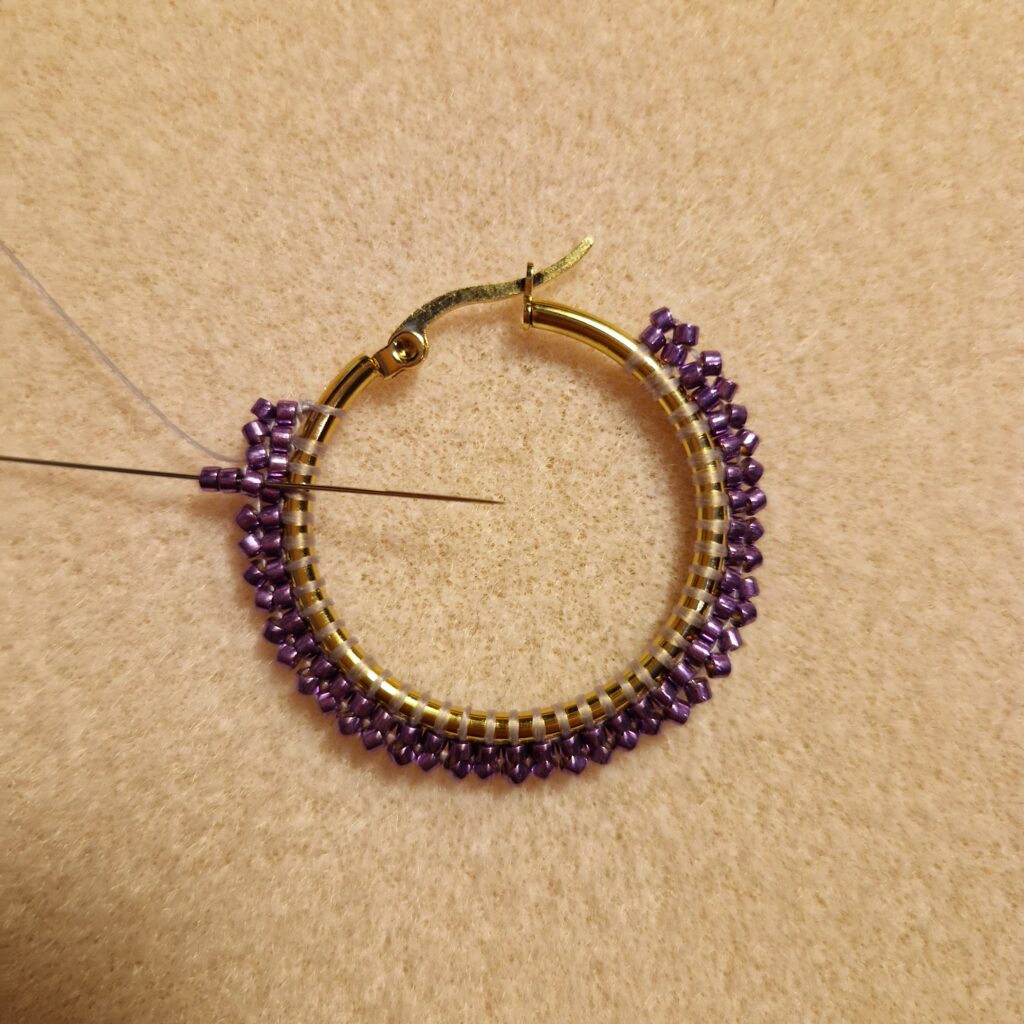
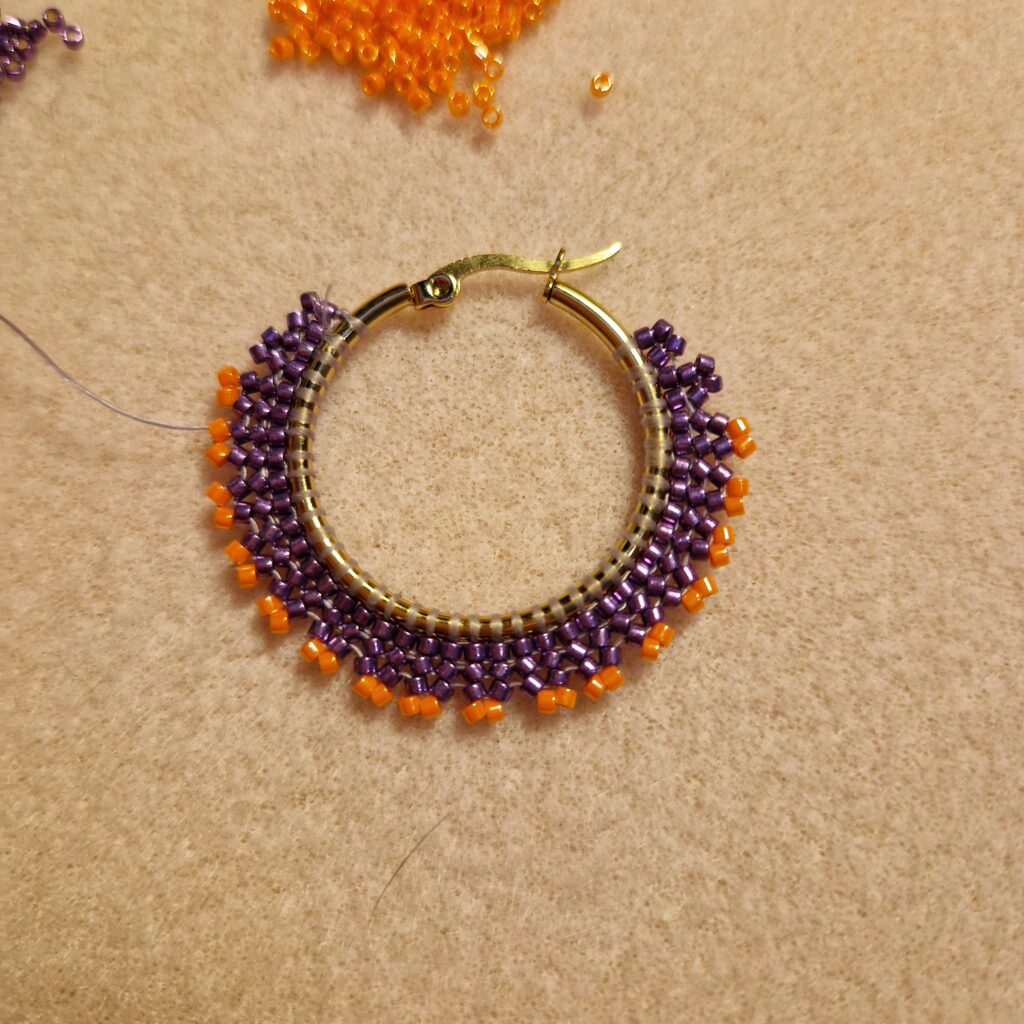
5. Then string 2 more beads and thread down through the 4th bead. Repeat until the first layer has a nice 2nd herringbone layer. The herringbone pattern is now already starting to become visible.

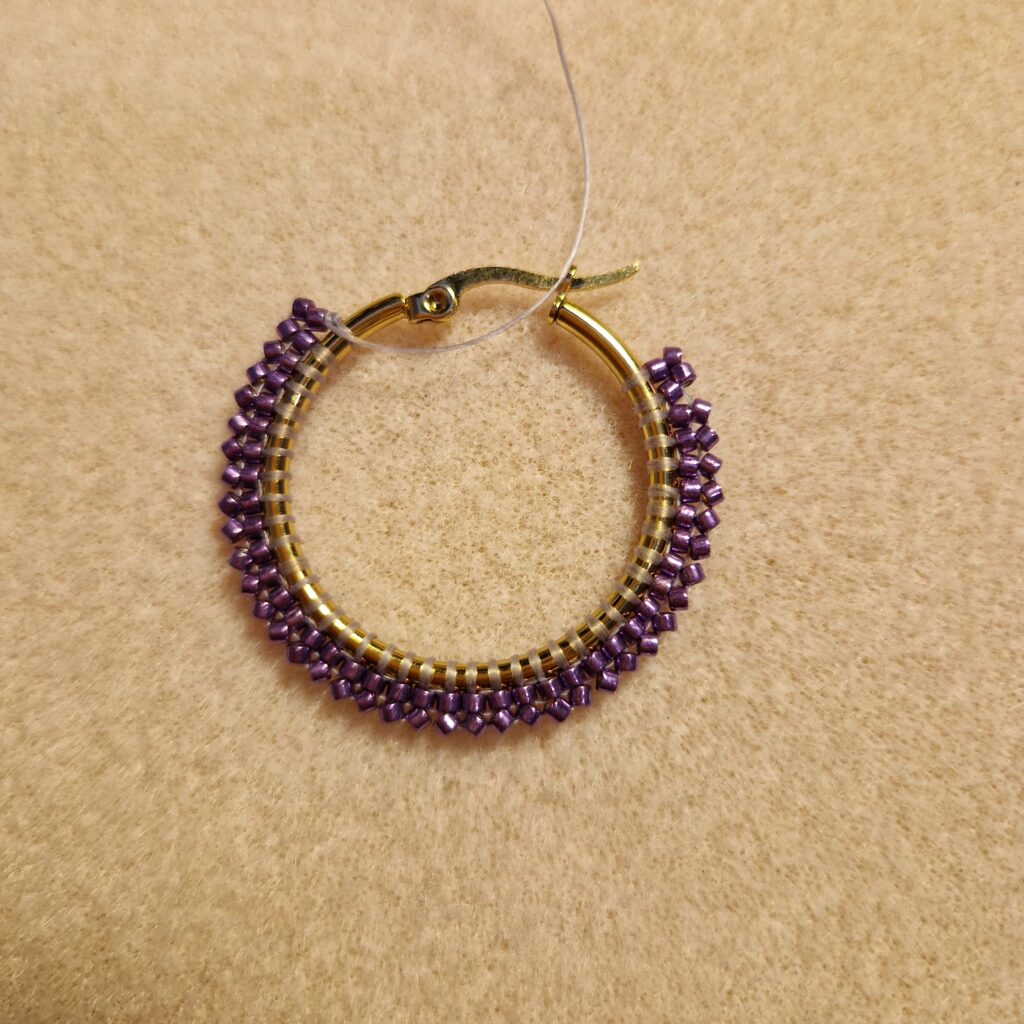
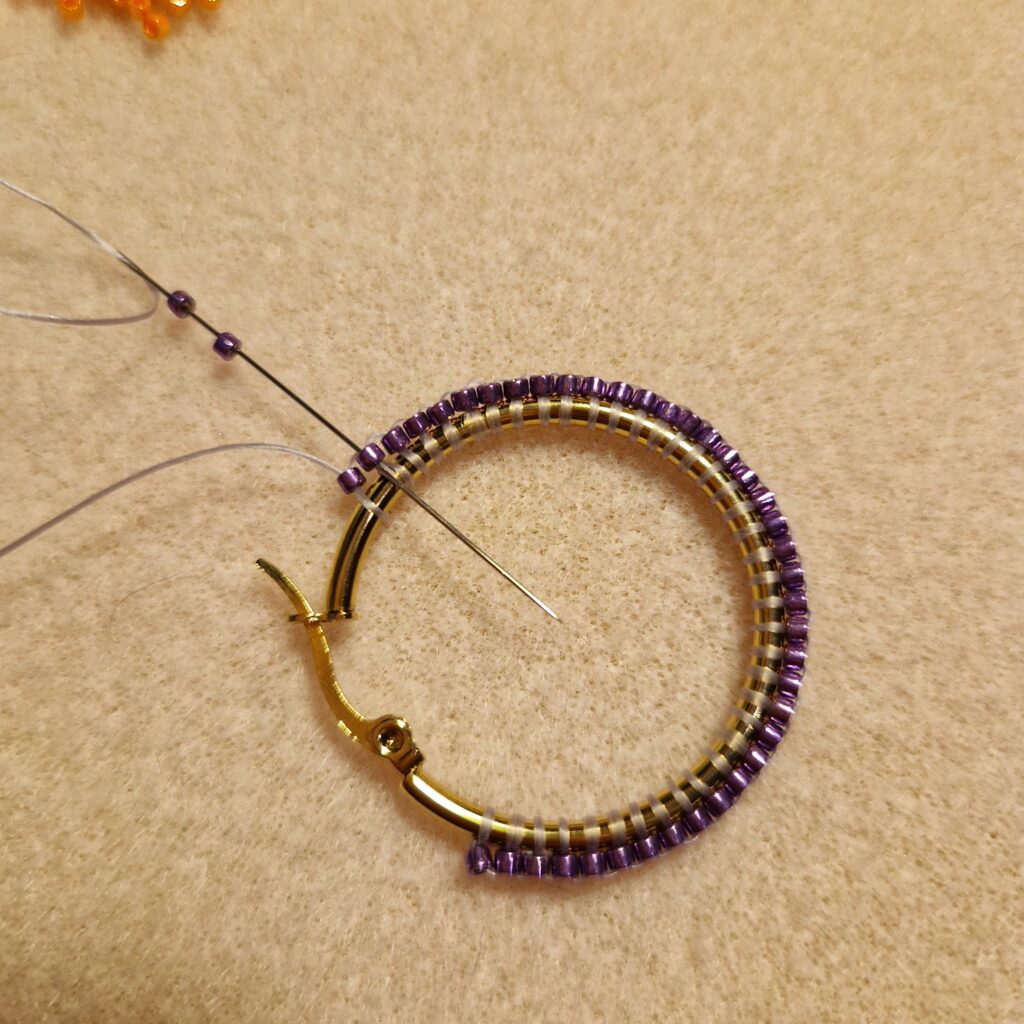
6. Because we want to make a nice transition with decreasing beads on the side of the earring we are now going to skip the first 2 beads. It is not a problem to cross diagonally with the needle because the thread will be invisible between the beads.
7. Thread another layer of herringbone, but stop before the last 2 beads.
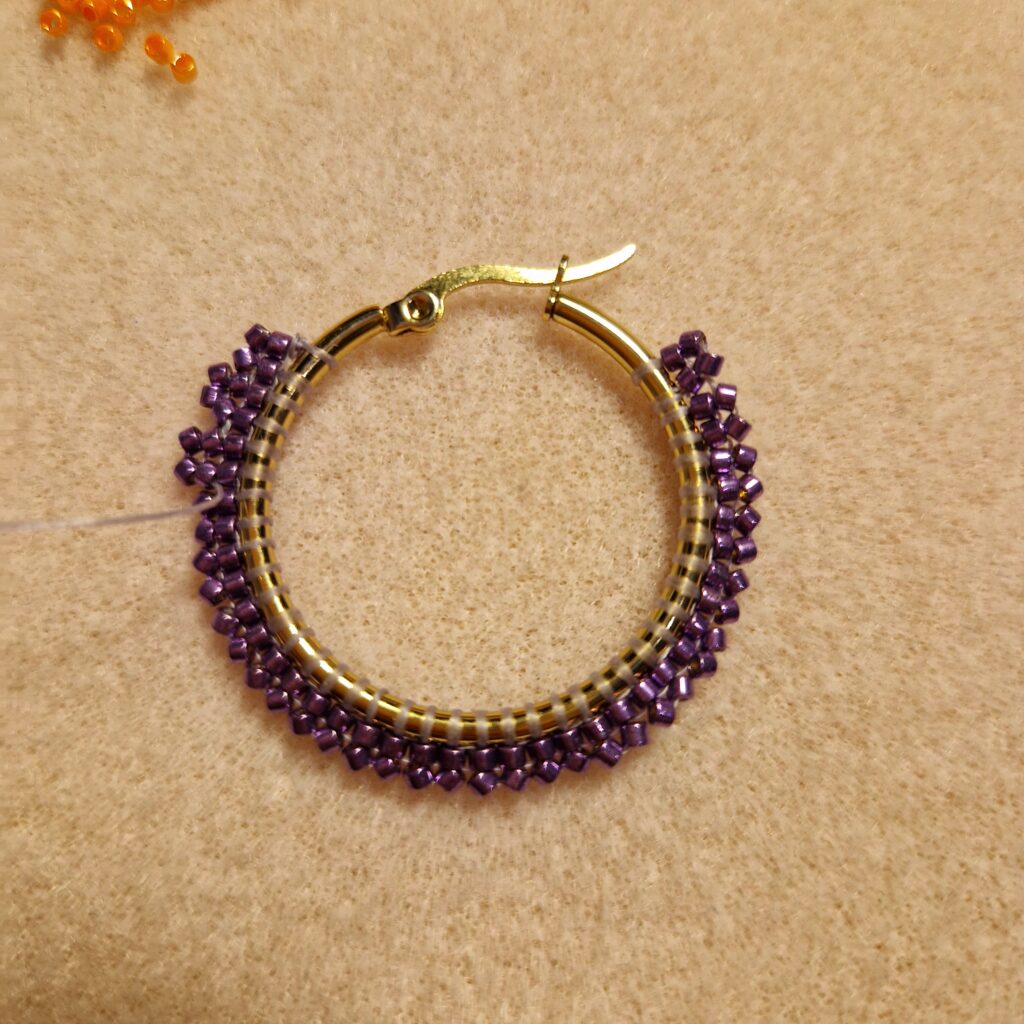

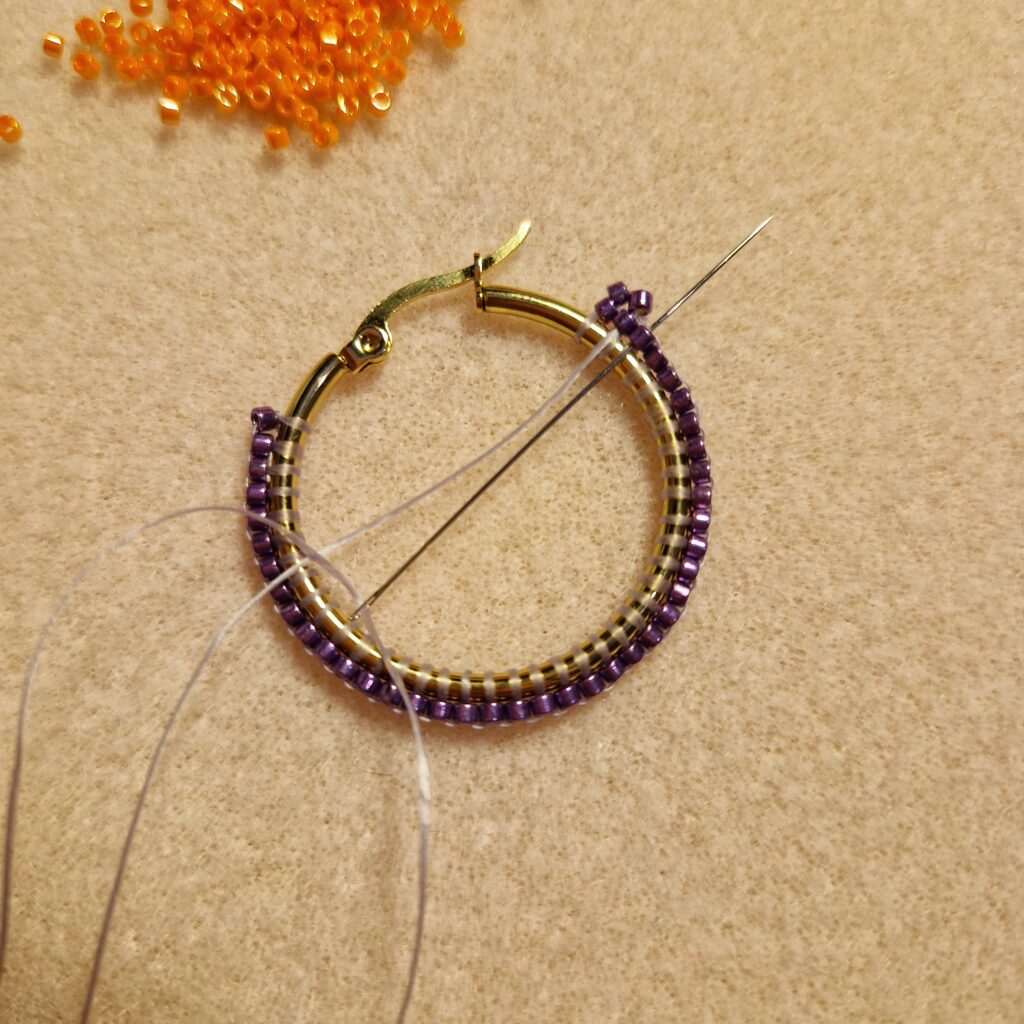
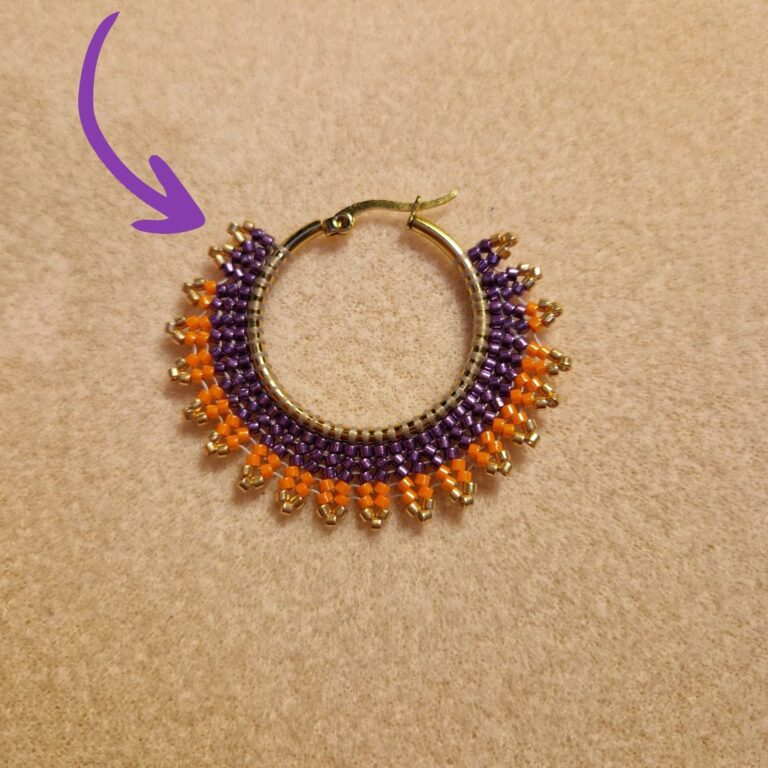
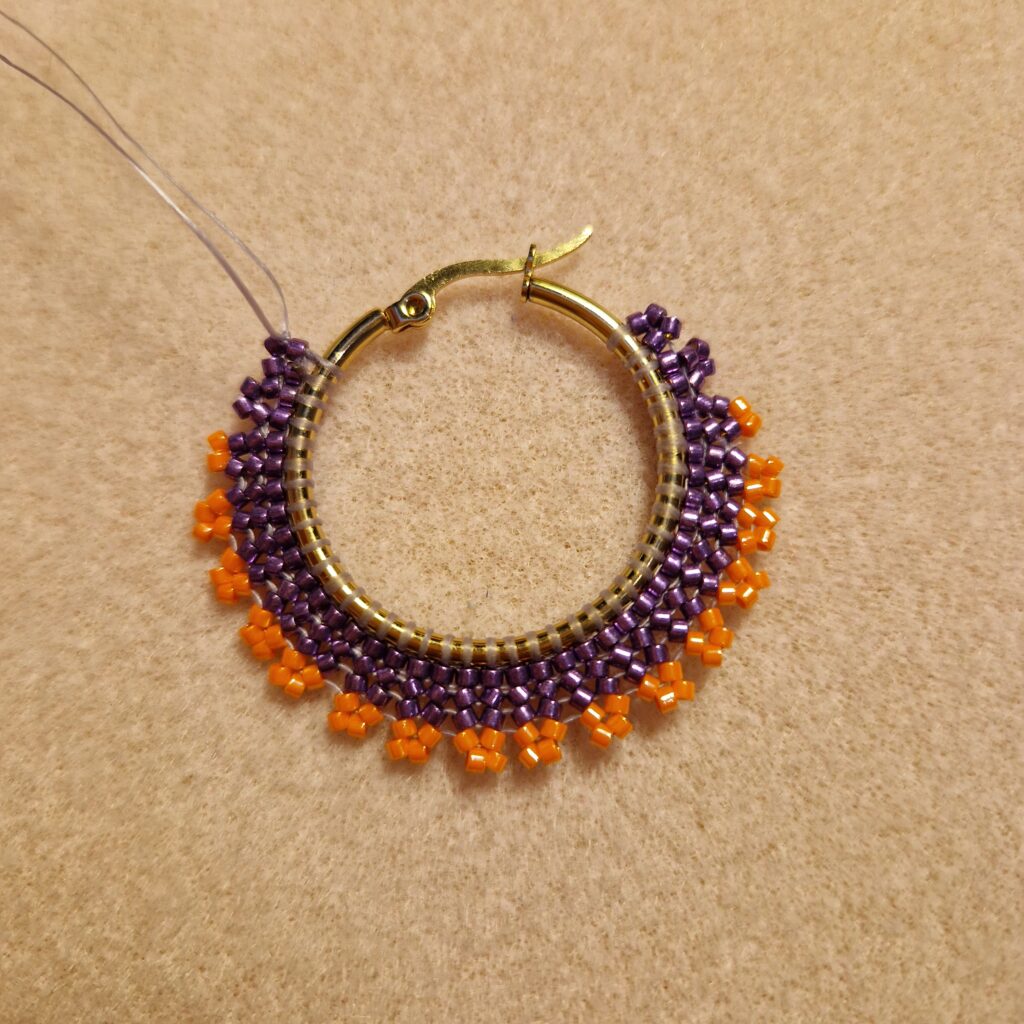
8. After 1 layer of brick stitch and then 2 layers of herringbone, I decided to continue with a 2nd color. Continue threading like the previous 2 layers of herringbone and stop 2 beads earlier for the stepped effect.
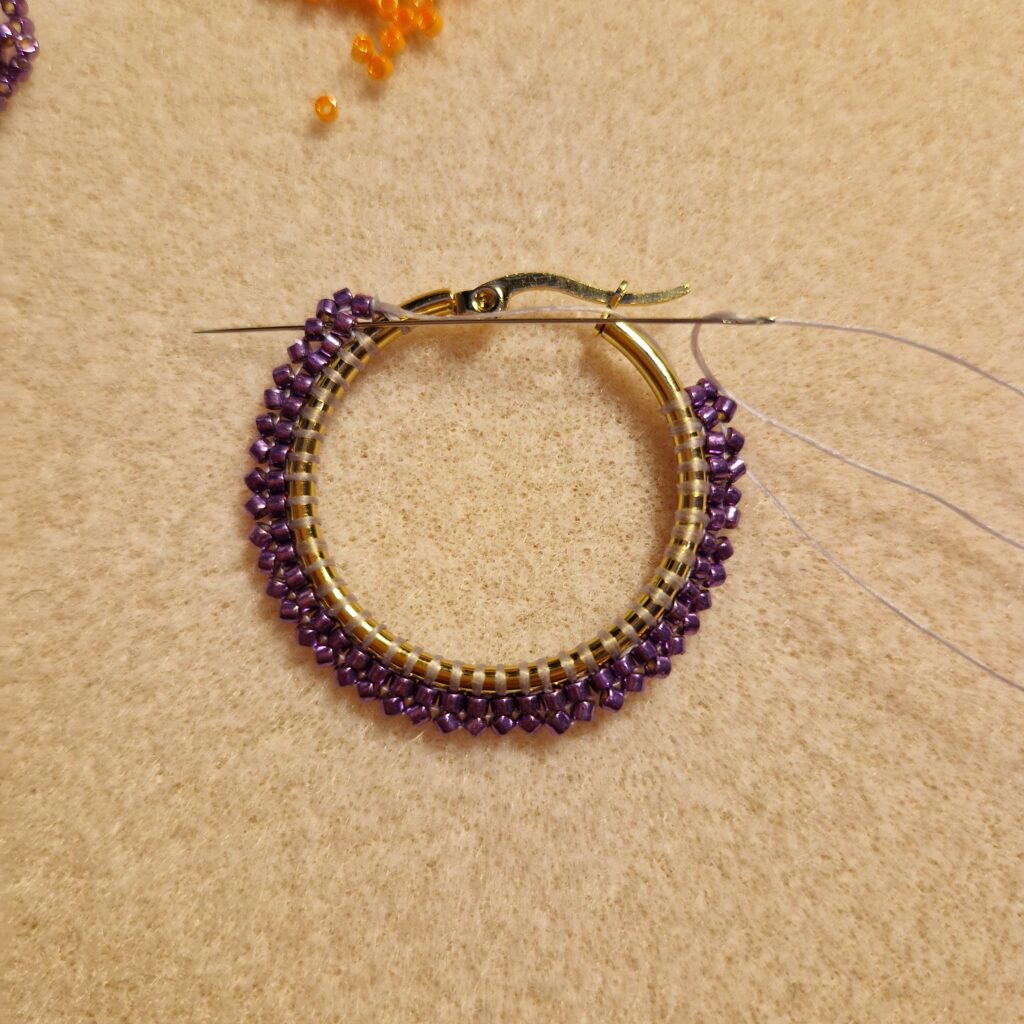
9. Keep repeating this until you reach the desired size. I chose to string the last layer with gold beads. In this last layer you always string with 3 beads instead of 2.
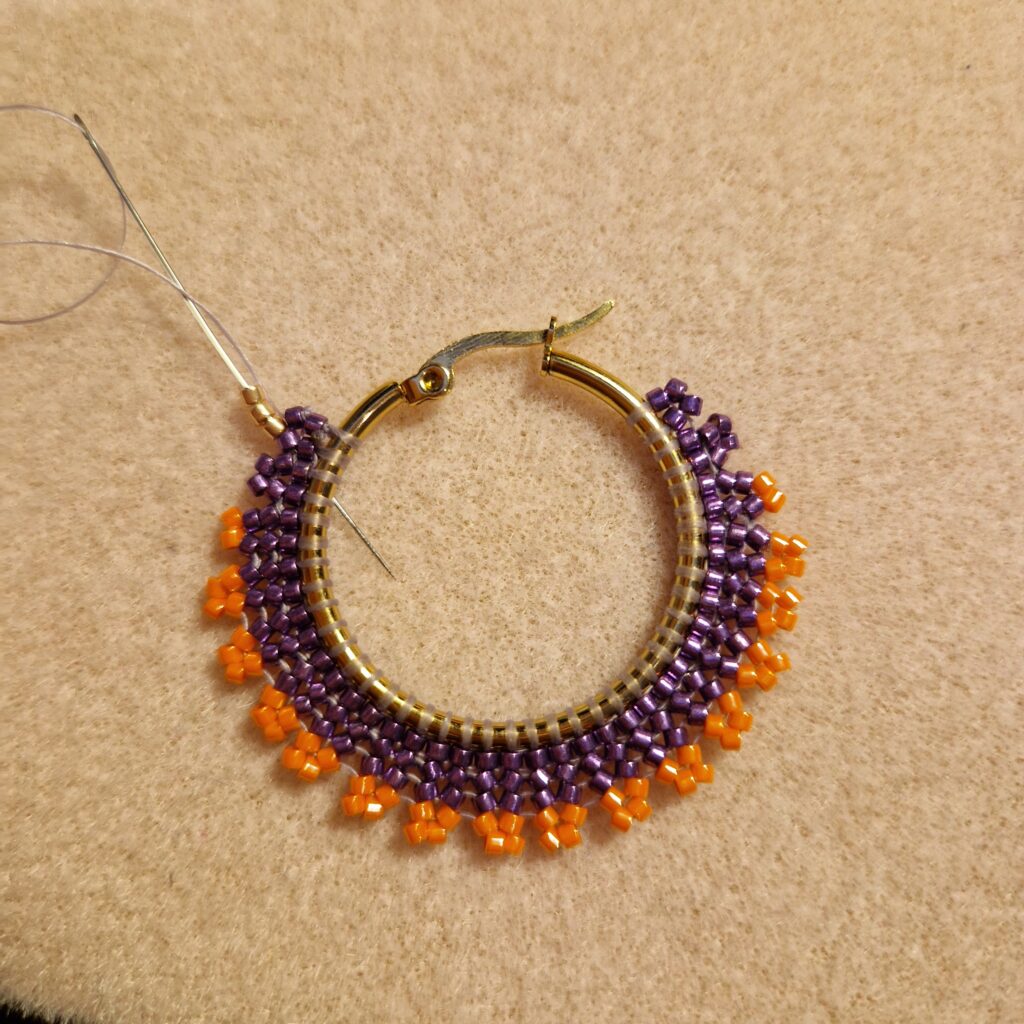
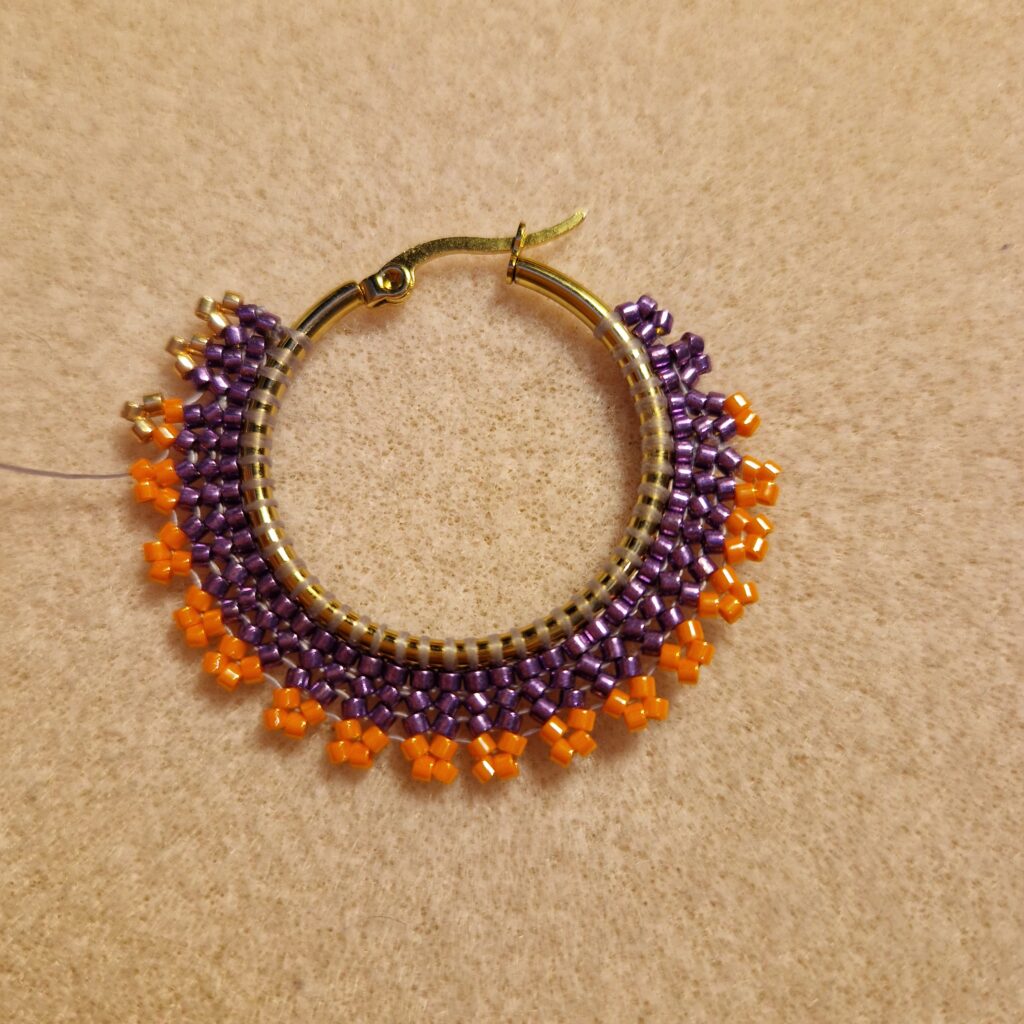
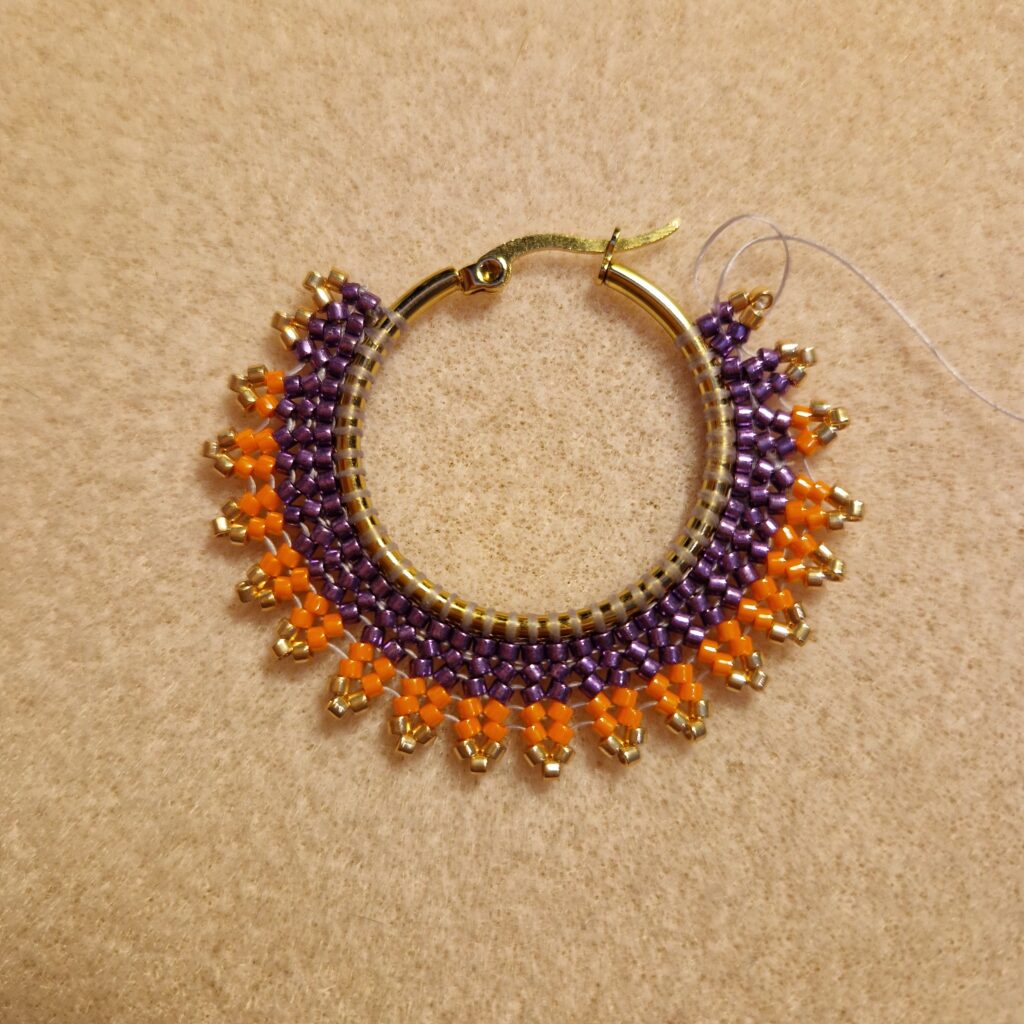
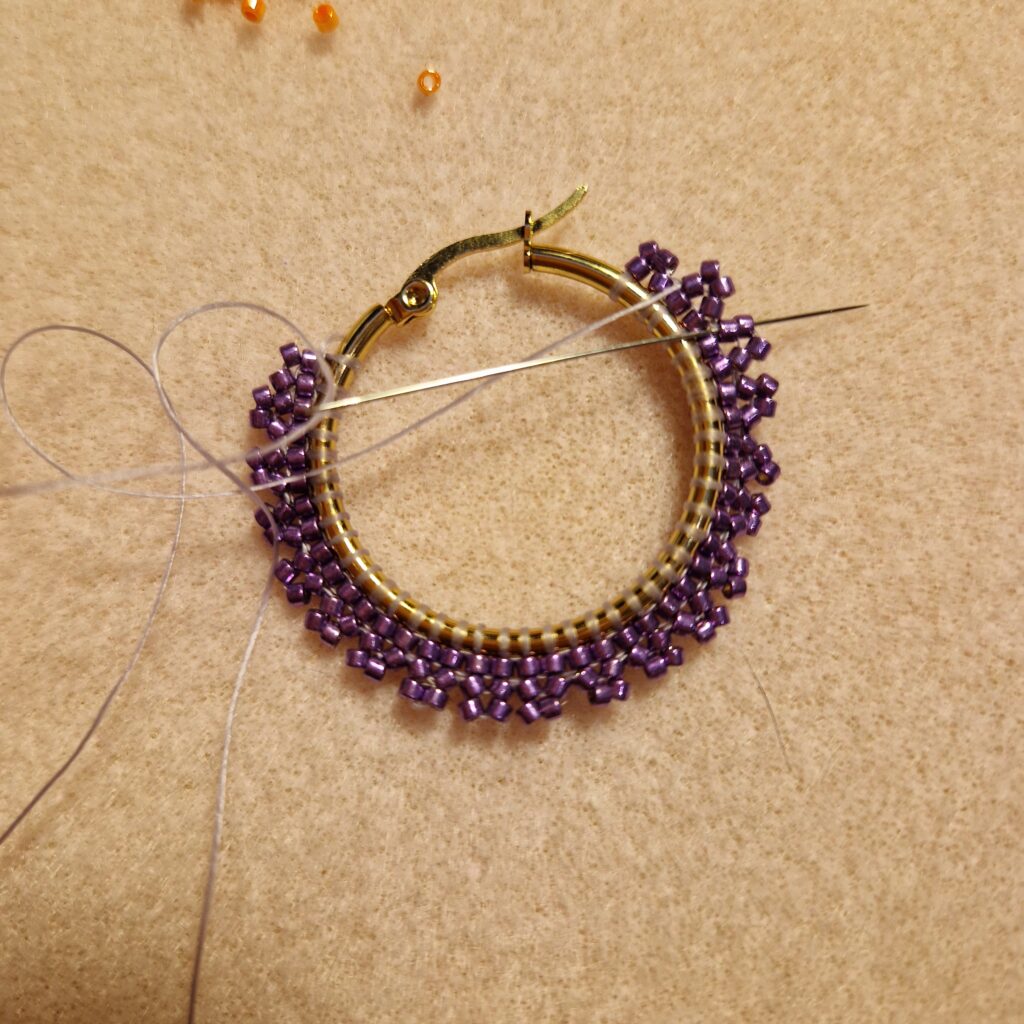
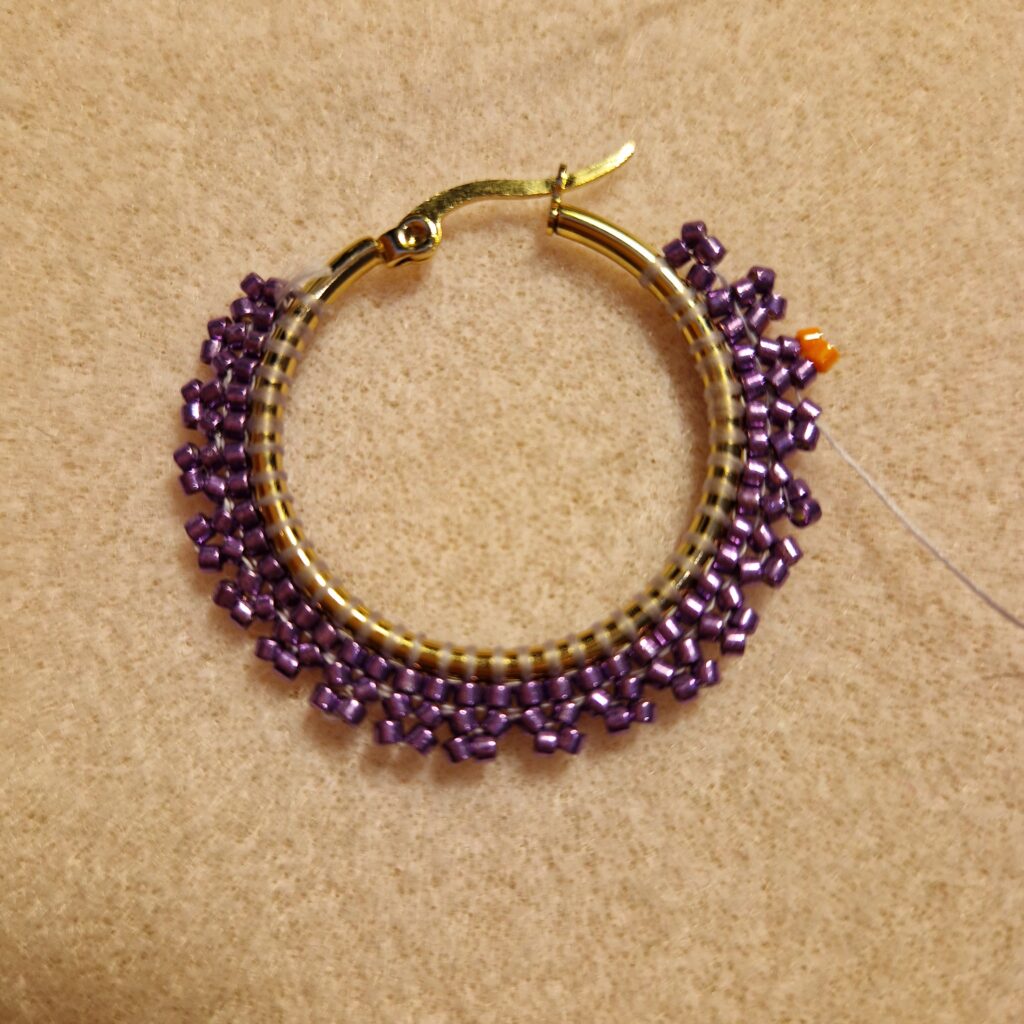
10. Tie the thread securely and, if necessary, weave the end of the thread through your work to secure your knot. Now the earring is ready!
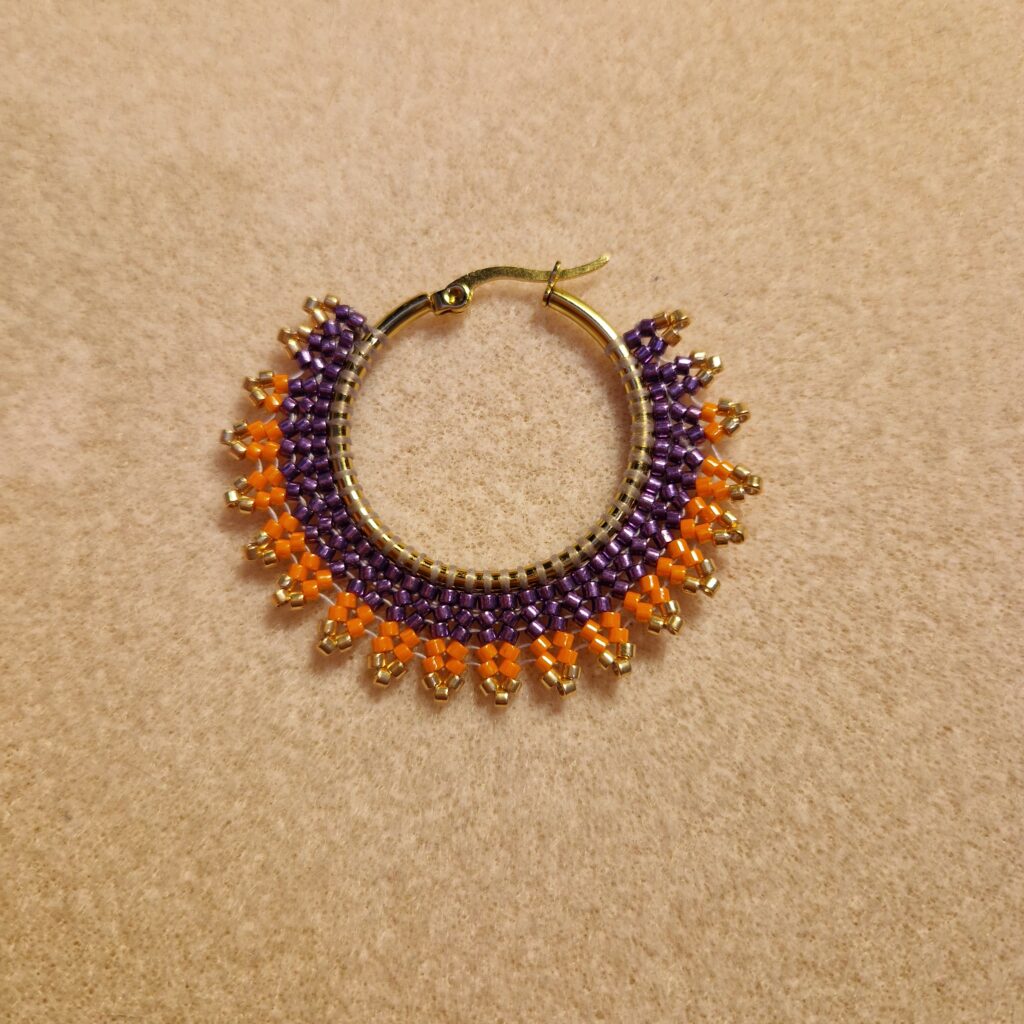
Extra option: If you prefer the earrings to be a little fuller, you can thread a few more rows on the inside using the brick stitch technique.
What size hoop did you use for these earrings?
Hello DNS, We used 3 cm hoops.
I also LOVE this style of hoops. What may I search online to purchase this style of hoop finding? Thank you!
Respectfully,
DNS
Hello DNS, if you google earring hoops you will get a lot of results.