
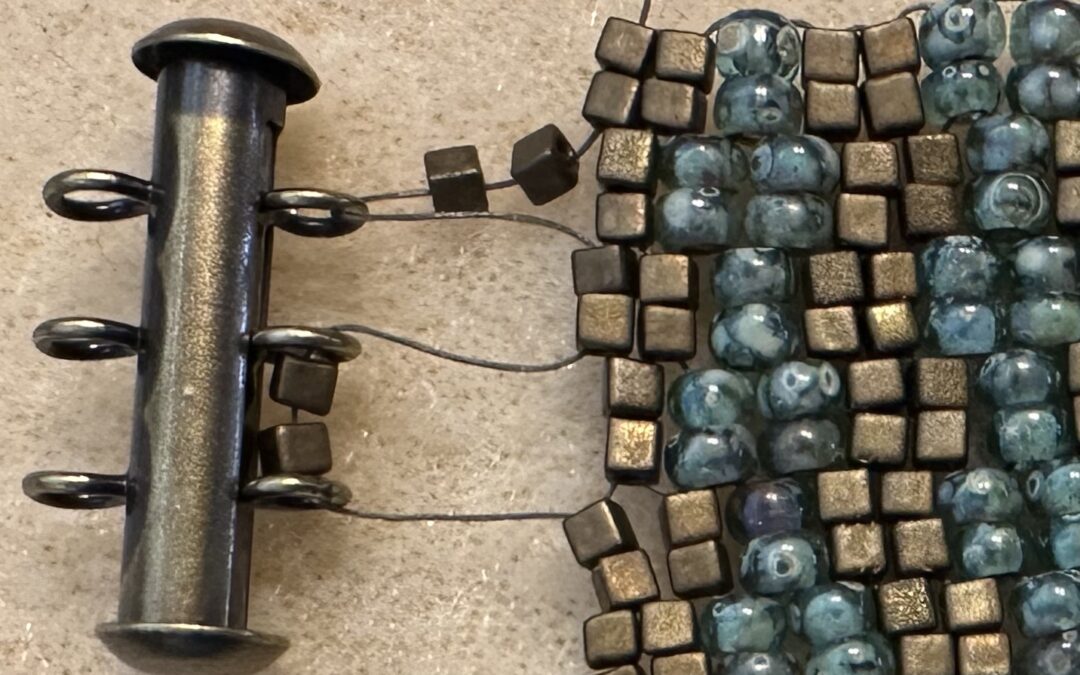
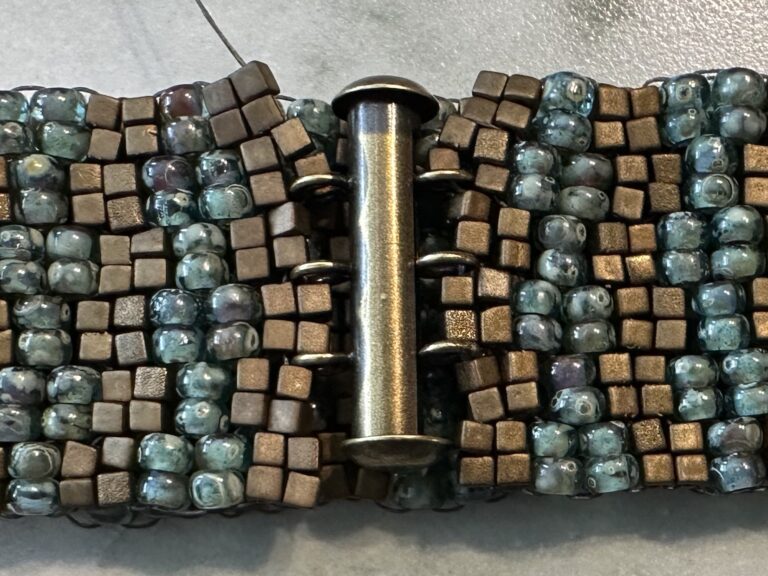
In this blog post, we’ll explain how to incorporate a mortise clasp with vertical loops into your beadwork. This example uses 1.8mm Miyuki cubes, but other beads can also be attached this way, as long as the clasp fits neatly onto your beadwork.
For this example, I first considered where the loops would fit neatly onto the bracelet. I chose to attach the clasp at the same time as the final peyote stitches.
Instructions:
Step 1)
First string a few beads so that you end up where you want to start attaching the clasp.
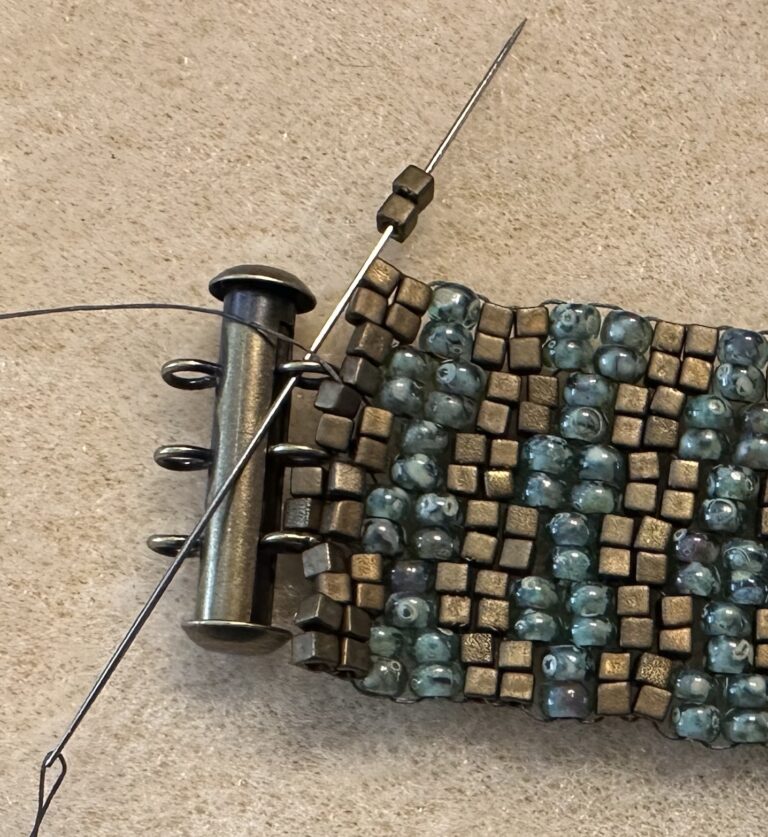
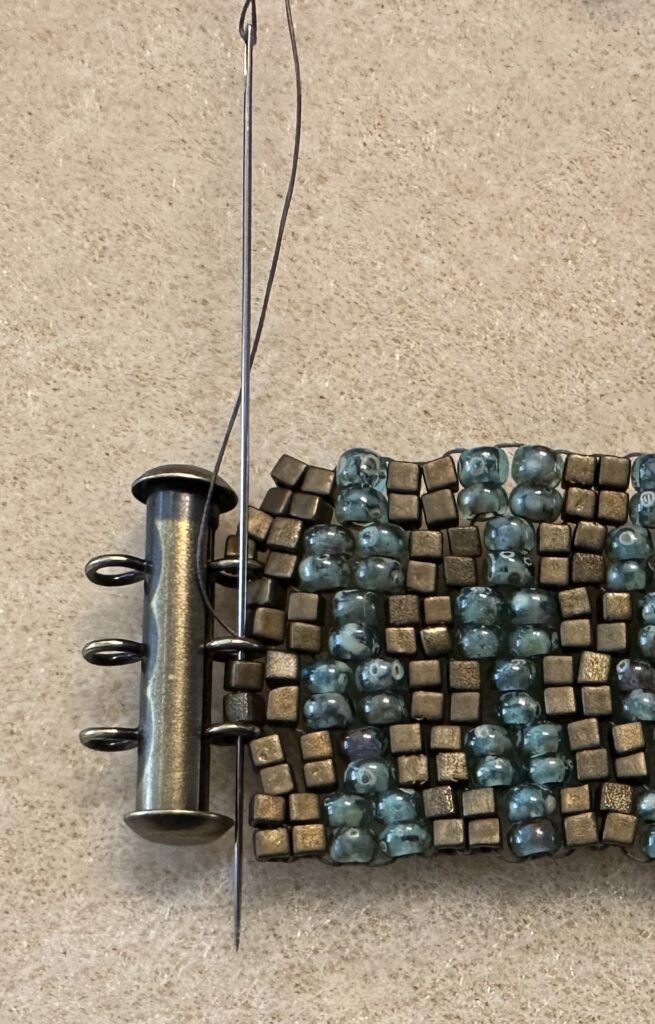
Step 2)
Insert the needle through the eye and string the beads. Then, thread the needle through the next beads.
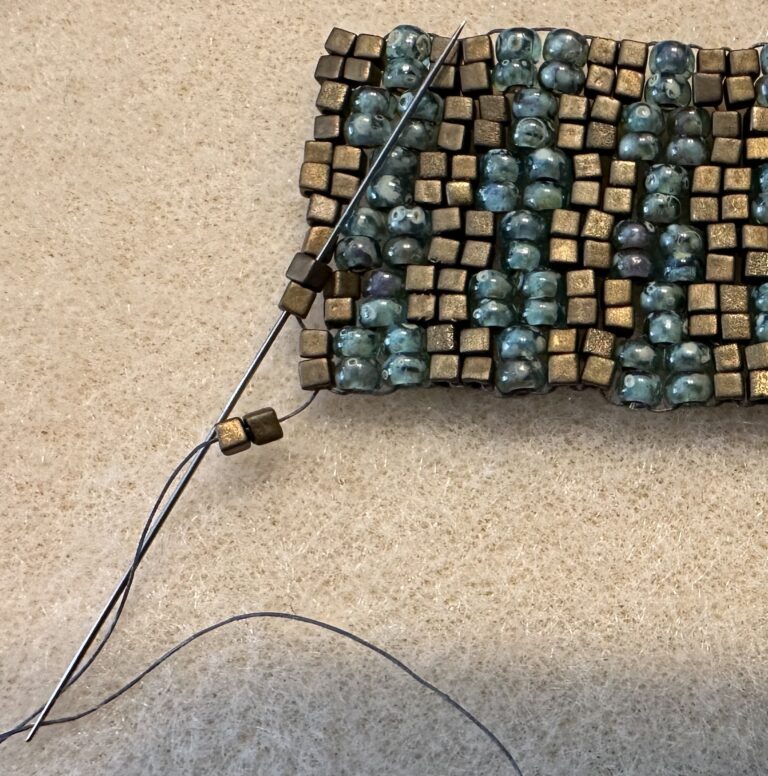
Step 3)
In this example, the clasp is threaded through the eyelet again. Then, two beads are strung through the clasp, and then threaded through the existing beads again.
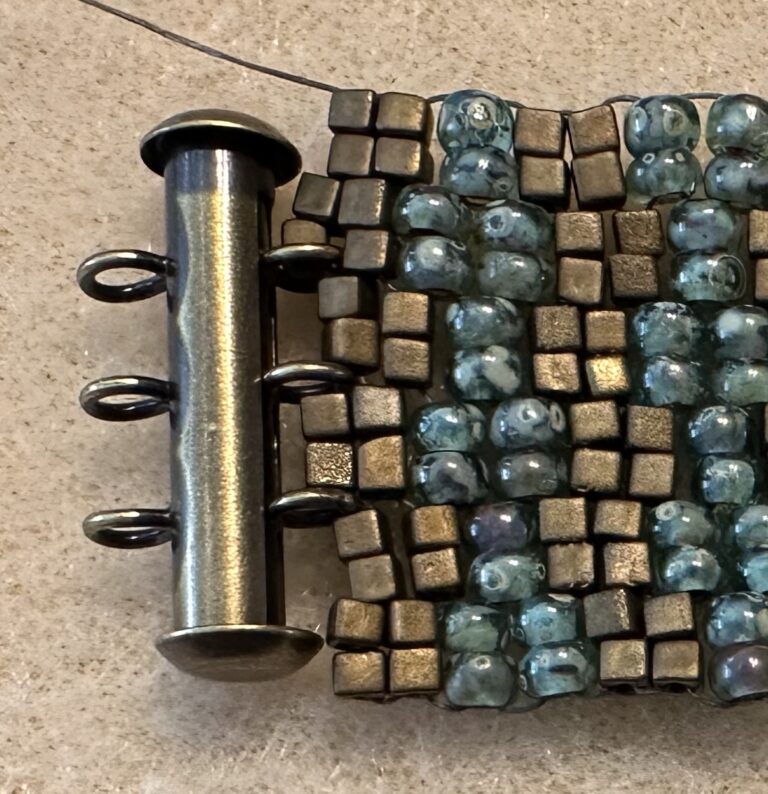
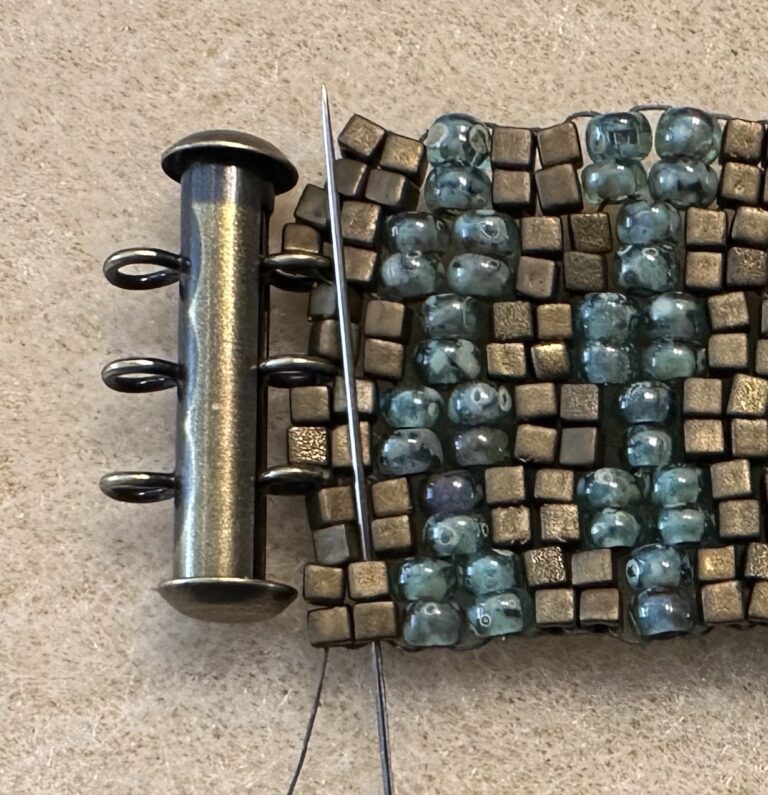
Step 4)
The clasp is now in place. Now we’re going to thread it through a few more times to make sure it’s securely fastened. I threaded it back through the beads on the right side where I came out. Then through the next beads on the left, which will bring you back to the clasp.
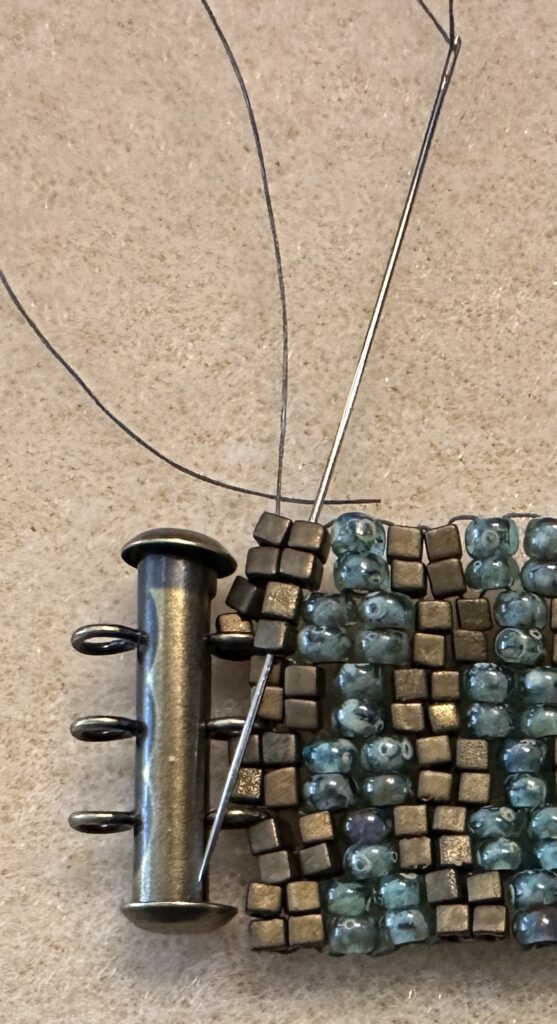
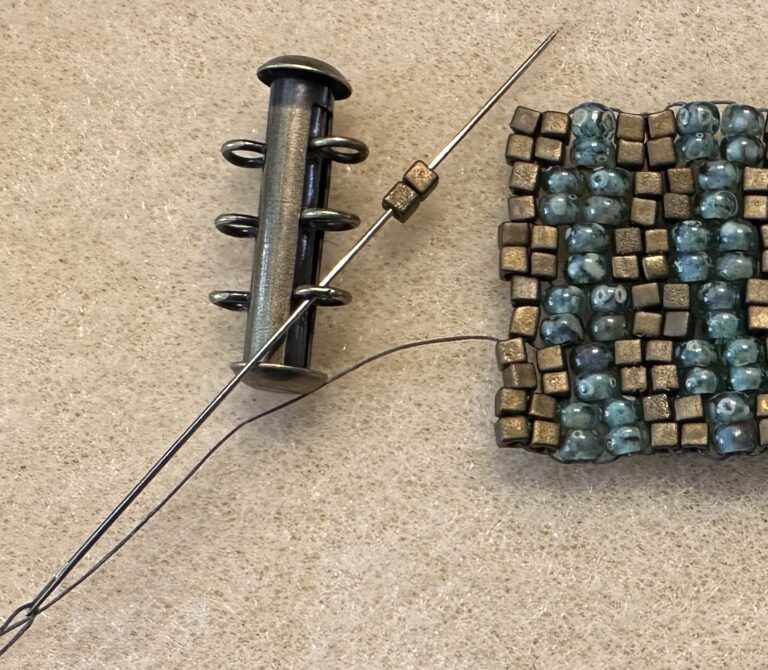
Step 5)
Thread the ring through the clasp and through the beads already strung. Continue until you reach the bottom. Thread it back up again so that you finally reach the clasp again.
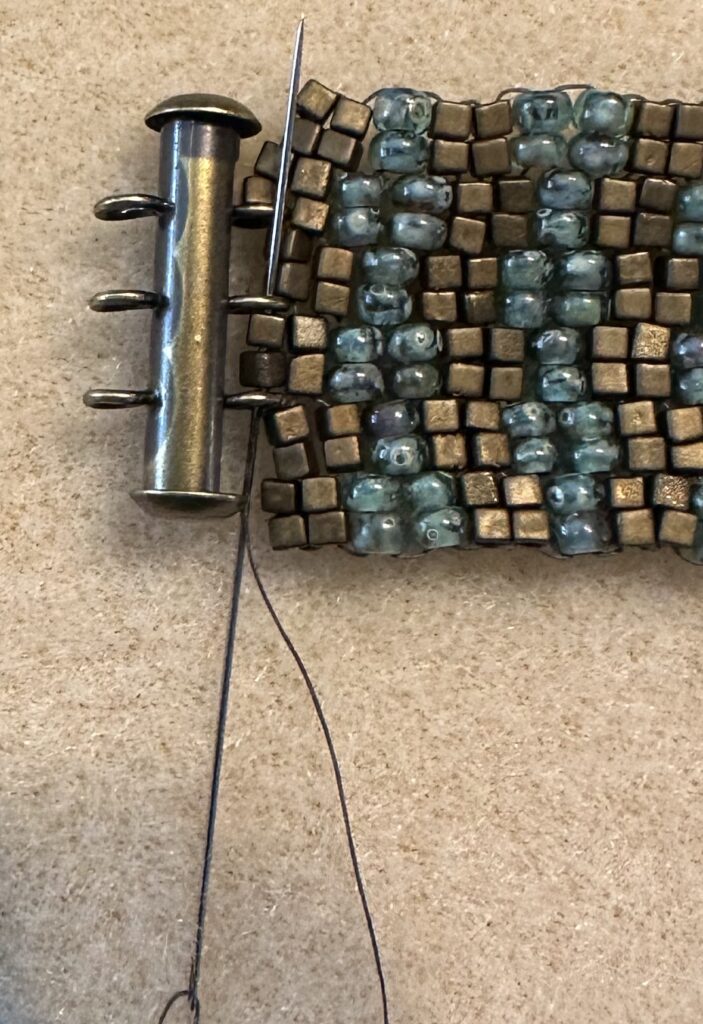
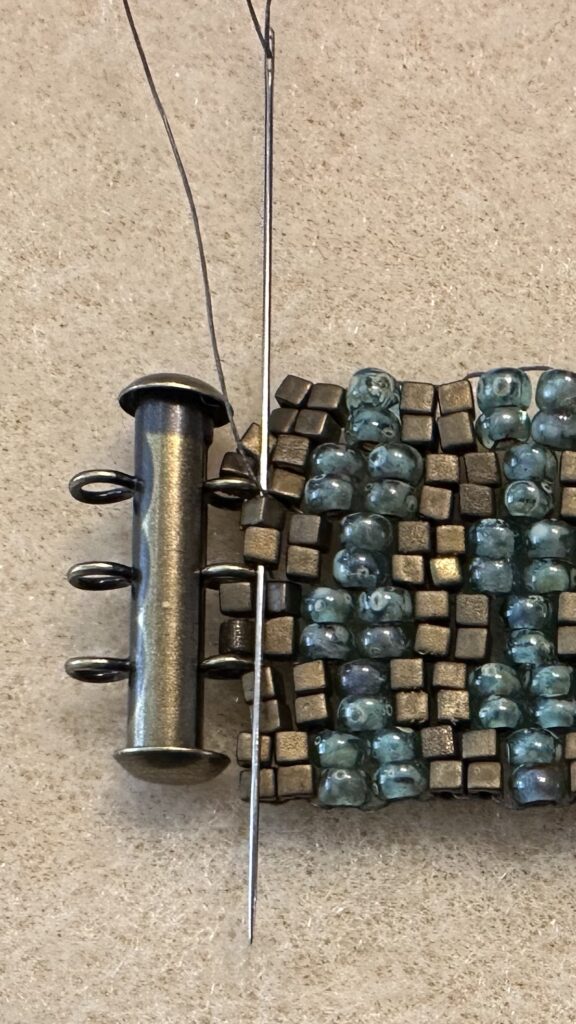
Step 6)
Once you’ve done this number of times, you can thread the wire in a zigzag pattern through a few more beads and then cut it. The clasp is now attached on one side. We’ll now secure the other side.
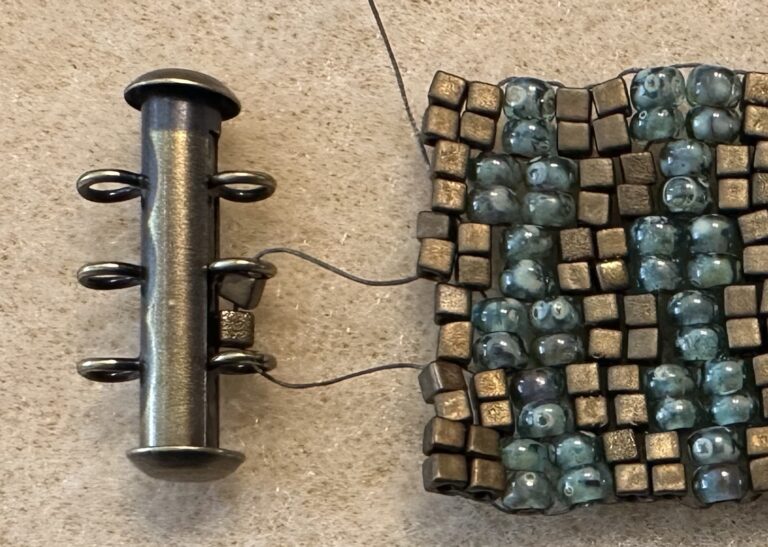
Step 7)
Fold the bracelet in half so that the end ends meet the clasp. I like to determine the position while the clasp is still in place, so you’re sure you don’t accidentally attach it the wrong way around. Mark where you want to attach the clasp on the bracelet. Attach it the same way you did last time.
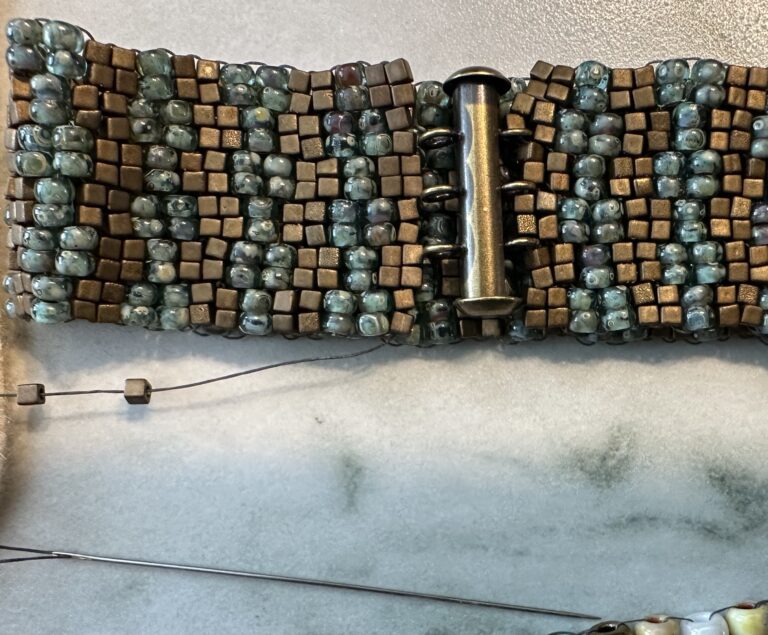
Your lock is now attached!
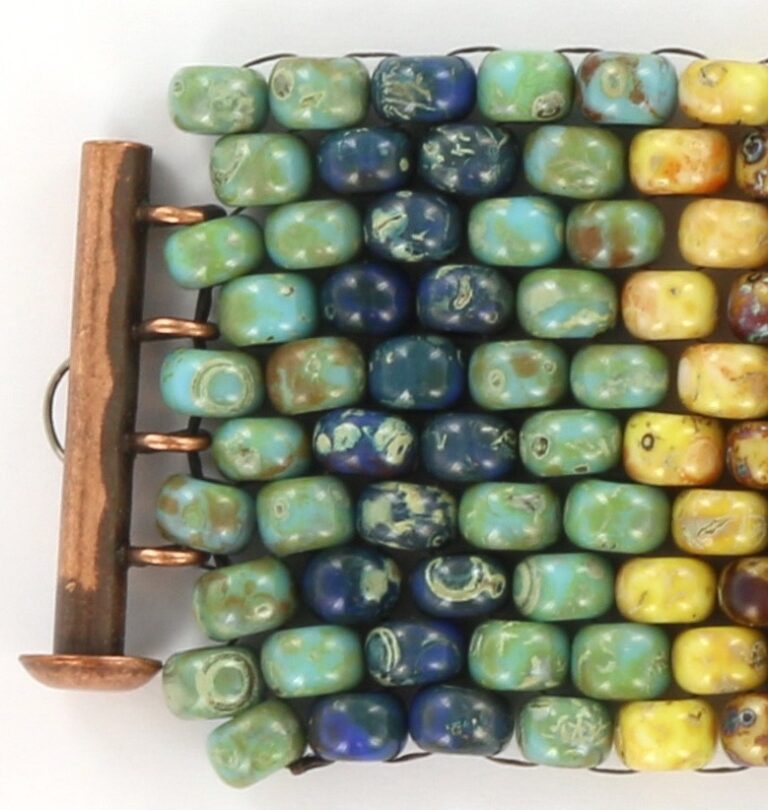
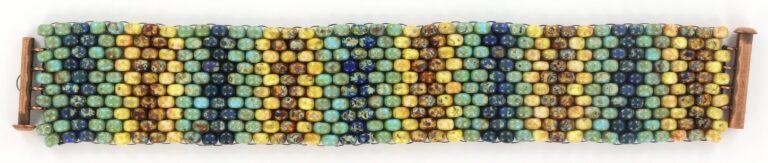
Alternative methods of attachment:
As an example, I’d also like to show you the one below, which is strung with 6/0 beads. I’ve worn this bracelet many times, and it still holds together nicely. If you look very closely, you can still see a bit of thread, but from a distance, it’s not noticeable. In this case, I attached the clasp afterward, after the peyote stitch was finished. So, the threading was only through the clasp and the last remaining beads.
You can also fill it with a small bead. In the example below, I strung with 8/0 beads. I added an 11/0 bead in the same color. However, there’s a risk that the last row will be slightly wider than the regular rows.