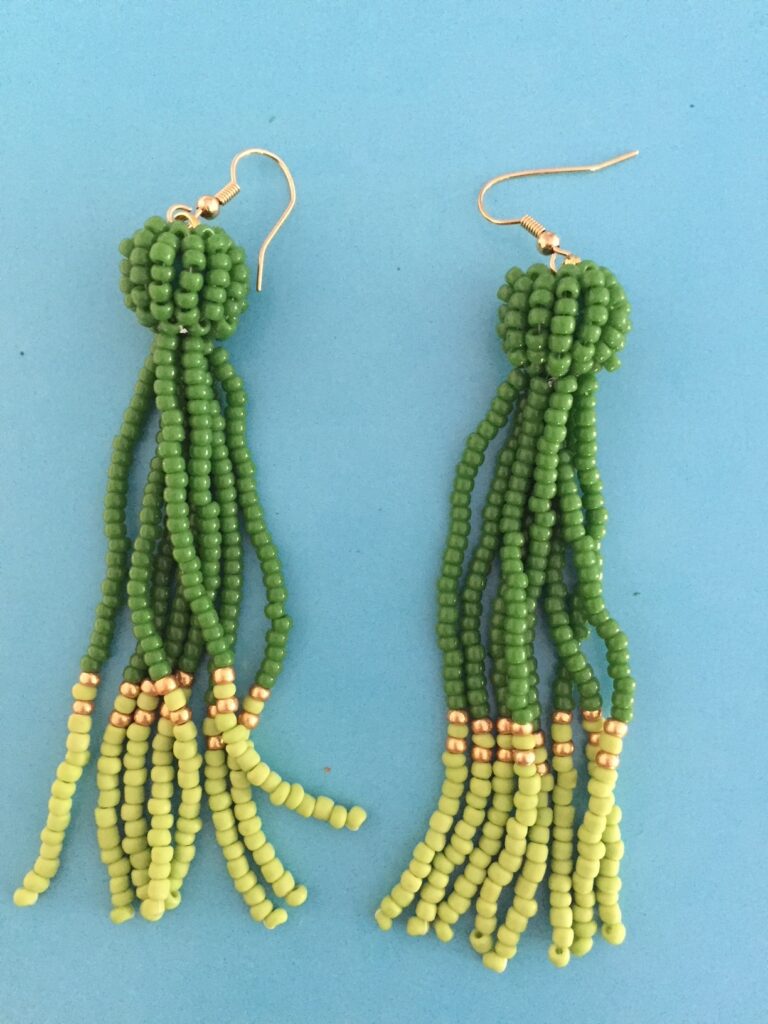
These cute earrings are a joy to make and wear! They were designed and submitted by Wieske. And below you can see how to make them yourself.
She was looking for cute, large, red earrings for a new dress, but the ones she had in mind had just sold out. So she got to work on them herself and has since made them in lots of different colors. We think they’re absolutely gorgeous!
Supplies:
- Earhooks
- Split ring 5 or 6 mm
- Miyuki seed beads size 8/0
- 2 basic round beads from 10 to 20 mm (what you prefer)
- Beading thread
For the red earrings she used the following seed beads:
- 8-4202 (duracoat galvanized gold)
- 8-408 (opaque red)
- 8-4464 (duracoat opaque light watermelon)
For the green earrings she used the following beads:
- 8-4202 (duracoat galvanized gold)
- 8-411 (opaque green)
- 8/0 frosted opaque
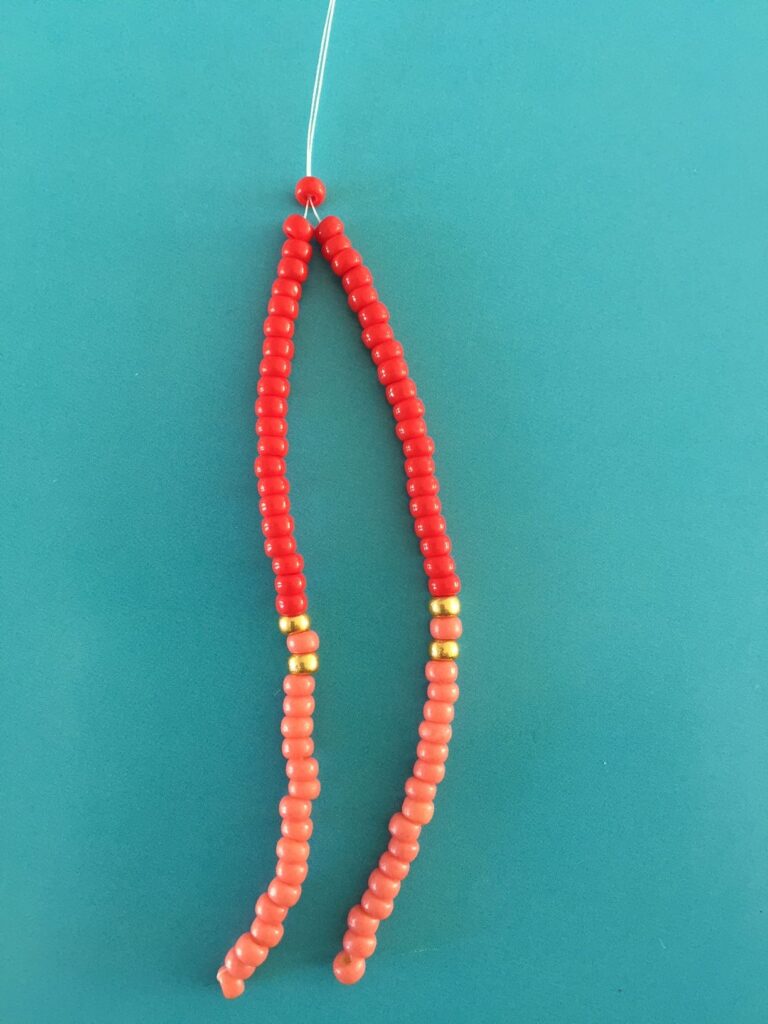
Step 1)
You start by making a string of, for example, the following seed beads: 16 pink, 1 gold, 1 pink, 1 gold, 48 red, followed by 1 gold, 1 pink, 1 gold, 16 pink. (For the green version, it would be as follows: 12 light green, 1 gold, 1 light green, 1 gold, 48 dark green, followed by 1 gold, 1 light green, 1 gold, 12 light green.) But of course, you can adjust this to suit your needs. As long as the center (in this case, 48 red or green) is an even number.
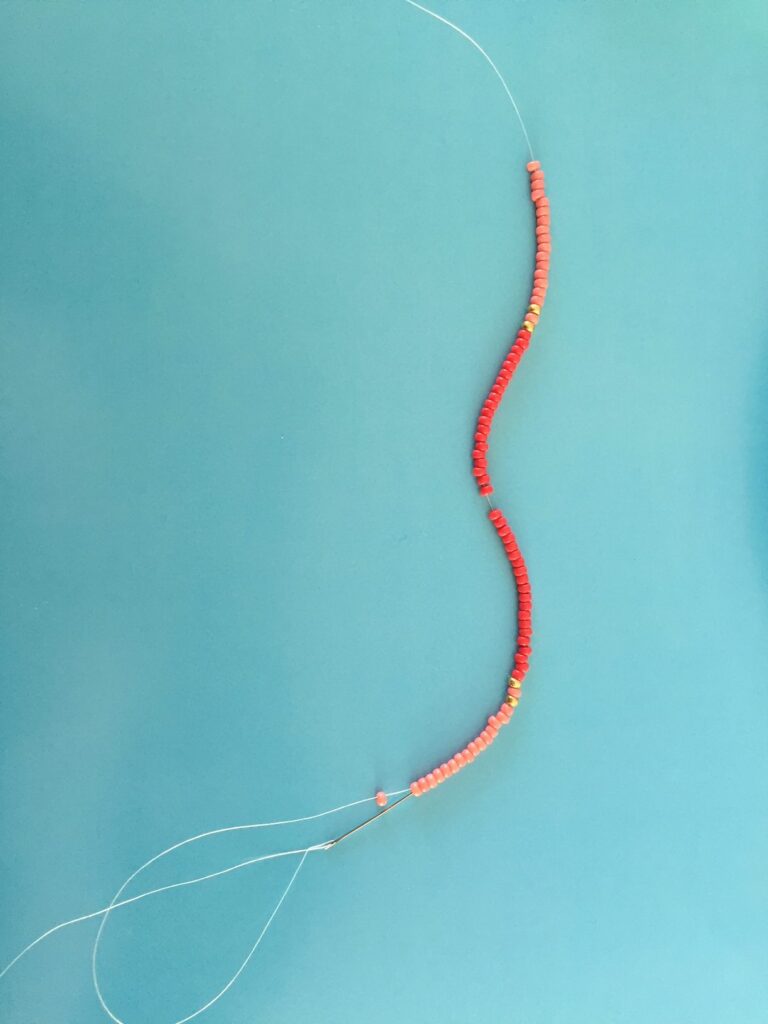
The long strand where you have threaded it back from both ends to the middle.
Step 2)
From the second bead, insert both ends of the wire back into the row of beads and continue threading until you reach the exact center.
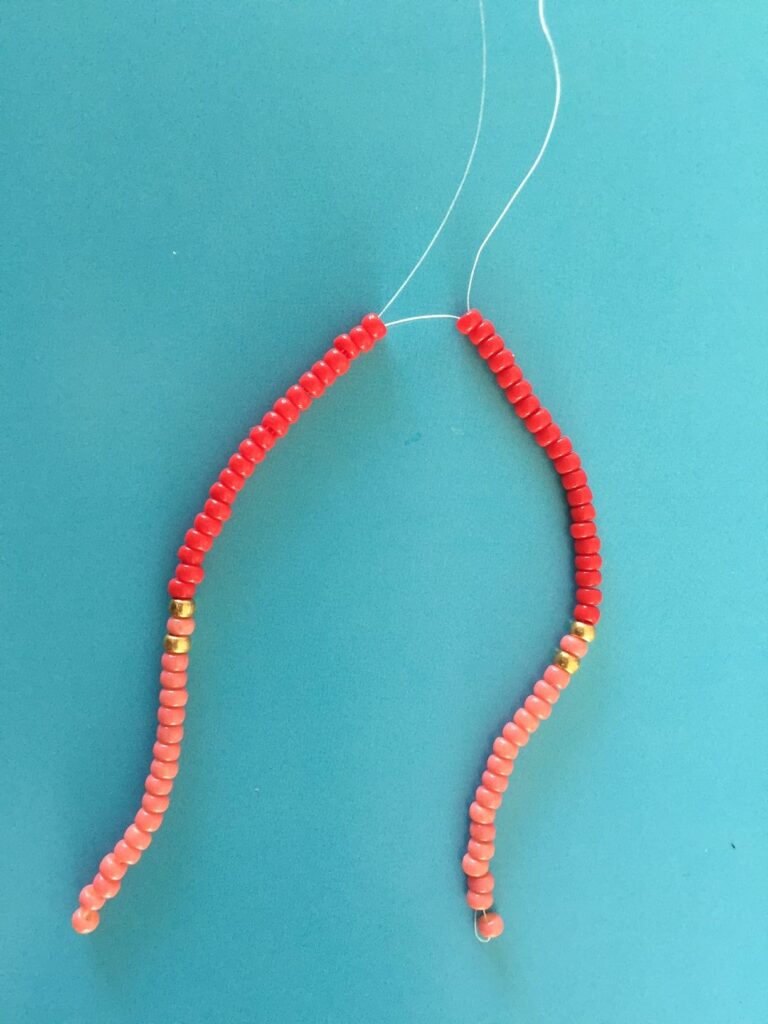
In the photo you can see that space has already been made right in the middle of the row.
Step 3)
Both ends of the wire will then come out at the same spot, and you’ll tie a knot in it, nicely placed against the last bead. Now, thread one bead over each wire, placing it on top of this knot.
This is the base of the hanging strands of the earring.
Step 4)
Thread four more “double” strands in the same way, choosing a longer thread on one end of one strand so you can use it later for the final steps. Once you’ve threaded all four strands, thread them all through the base bead, so that all the strands hang below the bead.
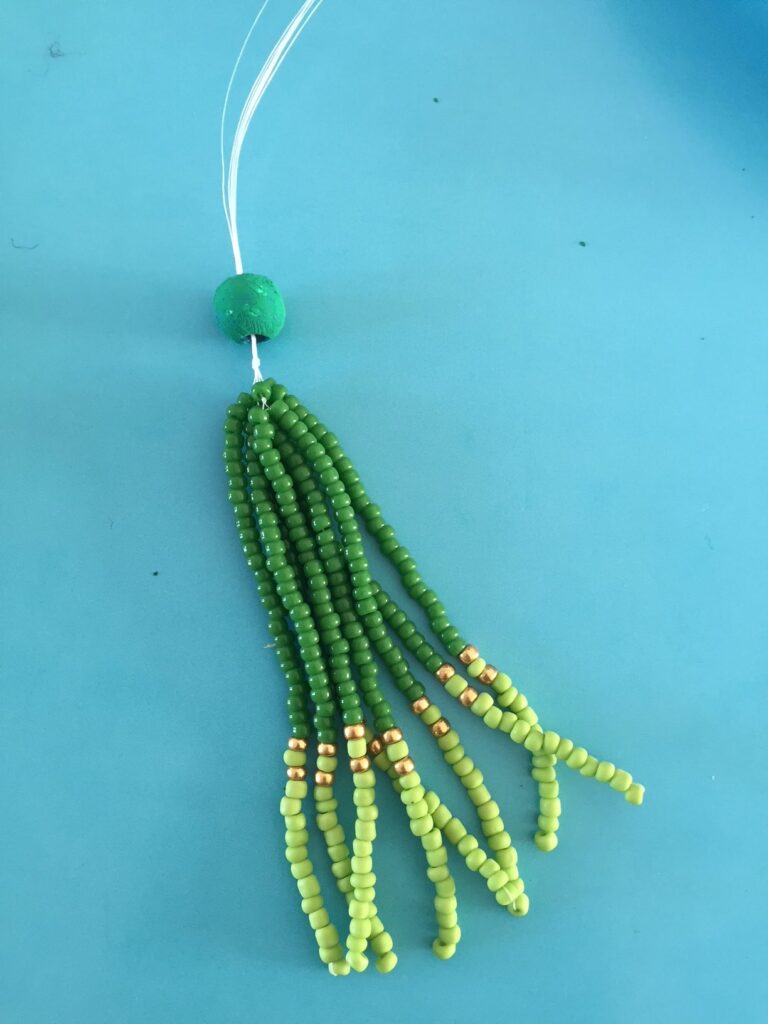
Thread all the threads of the strung strands through the base bead.
Step 5)
At the top, thread the wires through the split ring and tie several knots in each wire, so the split ring sits upright on the hole in the base bead and all the wires are securely fastened. Leave the long wire in place to continue threading later. Thread the shorter wires back down through the base bead and back in a small strand, so they’re neatly tucked away. Cut off the end wires at the bottom and thread your needle back onto the longer main wire at the top to continue.
Step 6)
Using the long wire that comes from the top of the round bead, string on a row of seed beads, which will exactly cover the round bead when you insert them into the bottom of the base bead.
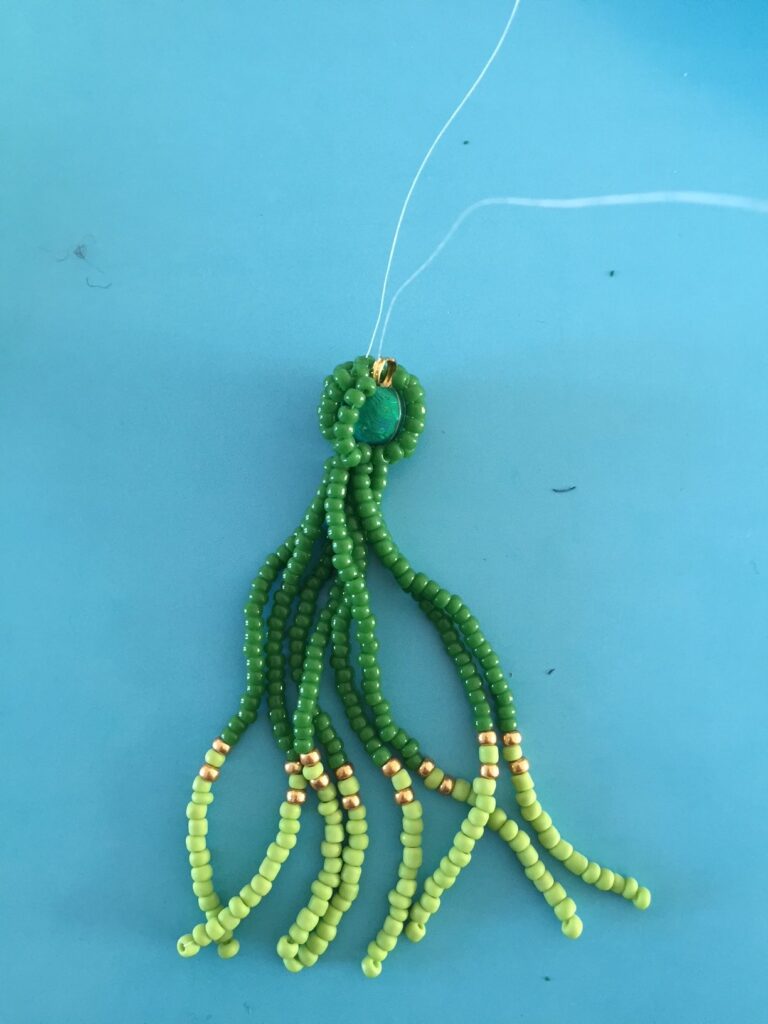
In this photo you see the first rows of seed beads strung around the base bead.
Step 7)
Now, make multiple arcs around the base bead until they cover the entire base bead. You can also choose a smaller size (in this case, 11/0) for the first and last beads to ensure a neat fit.
This is the earring with the bead on top that is fully strung with the arches.
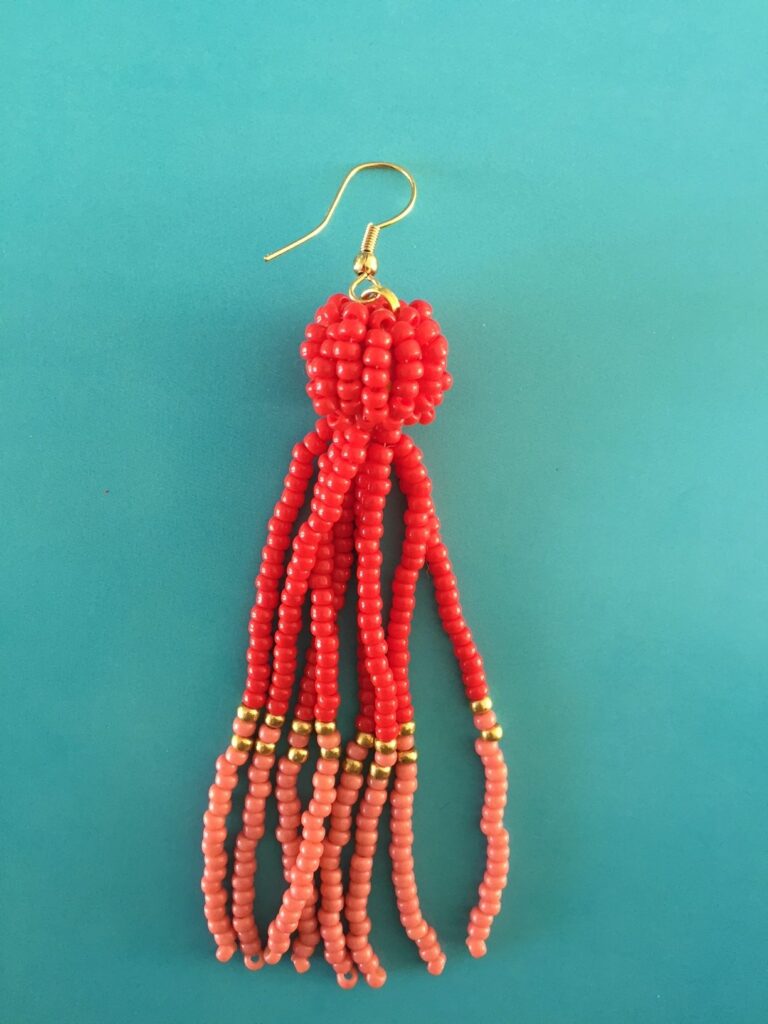
Step 8)
Once the base bead is covered, you can tie off the thread with knots and thread it back down through the base bead and one of the strands, trimming it for a beautiful finish. All that’s left to do is attach the earrings to the split ring, and your stunning earrings are ready!