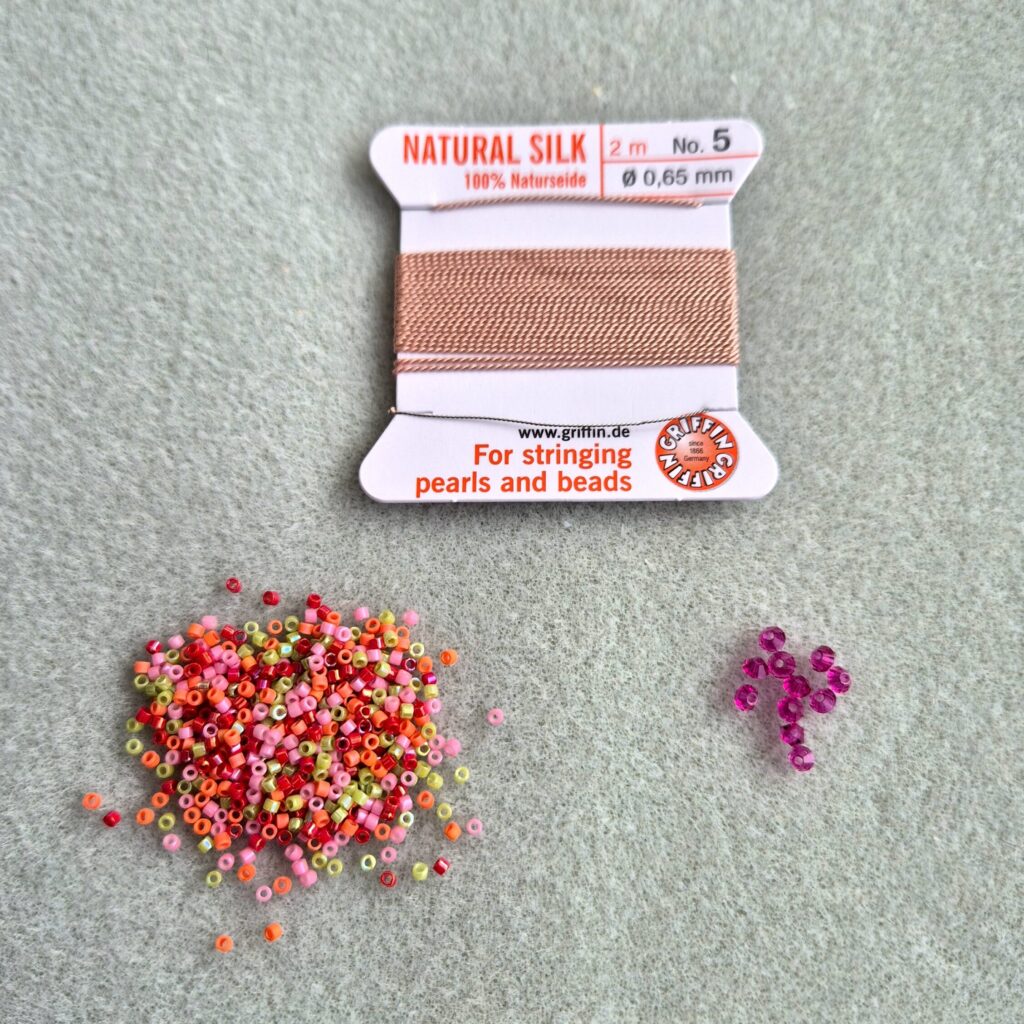
🧵 Griffin thread is made of 100% natural silk.🧵 Each package contains 2 meters of thread with a thickness of 0.65 mm and comes with a handy needle seamlessly attached to the end of the thread. This makes it possible to use, for example, Miyuki 11/0 Delica beads as a sliding clasp. It’s extremely practical and creates a beautiful result!
But how do you make multiple bracelets from one package without unnecessarily cutting off the needle, so you can use the full length of the thread?
What I used:
– Griffin thread 0.65 mm
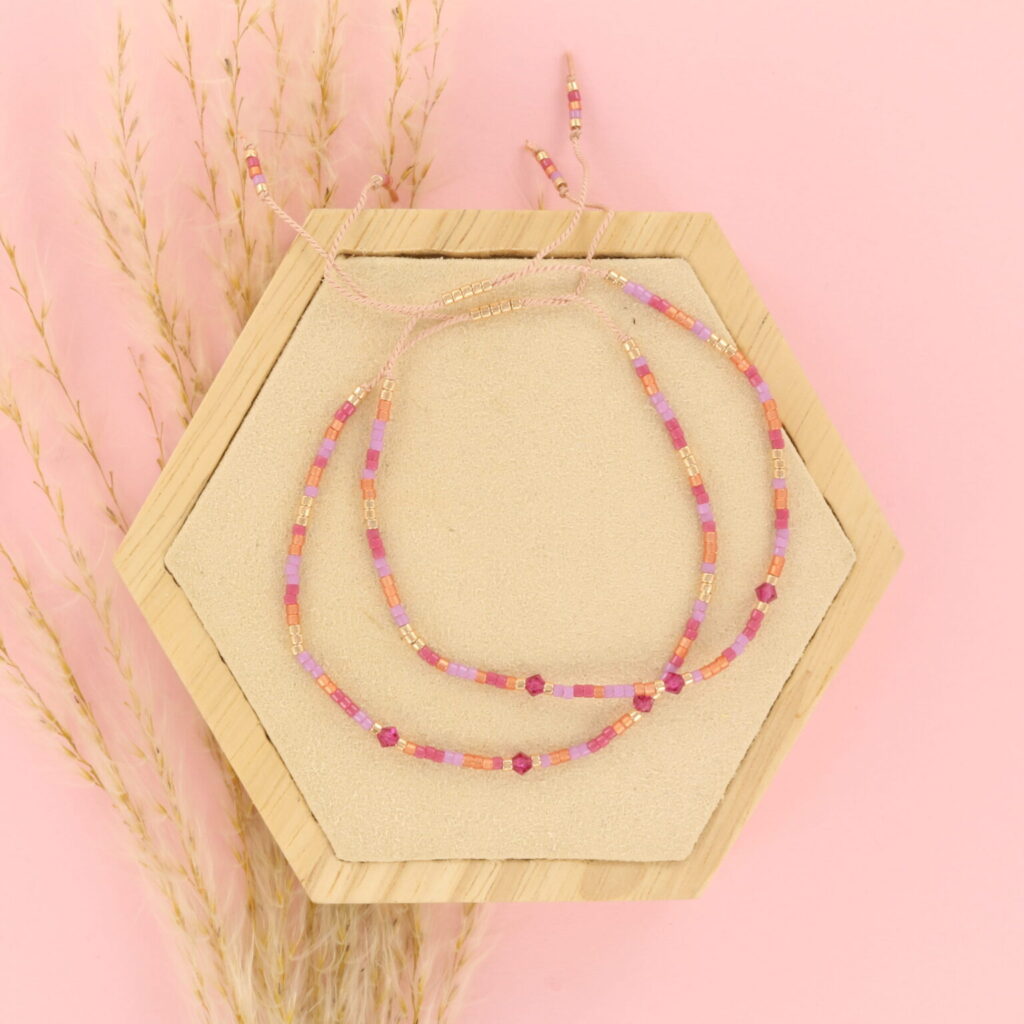
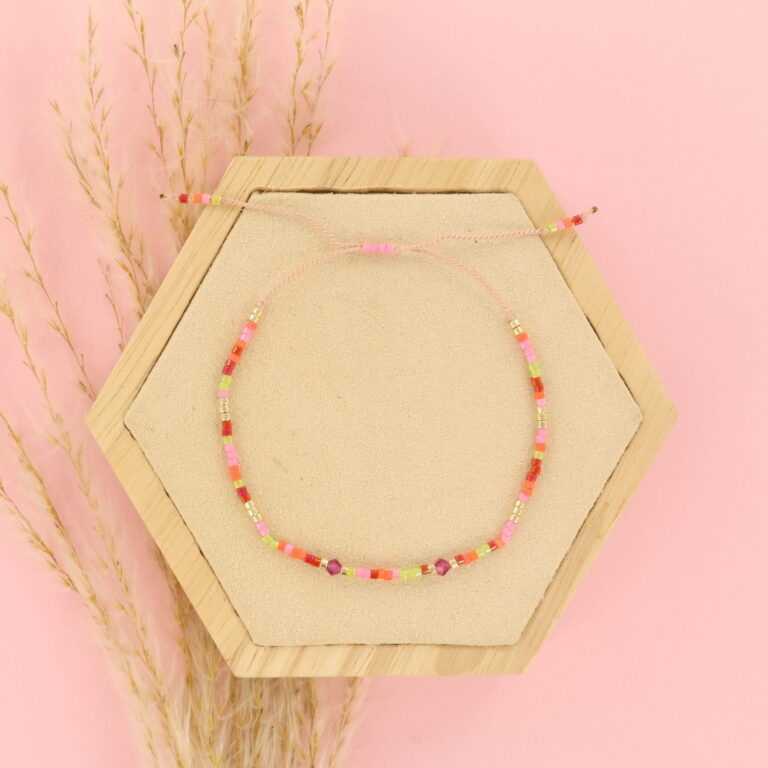
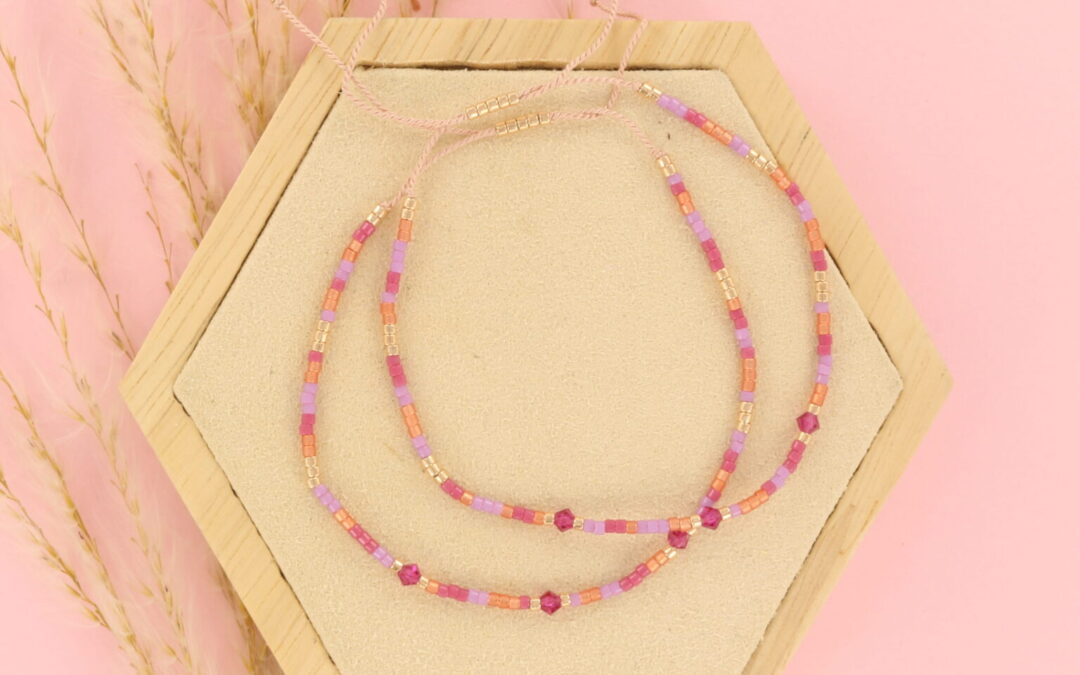
– Miyuki 11/0 Delica beads – Wild Flower Mix 120
– Preciosa 3 mm – Fuchsia
Step 1:
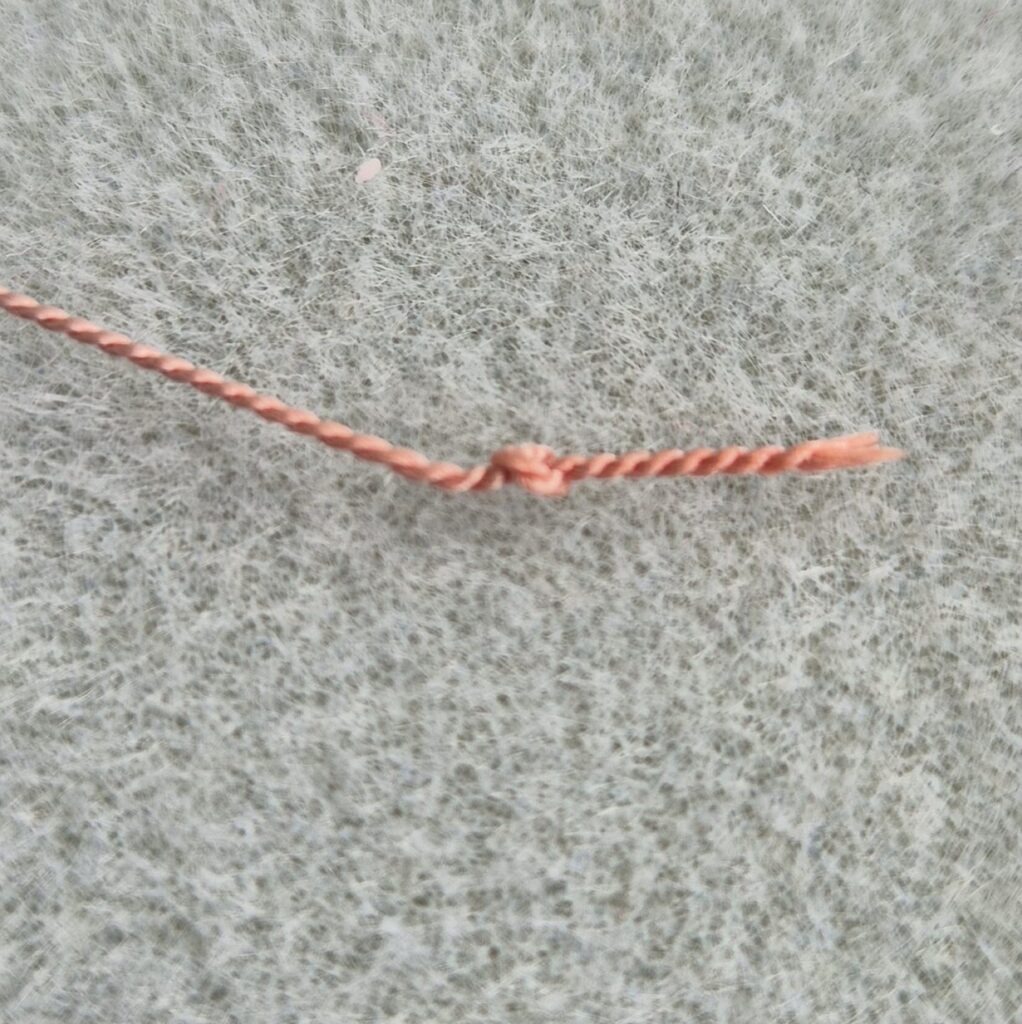
To string as many bracelets as possible without cutting off the needle, start at the very end of the thread. At first, it may feel long while stringing, but it naturally gets shorter after each finished bracelet. Tie a small knot in the thread to create a starting point.
Step 2:

Now string the beads that you want to hang at the bottom as decorative “pull strings.”
Step 3:
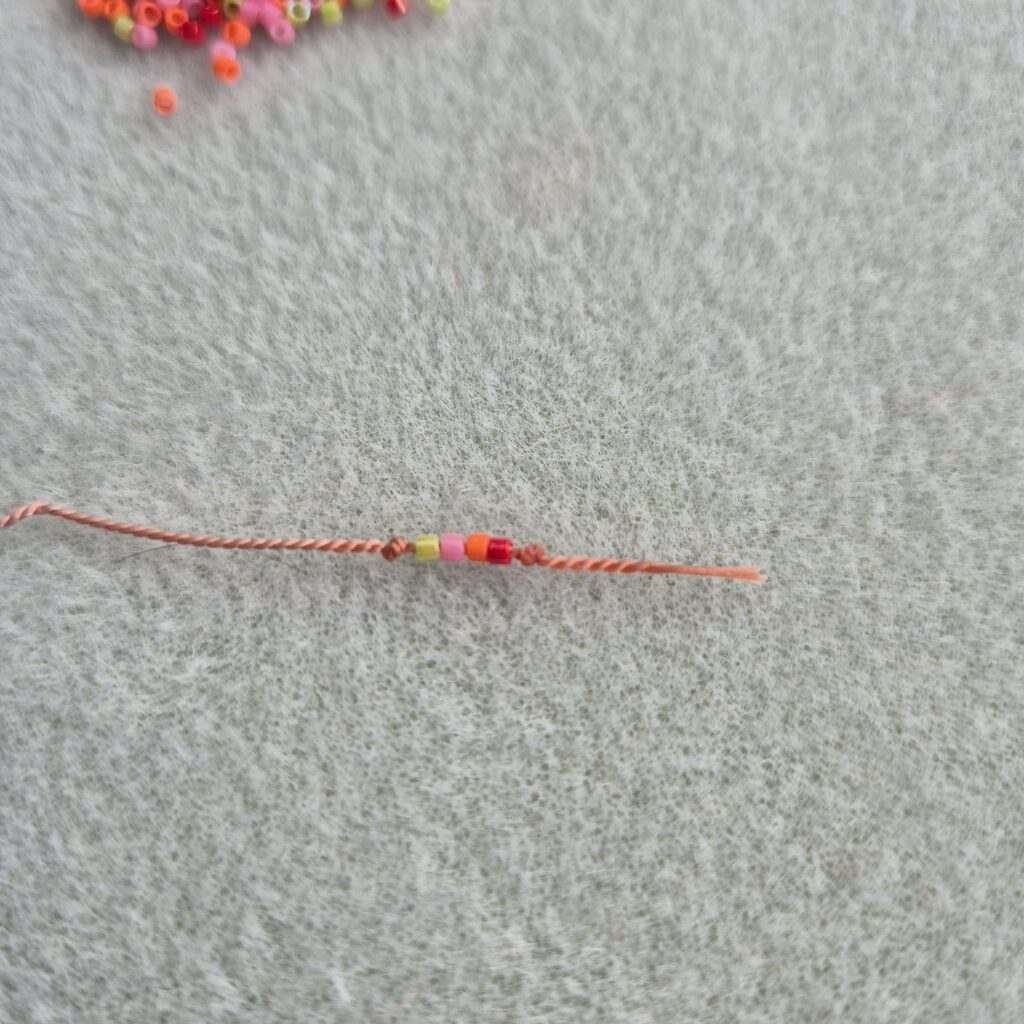
Tie a knot tightly against the beads so they stay neatly in place. You can use tweezers if needed to position the knot exactly where you want it.
Step 4:

Now string 4 or 5 beads to use as a sliding knot.
This step is important—don’t forget it, because once you continue stringing, you won’t be able to add it. If you do forget, you can always tie a sliding knot later using a small piece of thread.
Step 5:
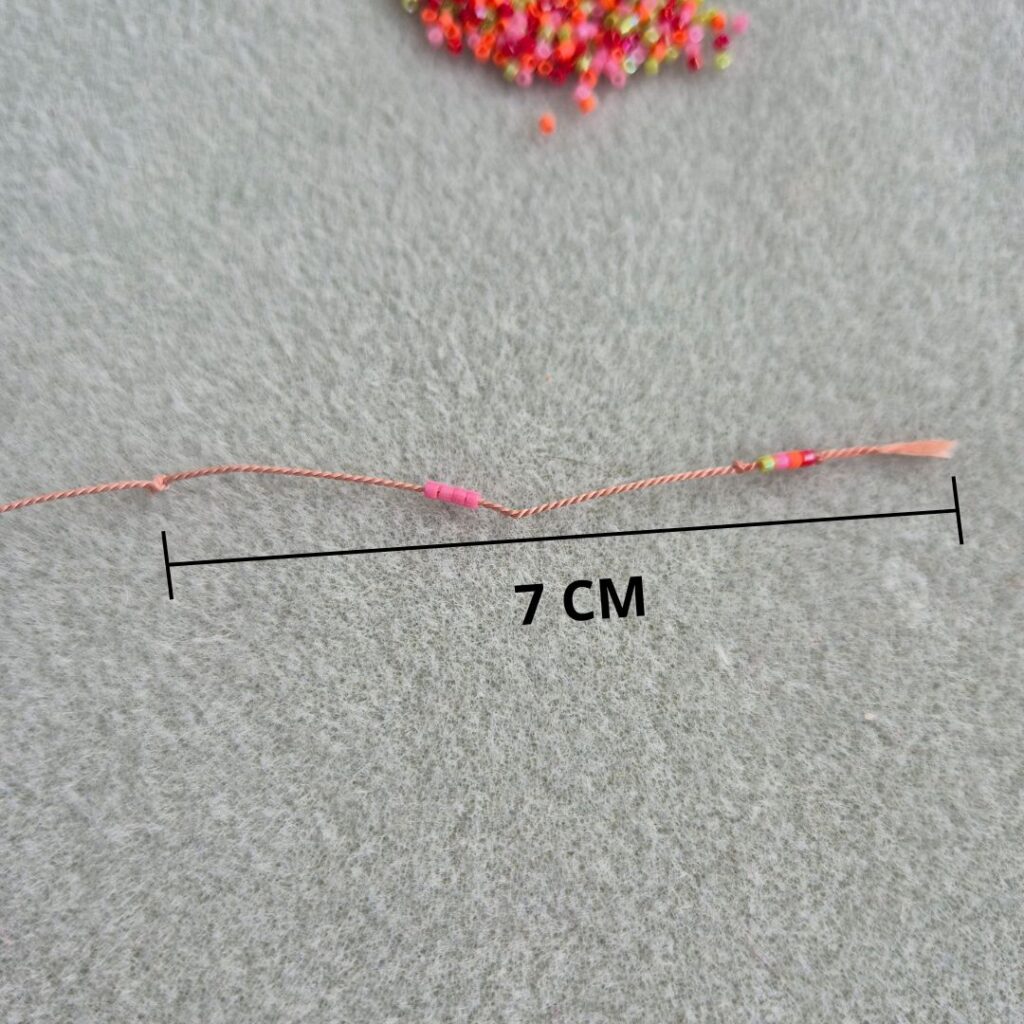
Now tie another knot, placing it about 7 cm from the previous one. This is a convenient length that allows the bracelet to slide on and off easily.
Step 6:
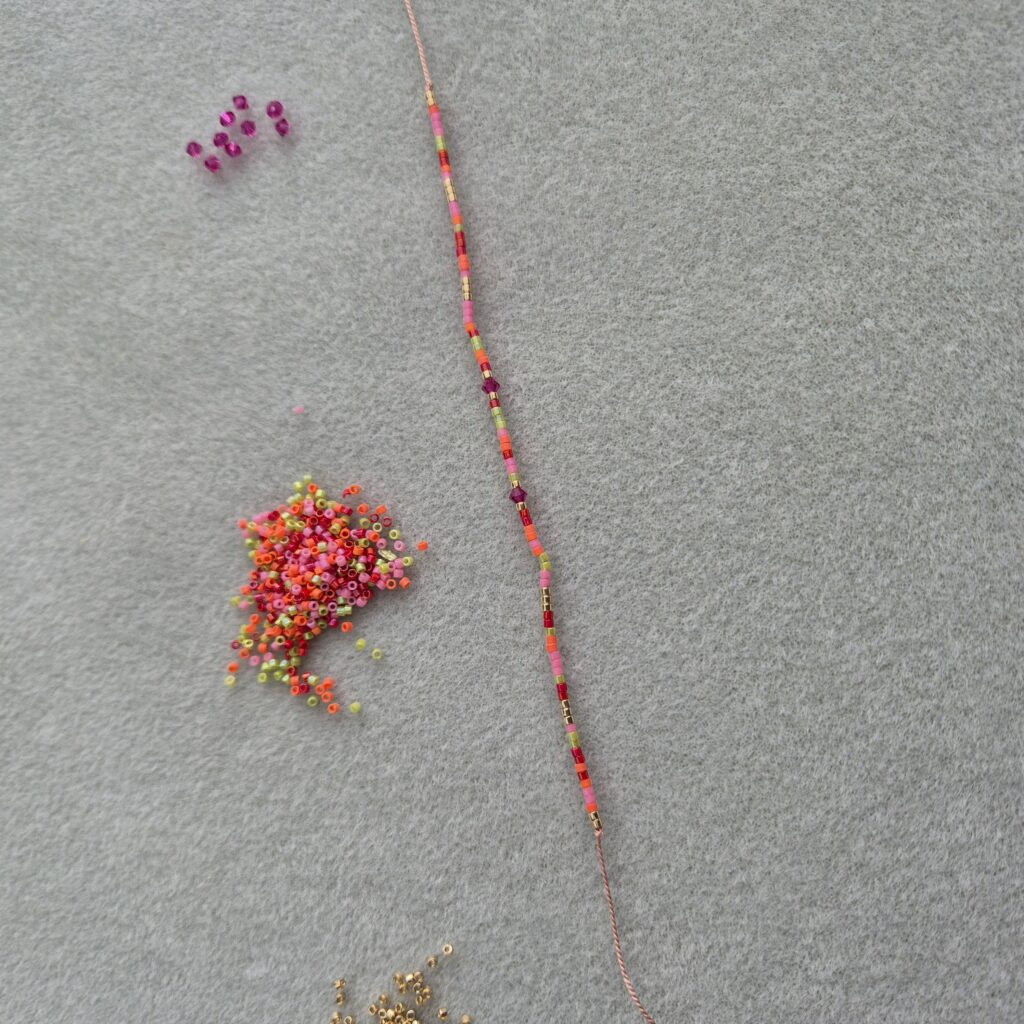
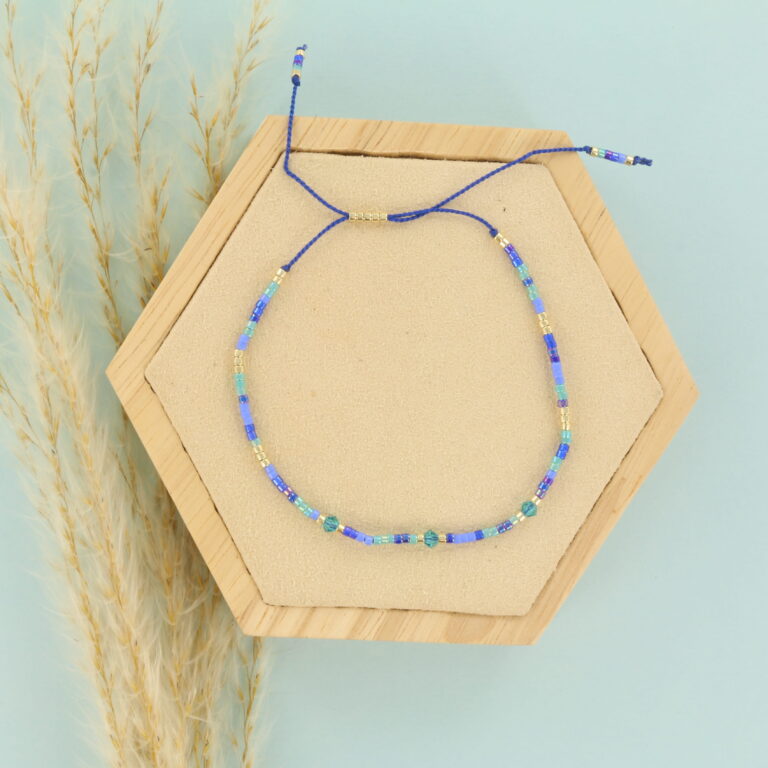
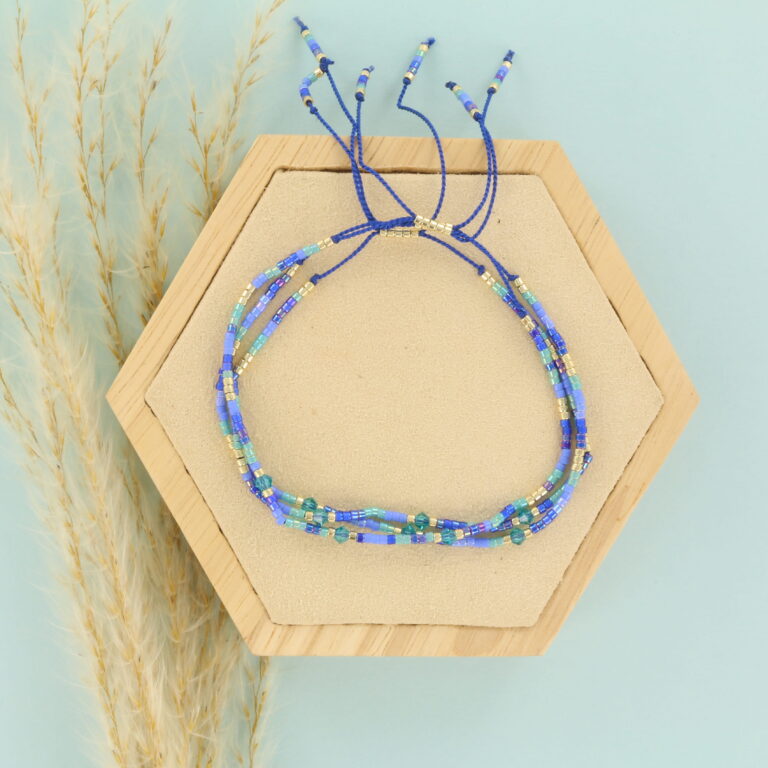
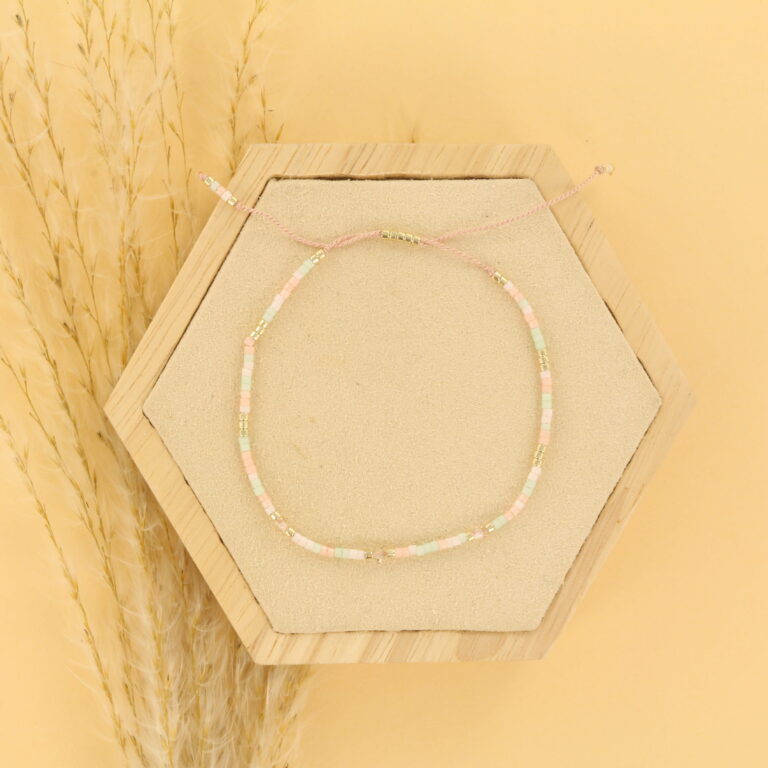
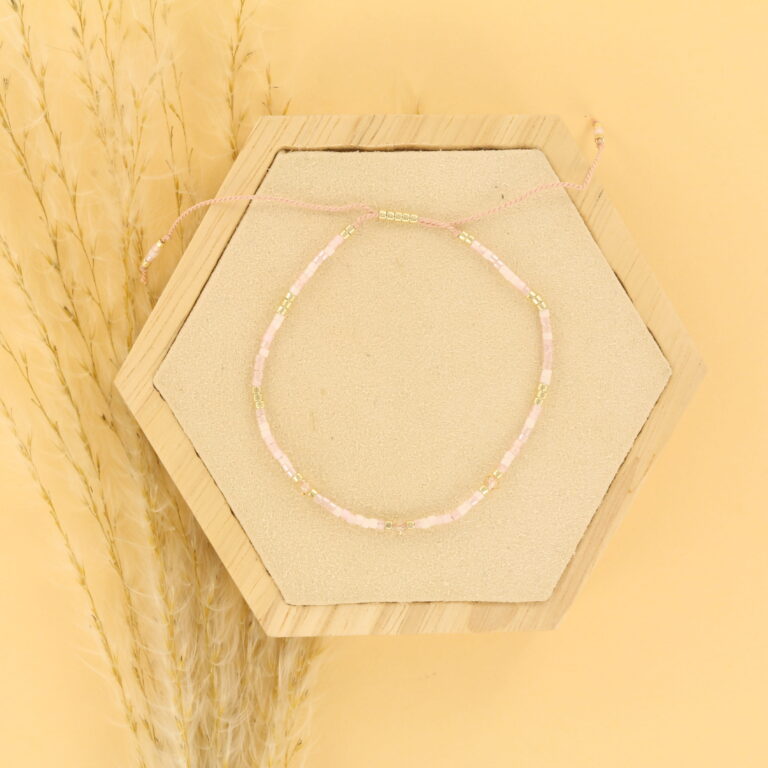
Now you can start stringing your bracelet in a pattern that you like. String approximately 13 cm of beads. I chose to add a few Preciosa beads for an extra fun effect.
Step 7:
Tie a knot as close as possible to the beads you’ve strung, so they won’t slip while wearing the bracelet.
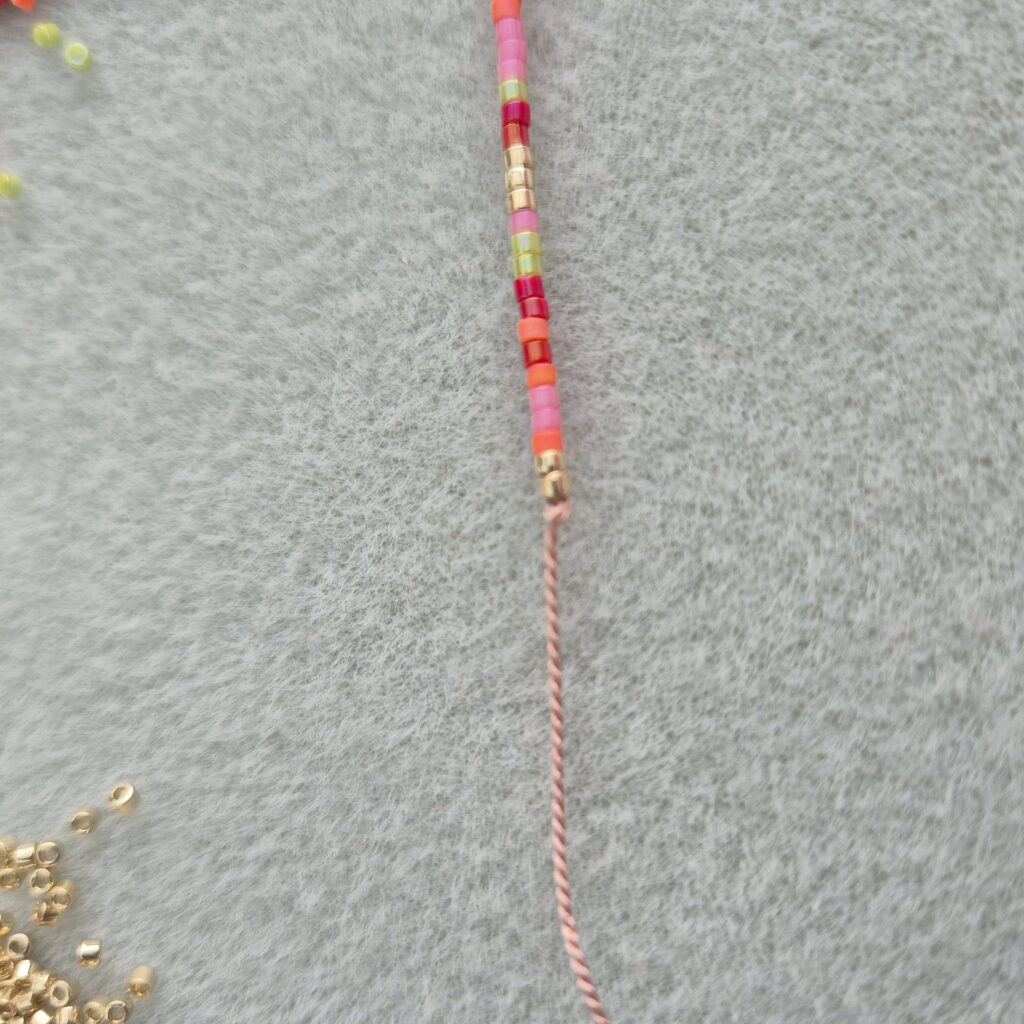
Step 8:

Now string back through the beads intended for the sliding knot in the opposite direction. It may feel a bit stiff, but this is intentional. This ensures the bracelet stays securely closed while wearing it.
Step 9:
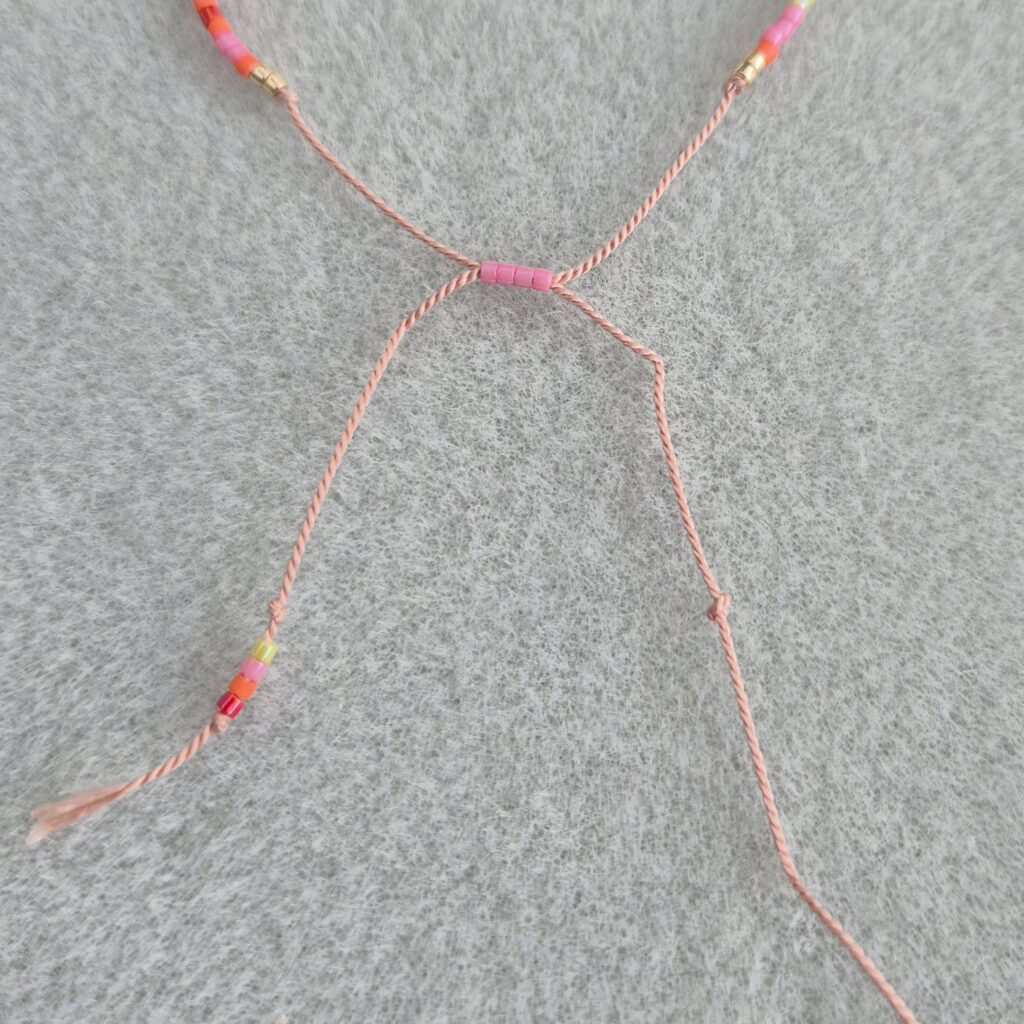
Place the bracelet so that the strings lie straight next to each other. Then you can measure where to tie the knot, ensuring both strings are exactly the same length. I usually do this by eye, and it usually works well.
Step 10:

Now string the beads on this string the same way you did on the other one.
Step 11:
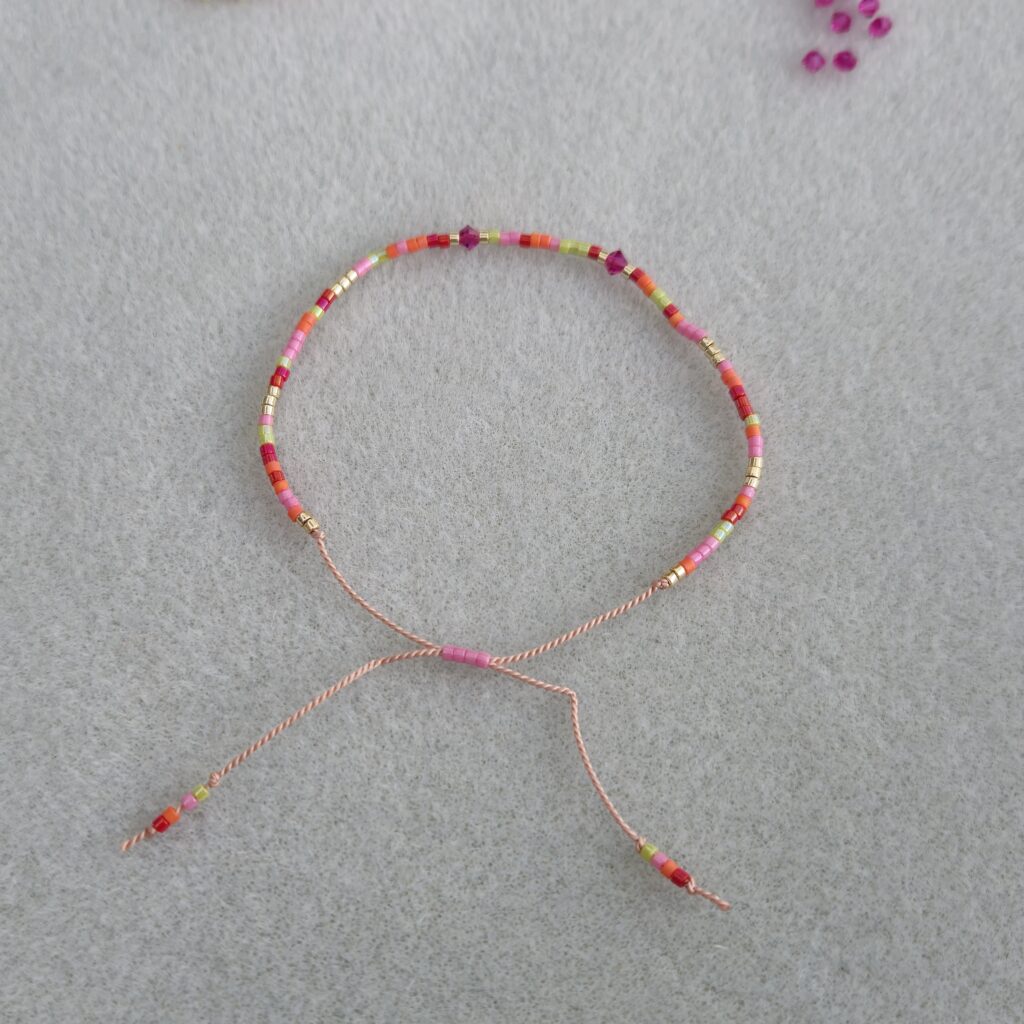
Tie a knot tightly against the beads so they don’t slip.
Extra tip: Apply a tiny drop of glue to the ends of the strings to prevent the knots from coming undone. Silk can be quite slippery, which increases the chance of knots loosening.
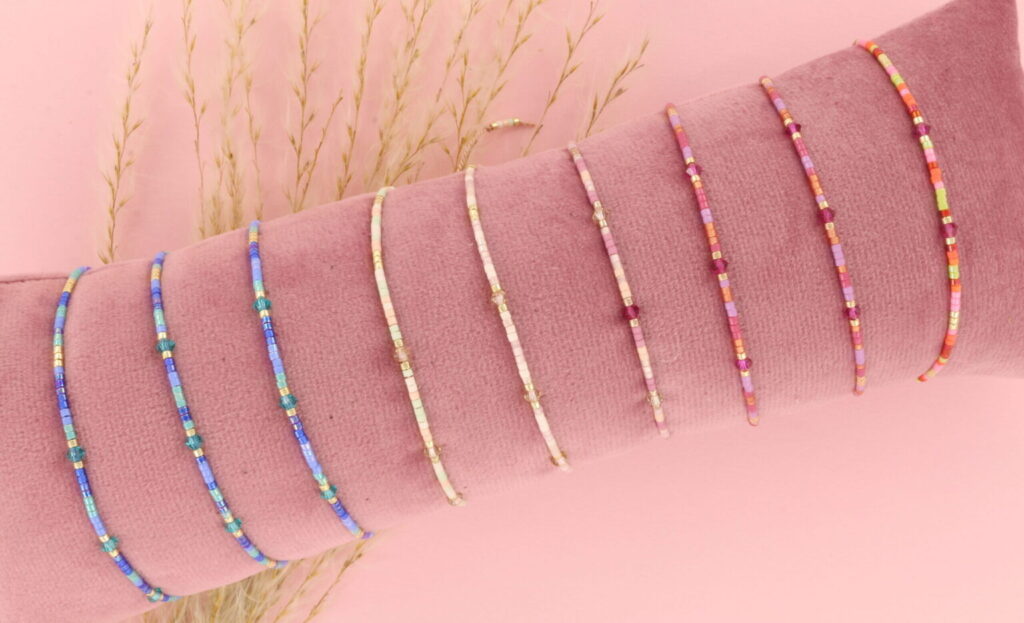
Some fun inspiration: