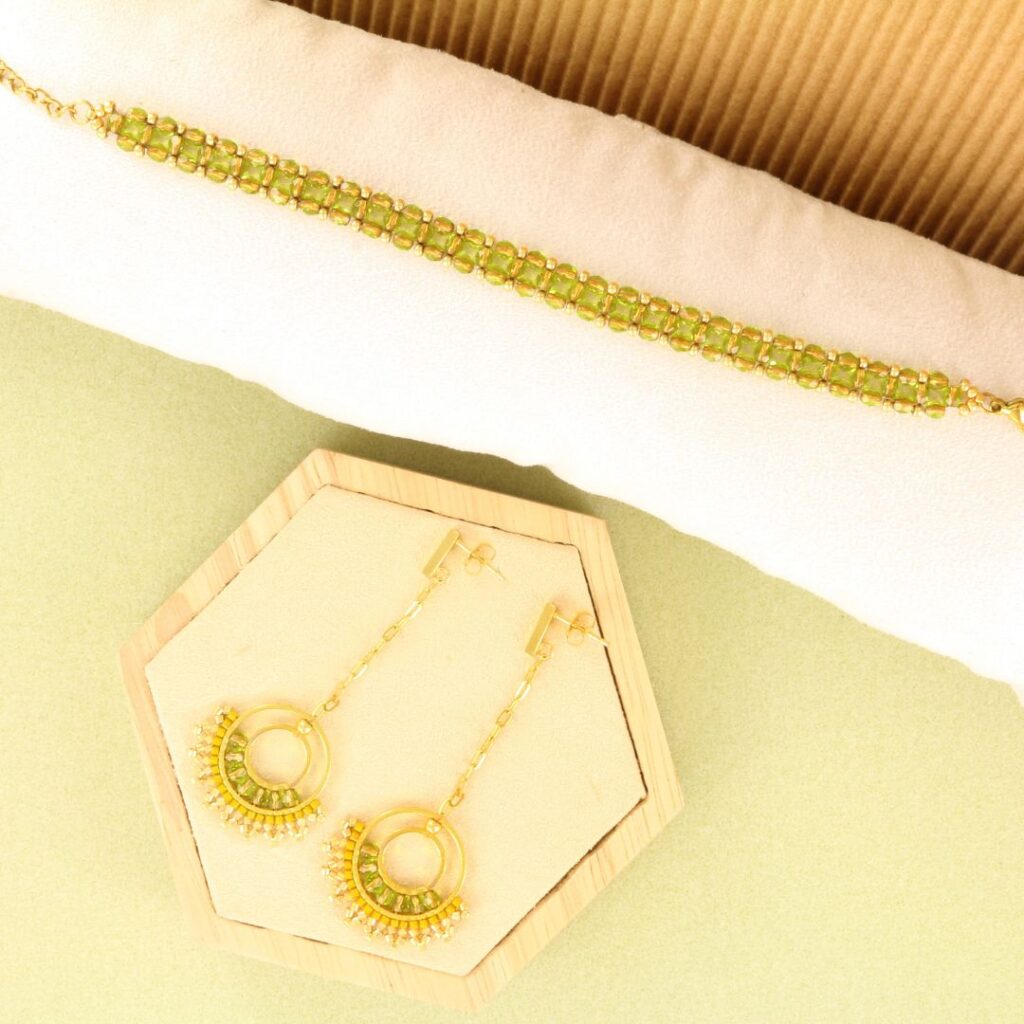
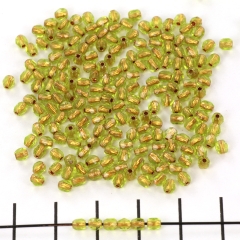
These Czech faceted beads in copper-lined olivine are truly beautiful.
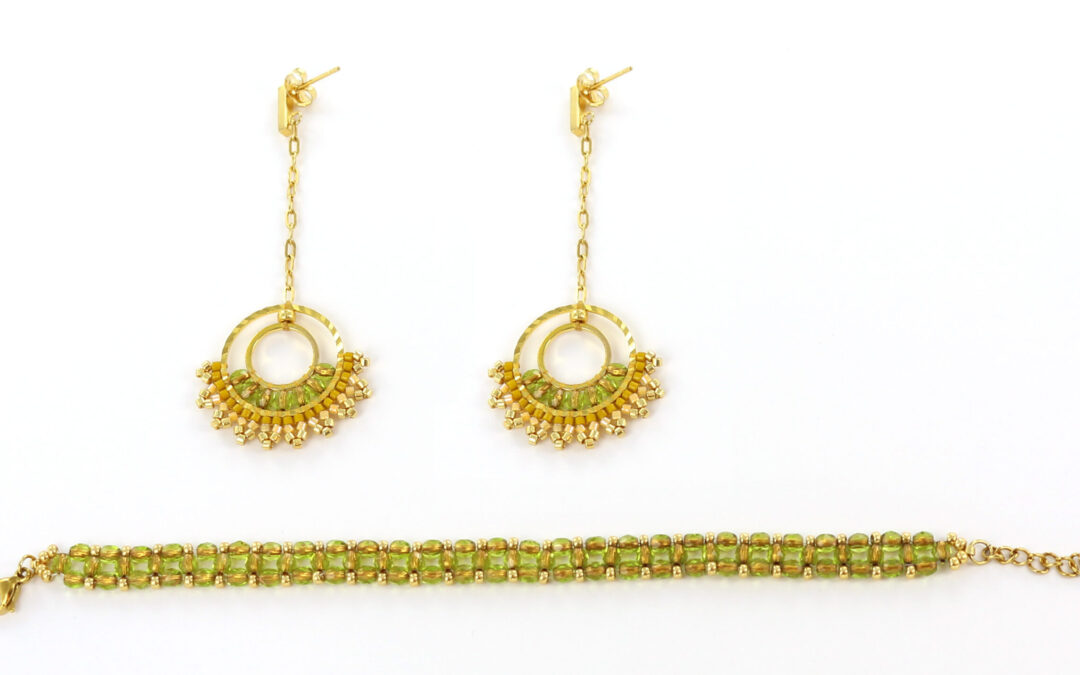
Because the beads are so beautiful on their own, this “simple” design for the bracelet was perfect, as it really shows them off. And once you get started, you’ll see the ideas just keep coming! That’s how the matching earring came about.
Below, we’ll explain how to make these pieces of jewelry, and at the very bottom of the blog post, you’ll find a list of all the supplies you’ll need.
Instructions for the bracelet:
The bracelet is made with a right-angle weave. On this blog page you’ll find a detailled instruction of how to do the RAW-technique. For this bracelet you’ll only use step 1 to step 3.
After stringing the desired length with a right-angle weave, add the 11/0 seed beads. Thread these into the gaps between the facets. Because the gaps between the facets aren’t completely filled, you’ll notice that pulling the thread will warp the bracelet. Keep this a little loose by occasionally straightening the bracelet. This is especially important at the end to ensure even tension on both sides.
Tip! You can also cleverly use this “problem” to create a curved shape to make it suitable for a necklace. String 8/0 seed beads on one side and 11/0 seed beads on the other, pulling it tight. This will ensure it fits perfectly around your neck!
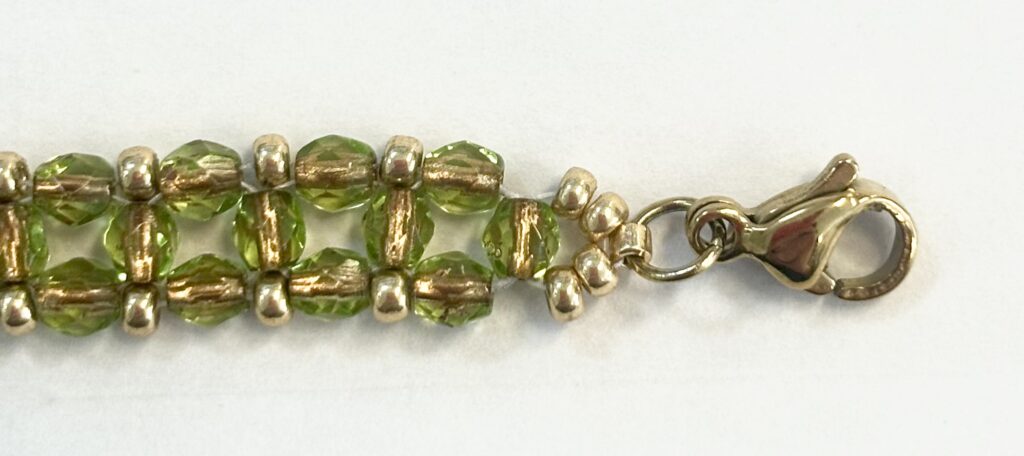
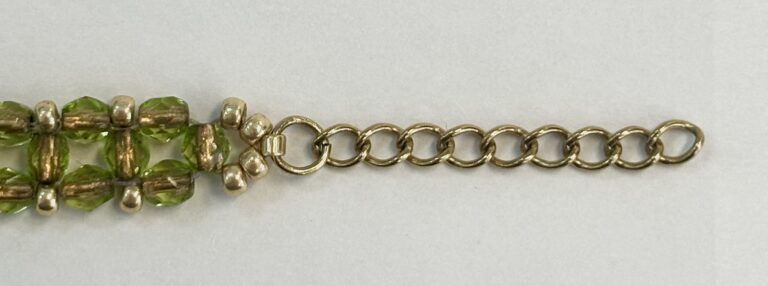
We attached the clasp by stringing five beads (2x 11/0 seed beads, 1x 11/0 delica, and 2x 11/0 seed beads) onto the last facet. Then loop it around all the beads except the delica bead and weave your thread through a few beads to secure it.
Below, you’ll see the steps explained for a peyote bracelet, which is almost identical. Instead of going through the four peyote beads, you now go through one facet.
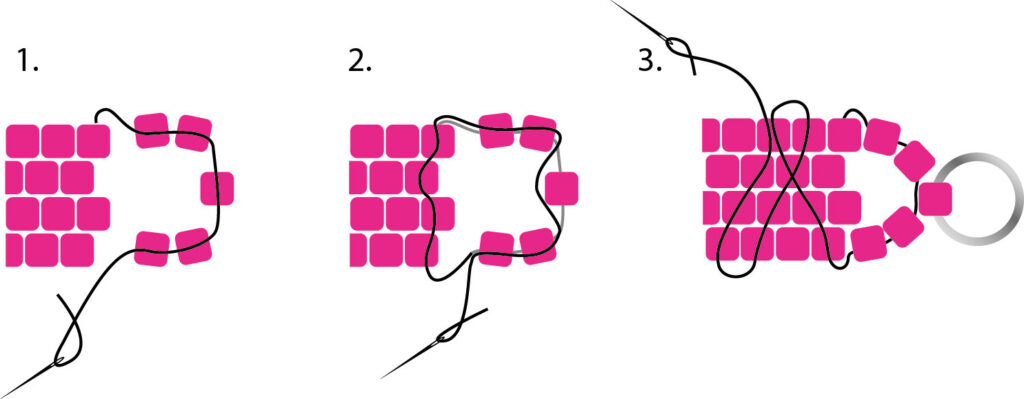
Next, you can attach an open jump ring with a clasp to the delica. Carefully bend the open jump ring closed, being especially careful not to accidentally crush the delica with your pliers.
Instructions for the earrings:
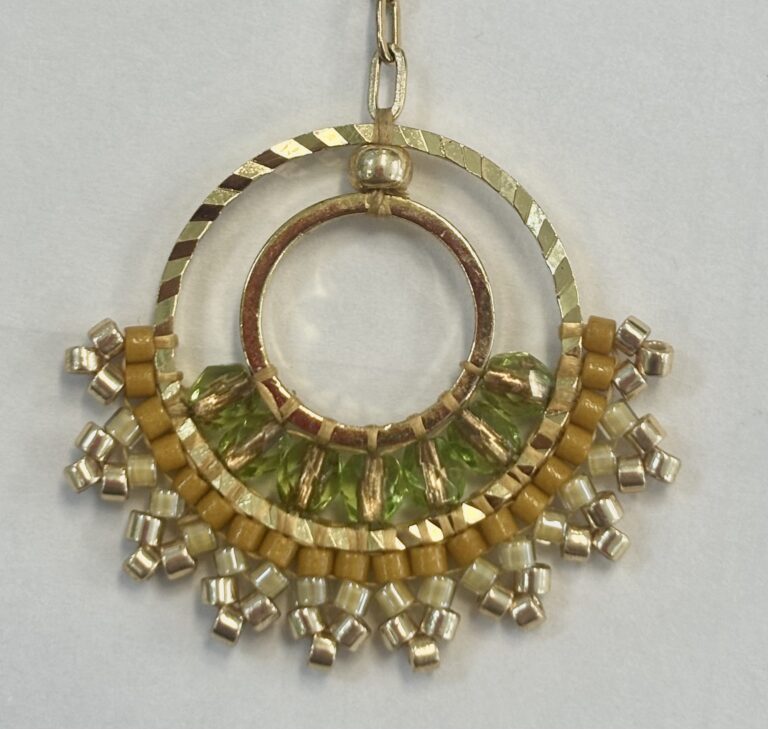
The earrings are made with a bit of brick stitch and herringbone technique.
We started by stringing the faceted beads onto the smallest ring using brick stitch, then attached the outer ring to it. You could also do this in one step, by going around the ring on one side, threading it through the bead, then around the other ring, and then threading it through the same bead again.
Next, continue on the outside of the outer ring using the herringbone technique. You can find a step-by-step explanation for this in this blog post.
Weave in your thread and take a new piece of thread for the top seed bead.
For us, an 8/0 seed bead fit perfectly between them. We strung it in a zigzag pattern around both rings, also threading the eye of a piece of chain along the way.
Cut your thread close to the bead and then attach an earring to the chain.
Used supplies for the bracelet:
- Czech facet beads 3mm
- Fireline wire 0.12 or 0.15 crystal
- Miyuki seed beads 11-4202 (duracoat galvanized gold)
- A couple of Miyuki delica 1832 (duracoat galvanized gold)
- Carabiner clasp (stainless steel)
- Extension cord (stainless steel)
- Open ring 4mm (stainless steel)
Used supplies for the earrings:
- Czech facet beads 3mm
- Miyuki beading thread color gold
- Miyuki delica beads:
DB-1832 (duracoat galvanized gold)
DB-2041 (luminous honeycomb)
DB-2106 (duracoat opaque dyed hawthorne) - 1 Seed bead 8-4202 (duracoat galvanized gold)
- Open ring 20 mm (stainless steel)
- Open ring 12 mm (stainless steel)
- Stud earrings or earhooks
- Small stainless steel chain