
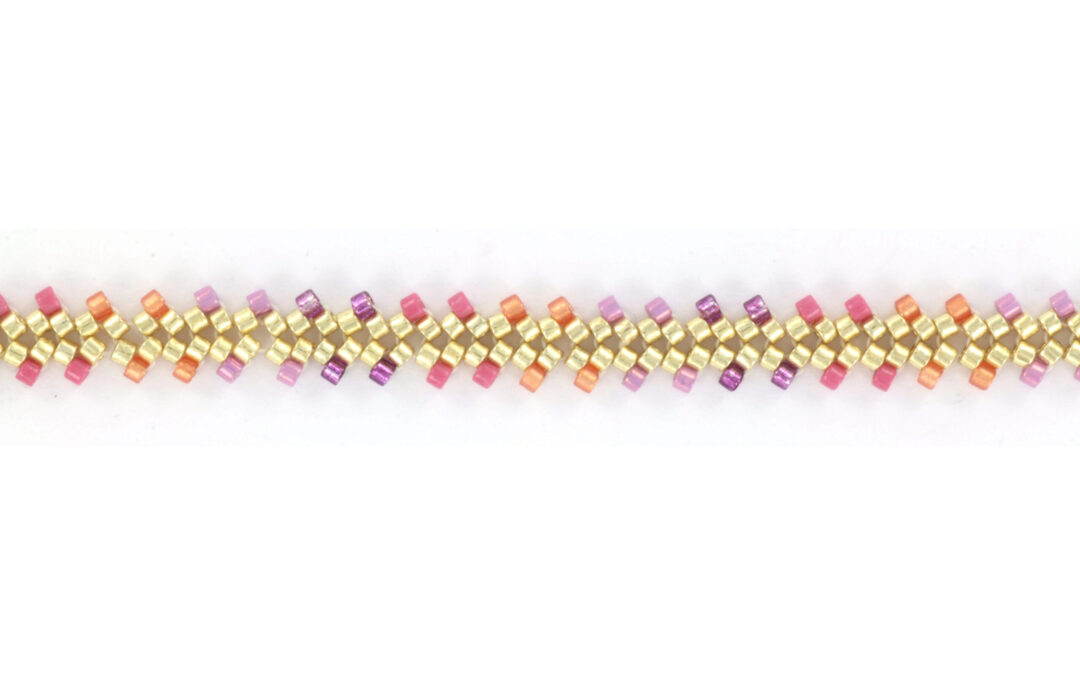
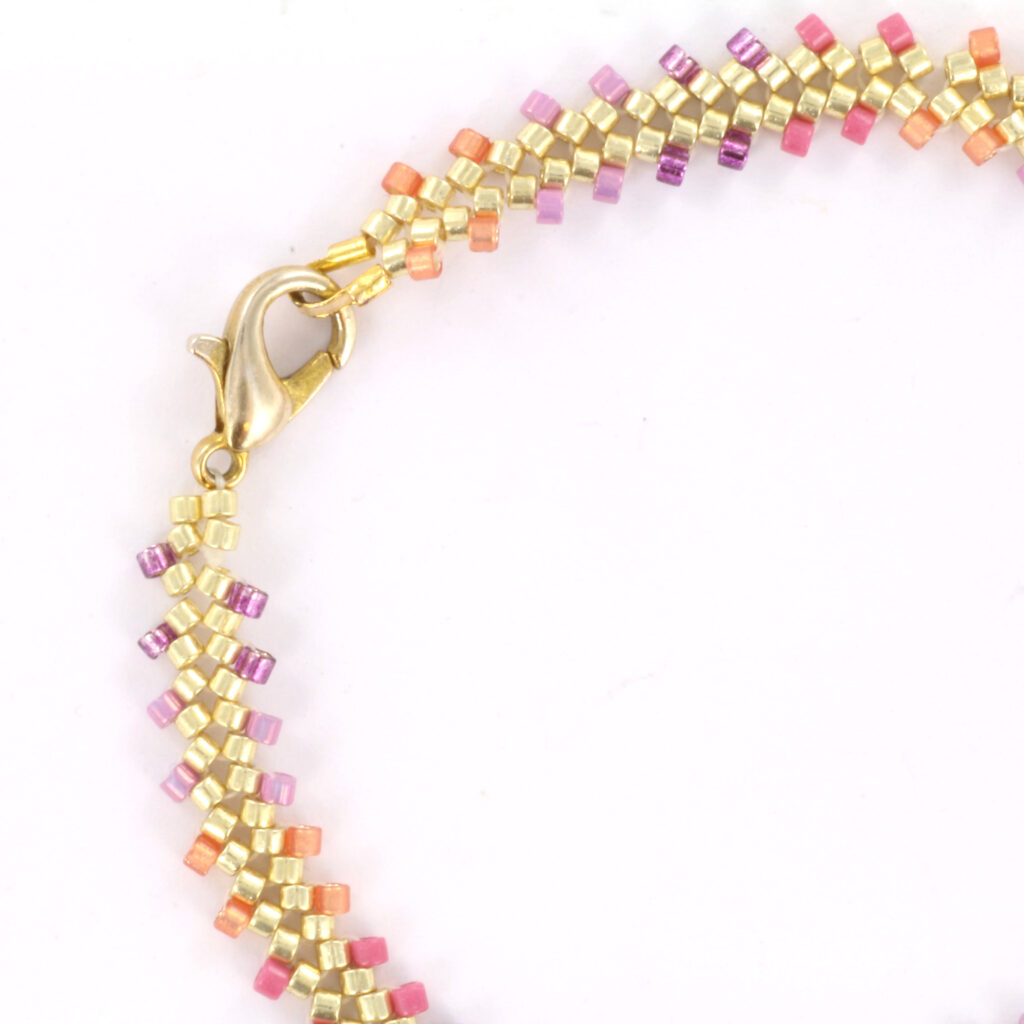
This herringbone Miyuki Delica 11/0 bracelet is quite simple to make, but you do need to know how to do it ;). Herringbone looks more complicated than it actually is, and that’s why it’s so much fun to make.
I chose Miyuki Delica 11/0 beads because they complement each other beautifully, but you can also use this technique with other beads, such as Miyuki seed beads. Of course, you can choose the colors you use yourself. I chose gold in the center and four autumn colors, alternating every four beads.
- Needle
- Fireline 0.20 transparent
- Lobster clasp
- Wire protector
- Miyuki delica beads:
DB-253 (opaque luster dark orchid)
DB-1342 (silverlined dyed raspberry)
DB-2178 (duracoat semi frosted silverlined dyed papaya)
DB-2118 (duracoat opaque dyed pansy)
DB-2501 (duracoat galvanized pale gold)
Step 1)
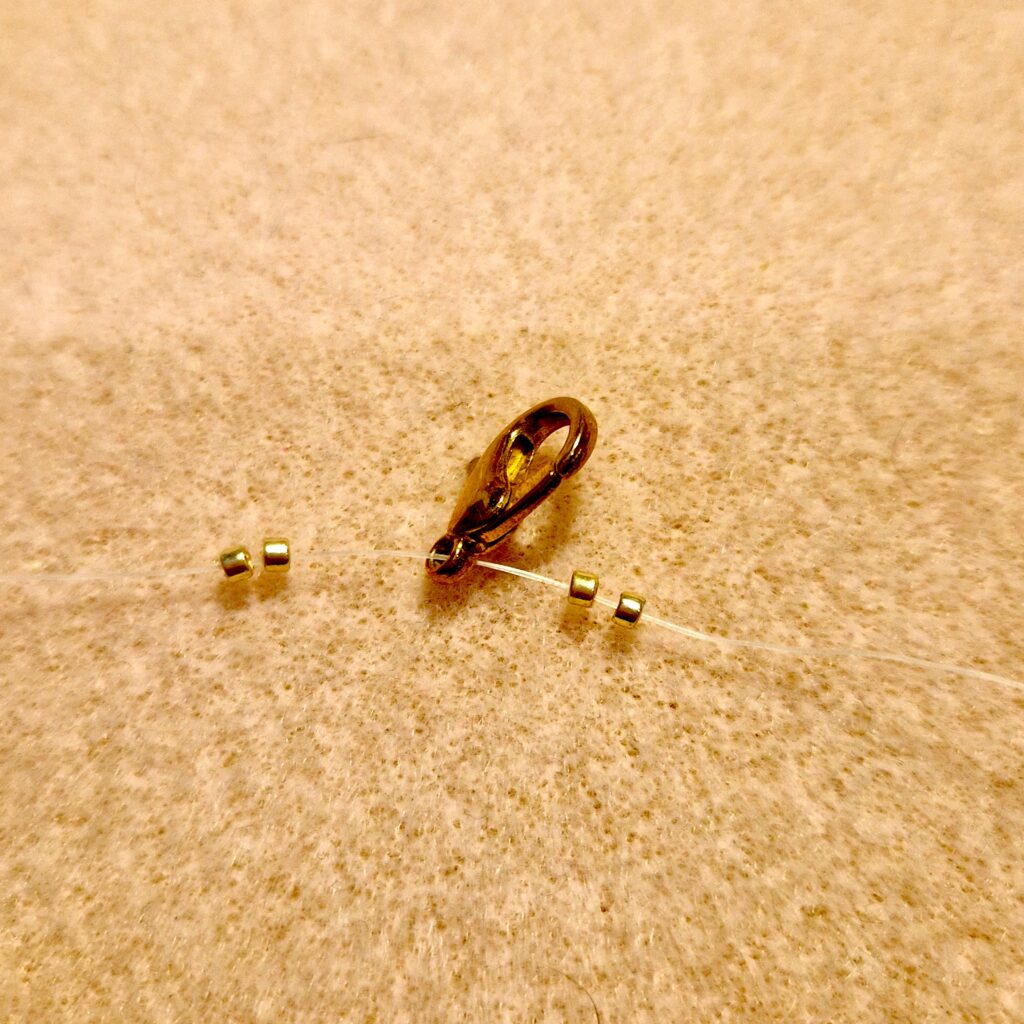
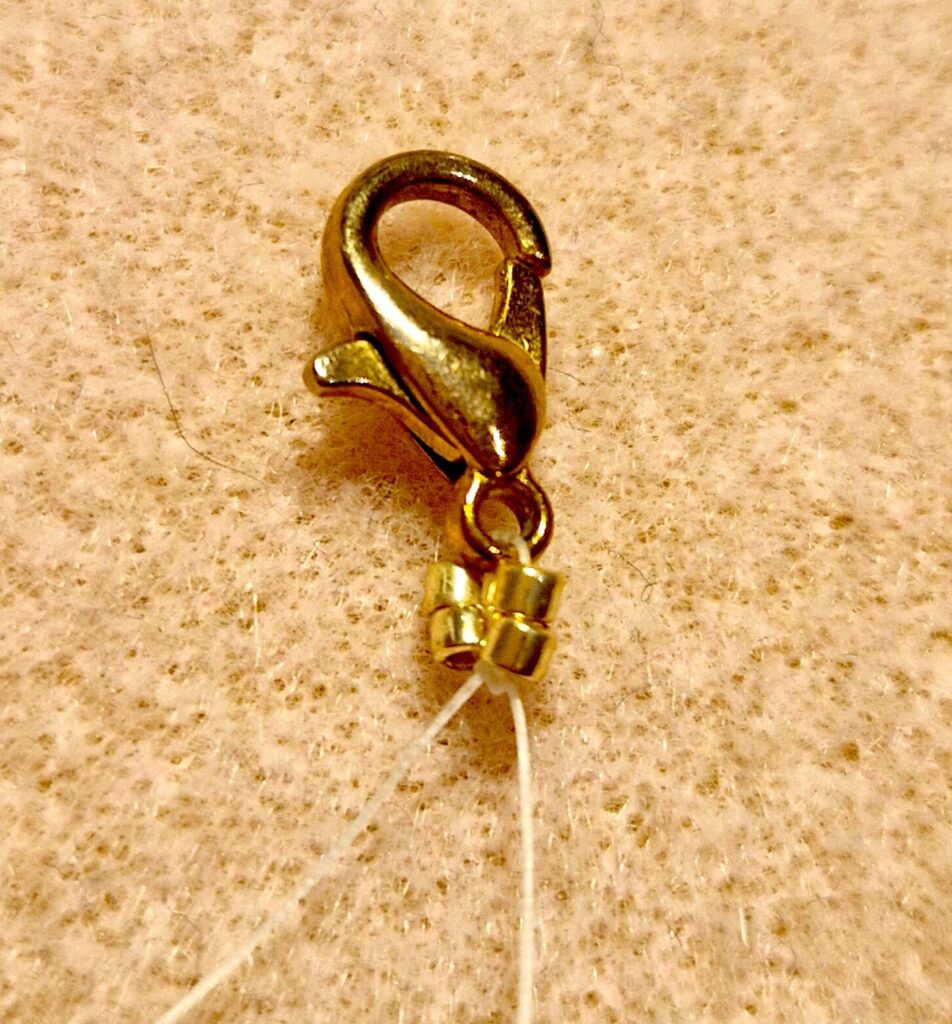
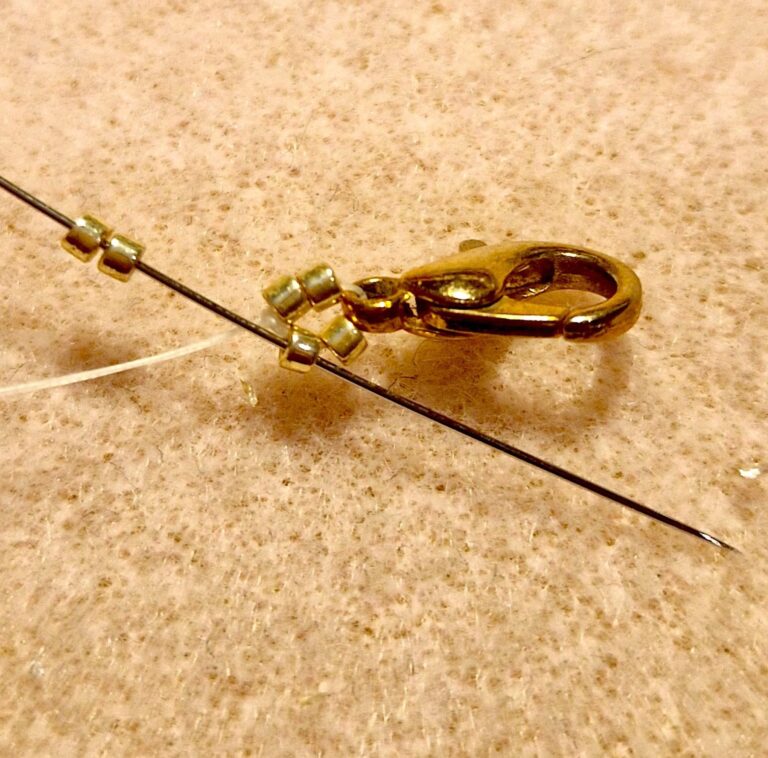
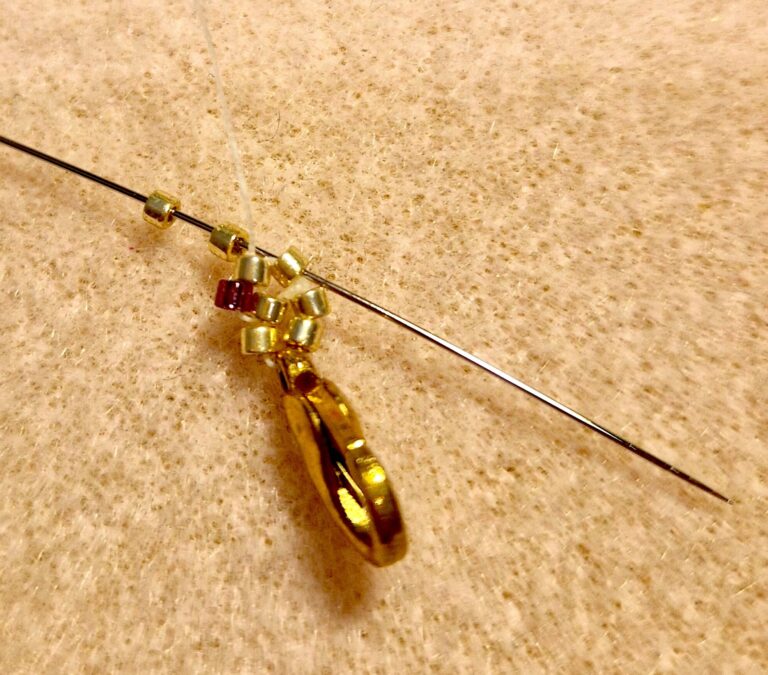
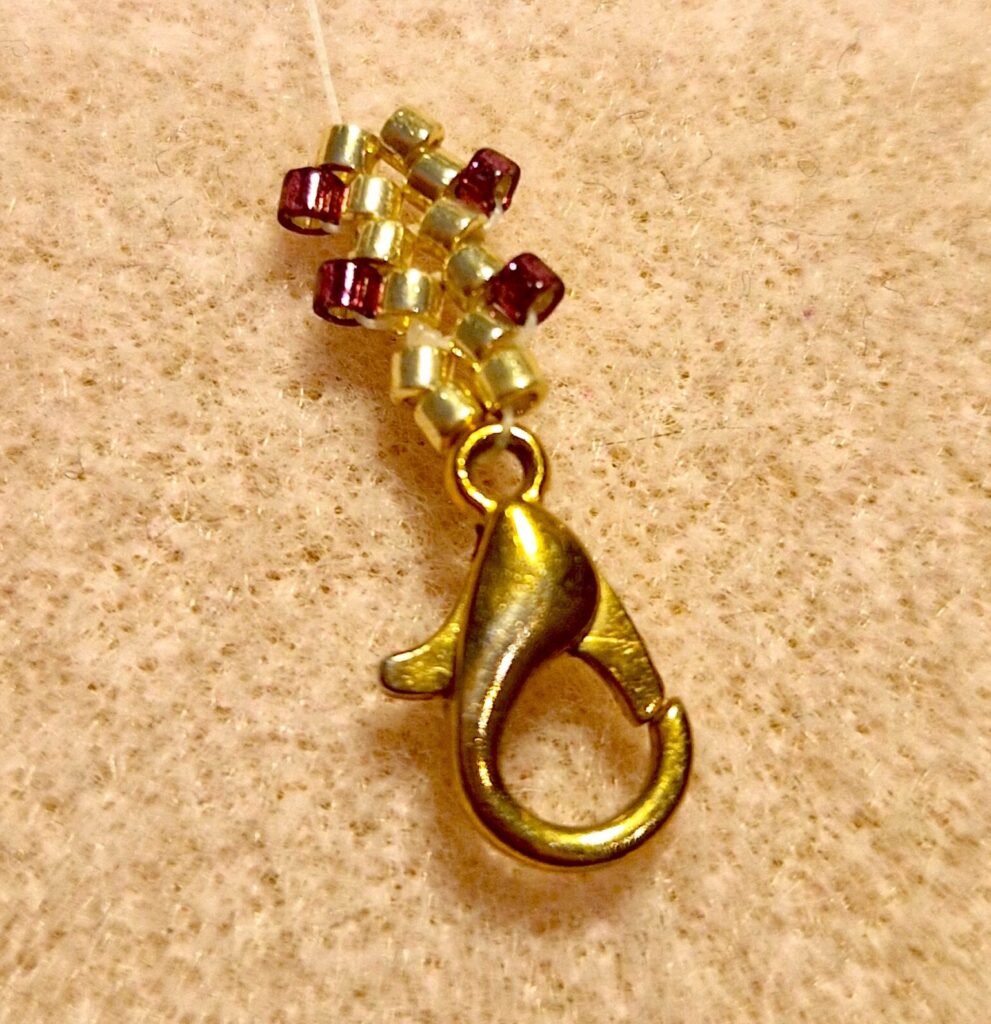
Cut a piece of wire about four times the length of your bracelet. Thread two gold beads, one lobster clasp, and then two more gold beads, leaving about 15 cm of wire on one side for finishing.
Step 2)
Tie this together, and you’re off to a great start!
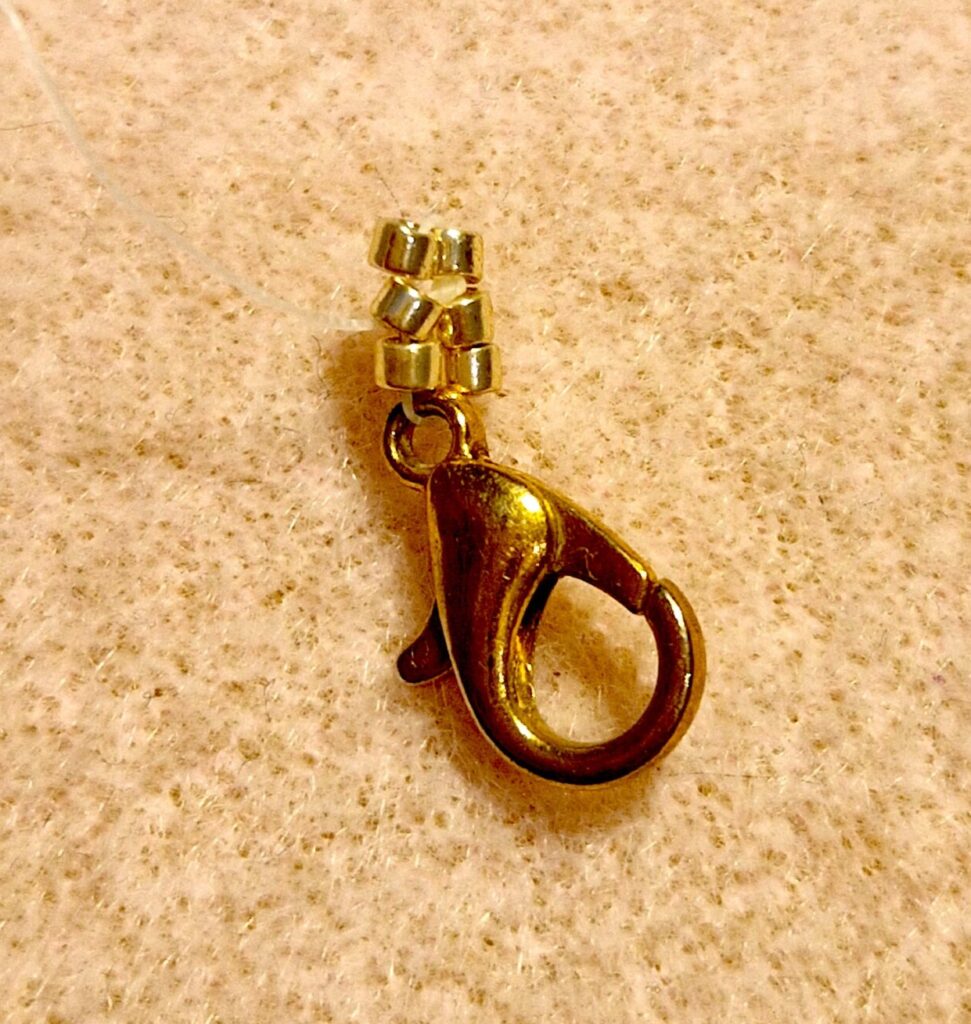
You can tie the end securely and cut it off, or finish it later when your bracelet is finished.
(I chose to cut it off because the thread gets in the way, but threading it through the beads and finishing it later is more secure.)
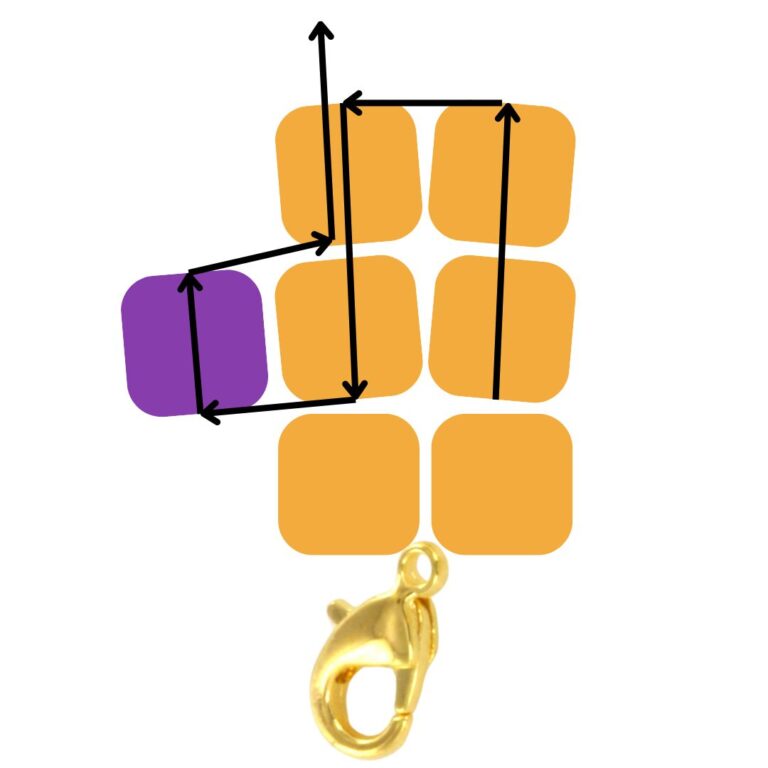
Step 3)
Thread two gold beads with your needle. You’ll see the thread coming out of the right bead, so thread it through the left bead.
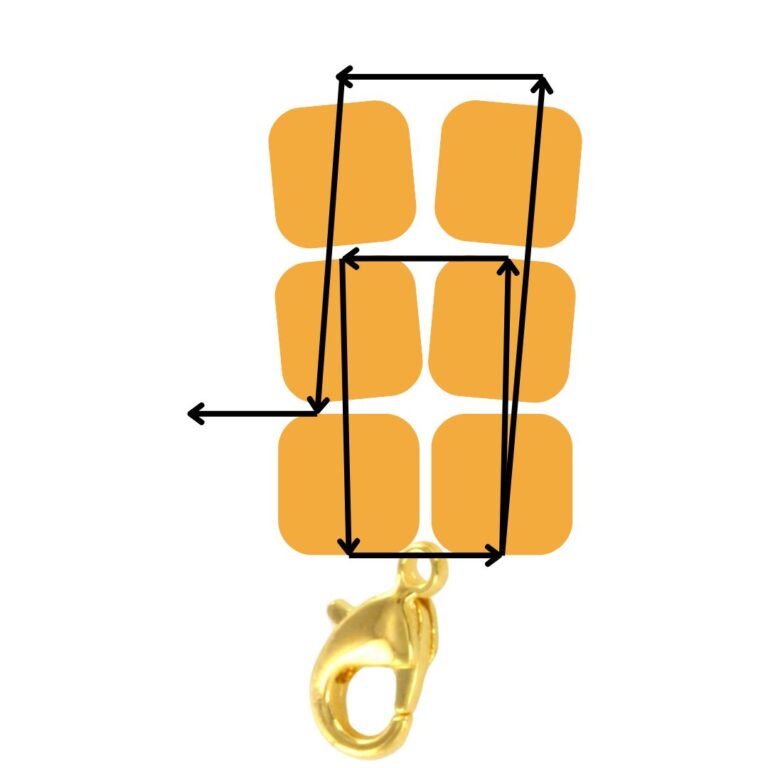
You can already see the beginning of the herringbone!
Step 4)
The thread will now come out from the bottom of the middle bead. Then, thread a colored bead with your needle and thread it through the top bead back up. (I’m left-handed, so you can do it mirrored, or you can turn your bracelet over.)
Your colored bead will now rest snugly against the second gold bead on the left.
Step 5)
Now string two more gold beads and thread them through the right gold delica next to the left bead where the thread emerges. Make sure to pull the thread tight.
String a colored bead and thread it back up through the last gold delica you threaded.
Continue this routine. So, you string two gold beads each time and then return to the top with a colored bead.
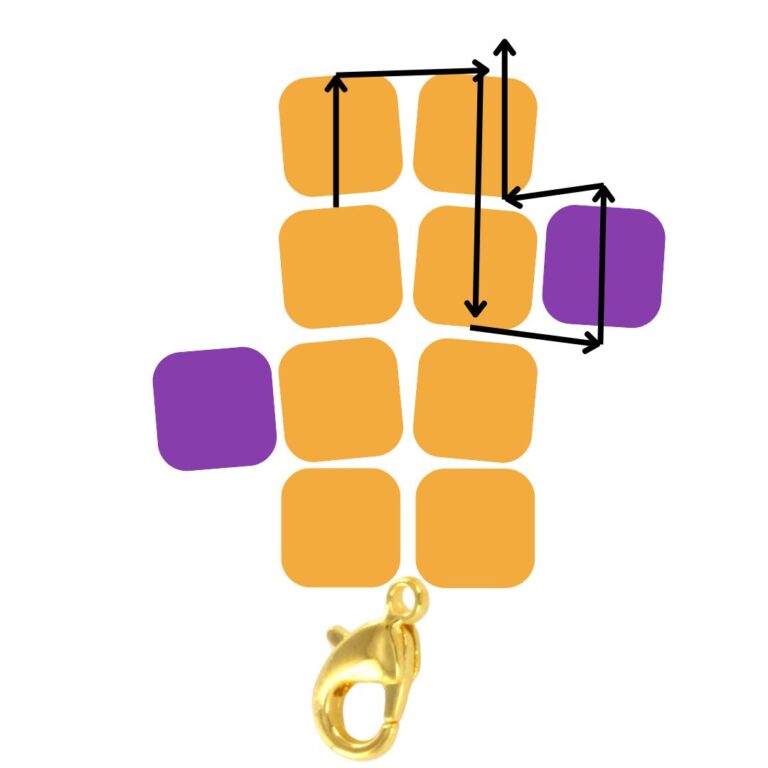
This is what it looks like after you have repeated this a few times.
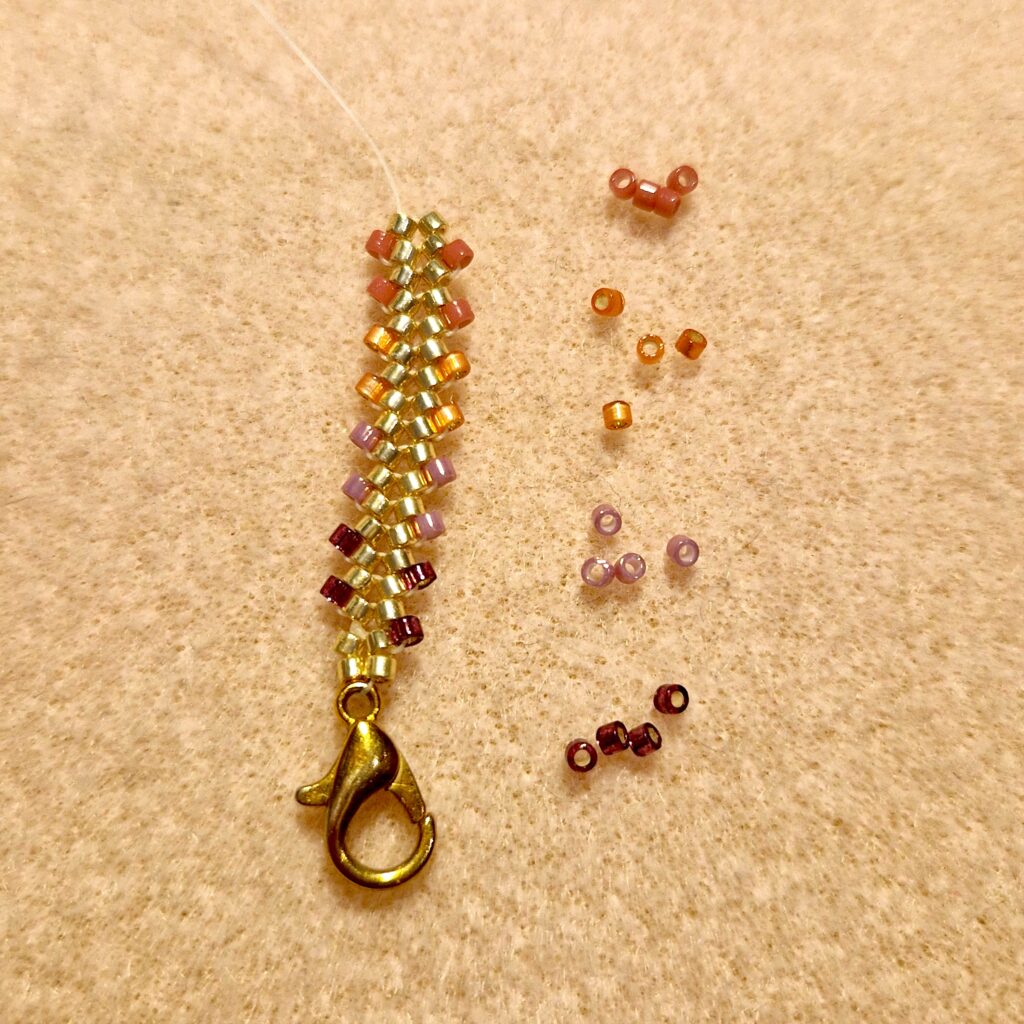
Tip: I lay out the colored beads in the correct order beforehand so I can’t make any mistakes while stringing. This also makes it much faster because you don’t have to keep checking which color is coming next.
Step 6)
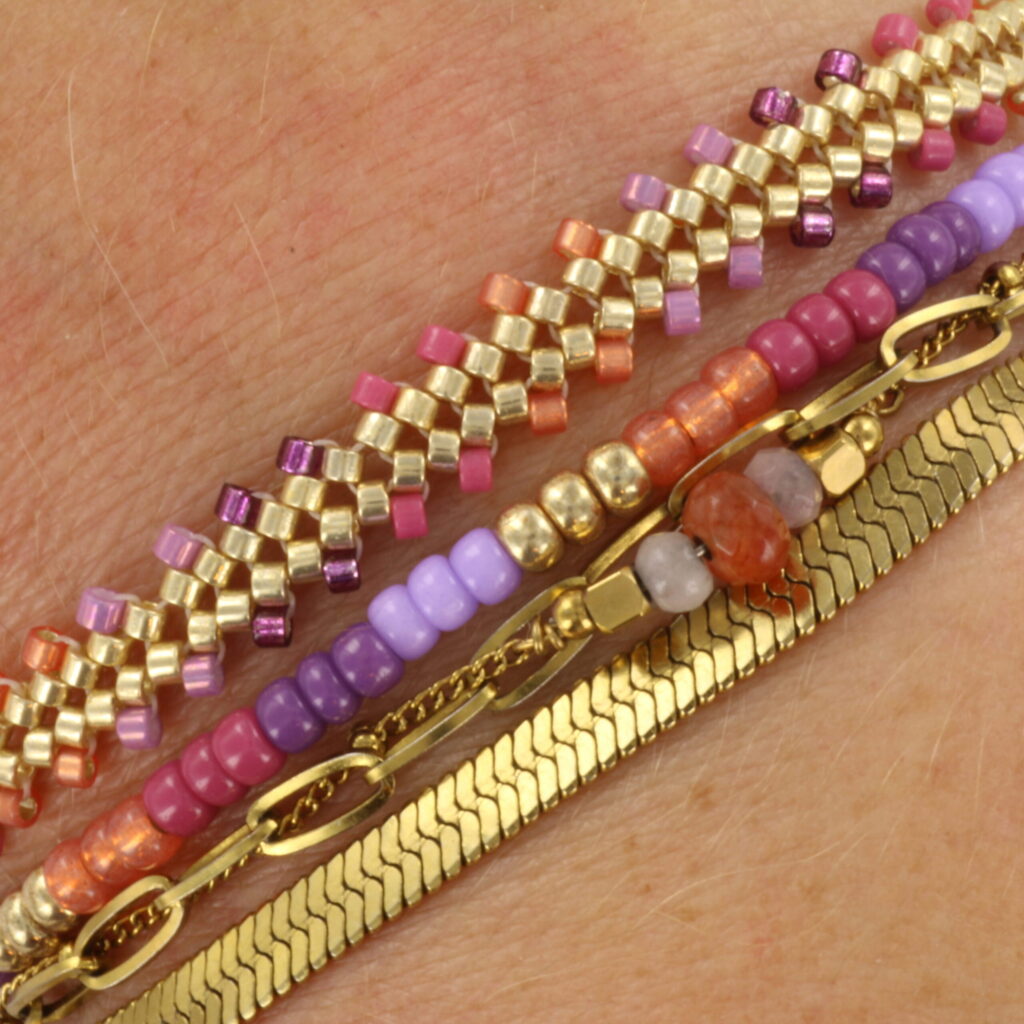
I finish with a wire protector because it fits nicely against the beads. You can crimp it to the desired width. You can also choose to add an extension chain so you can wear the bracelet at different lengths.
Variation:
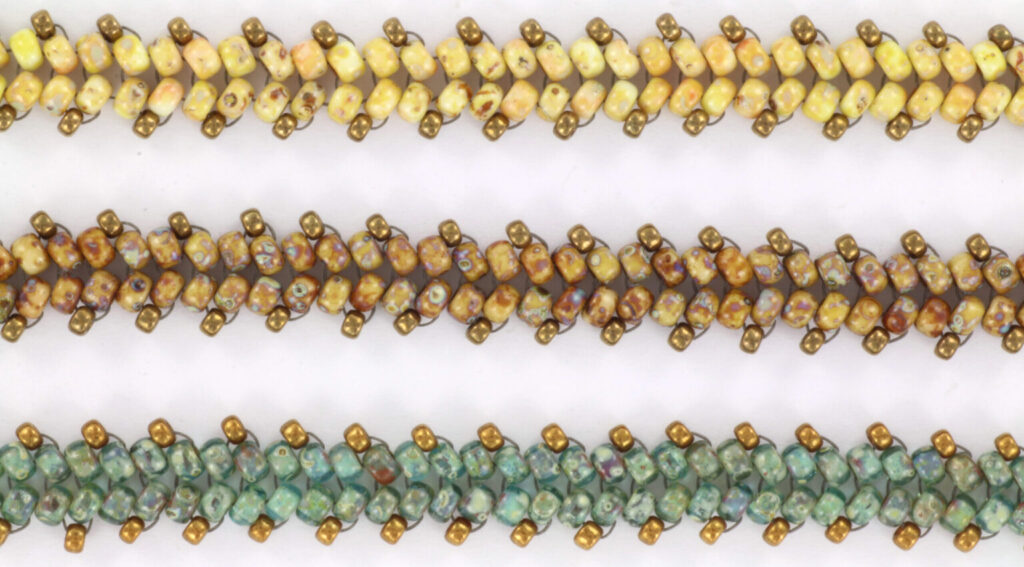
This is the same technique, but with 8/0 seed beads in the center and 11/0 seed beads on the outside.
For the outer row we used Miyuki seed beads size 11/0 color 457 (dark bronze).
For the inner rows we used Miyuki seed bead size 8/0 colors: upper 4512 (opaque picasso yellow), middle 4519 (opaque picasso dark yellow), bottom 4514 (opaque picasso turqoise blue).
Have fun making and wearing these bracelets!